STELLA'S LARA CROFT GO WALKTHROUGH - Android, iOS, PS4 and Vita, Steam, and Windows Phone/PC/Tablet
THE CAVE OF FIRE - PART 2: FIELDS OF LAVA
Updated: 3/19/17(†)
Relic Fragments: 1
Gems: 1
Follow this link for my video walkthrough.
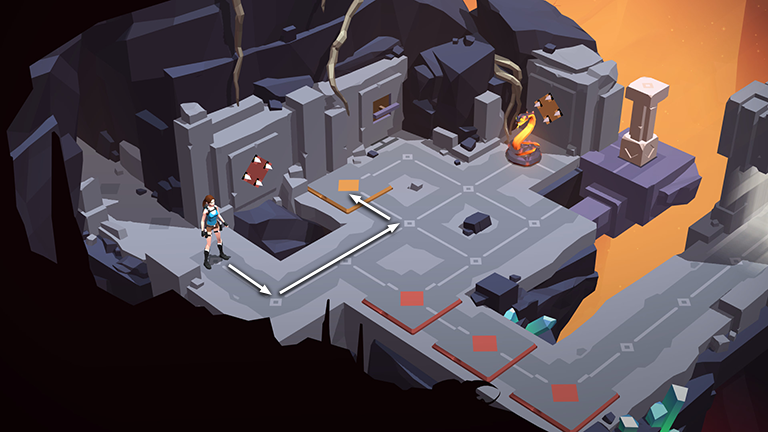
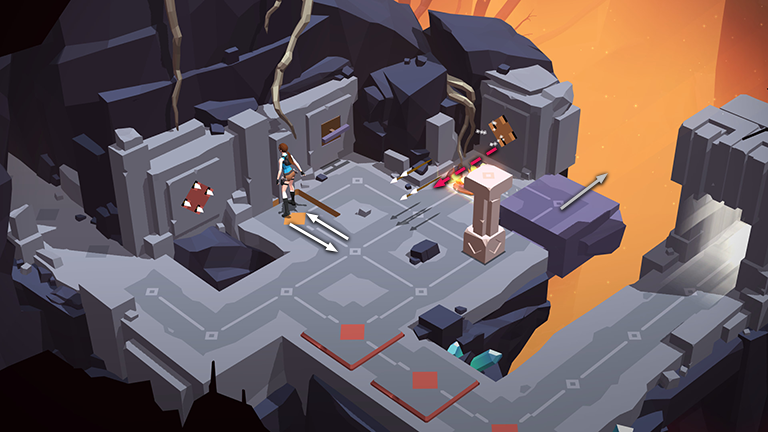
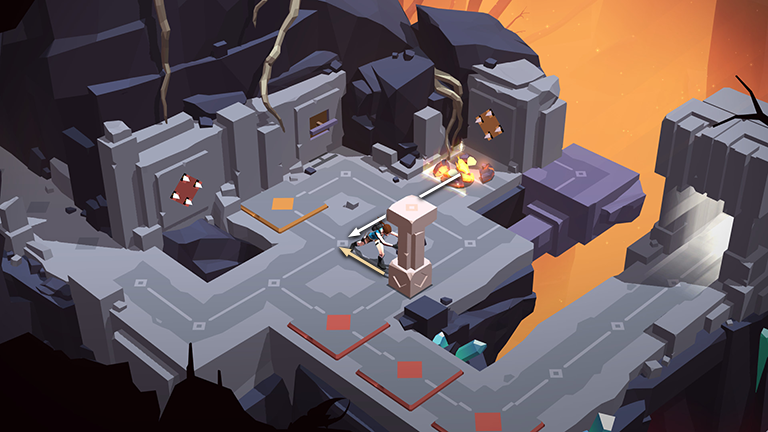
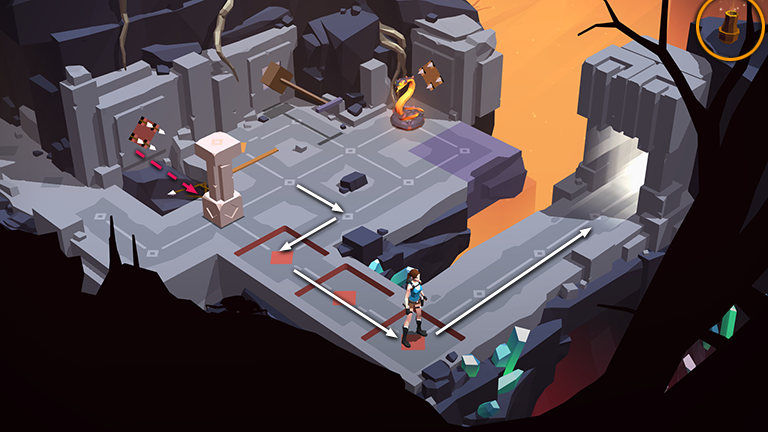
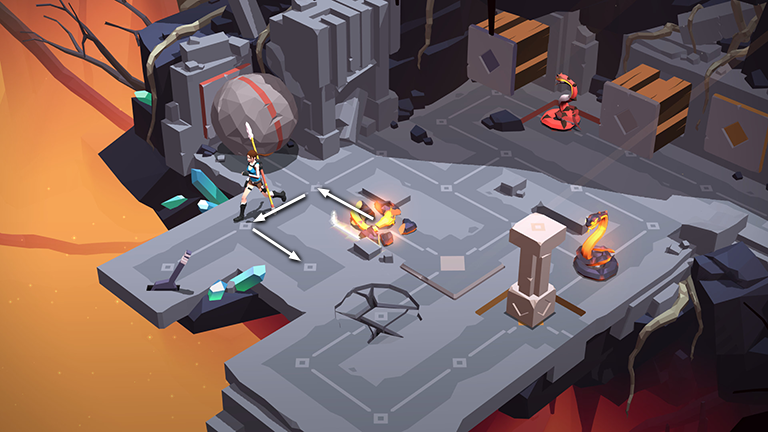
From the starting point, move around to the pressure pad with the yellow diamond. Avoid the pads with the orange diamonds, which activate the arrow trap near the entrance.

Stepping on the yellow pad activates the arrow trap off to the right, shooting the snake and disabling it for the next five turns.
Step to the right and pull the switch to slide the gray block with the movable pillar closer to the snake, which should still be disabled. As with the retracting switches in previous levels, this one only remains active for six turns. After that, the switch and the gray block reset.
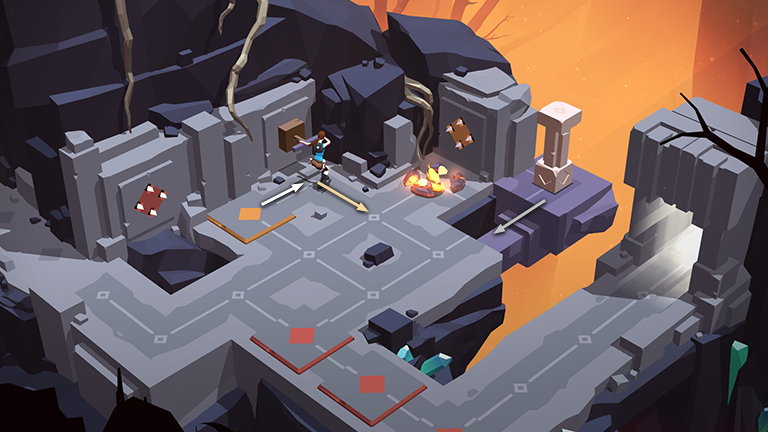
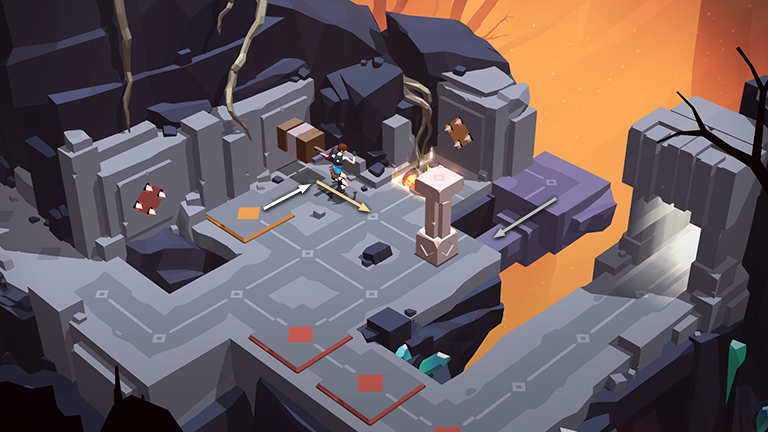
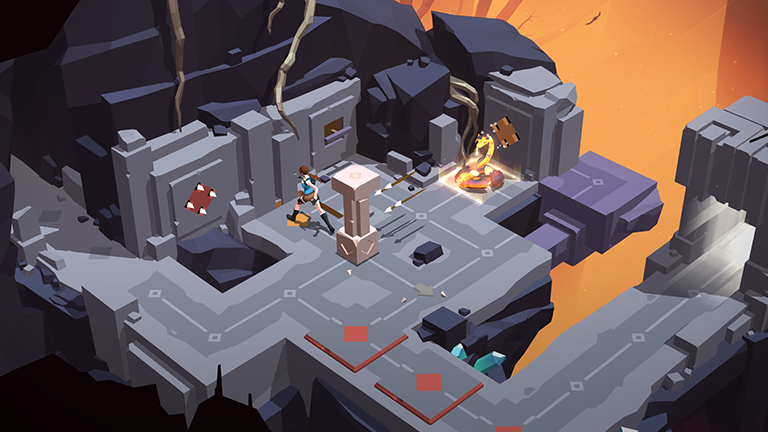
Move past the snake, grab the movable pillar and drag it one space toward the lower left. Do not pull the pillar again or Lara will step on the orange pad and get speared.
Instead move back onto the yellow pad.
The switch is still partially extended, so step off the pad then back onto it to spend two turns allowing the switch to retract all the way. The gray block then slides back to its original position. Stepping on the pad also triggers the arrow trap and "kills" the snake again.
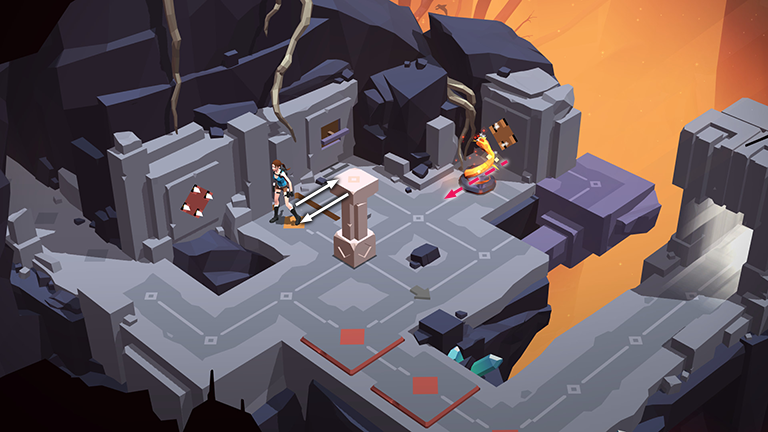
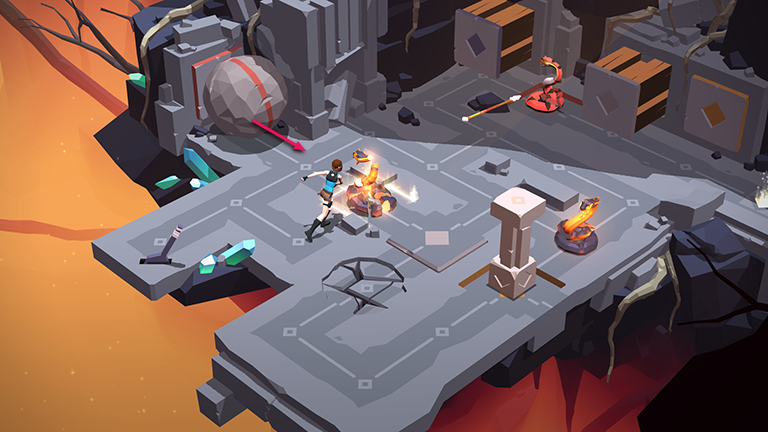
Step to the right and pull the switch again to slide the gray block closer to the snake and movable pillar.
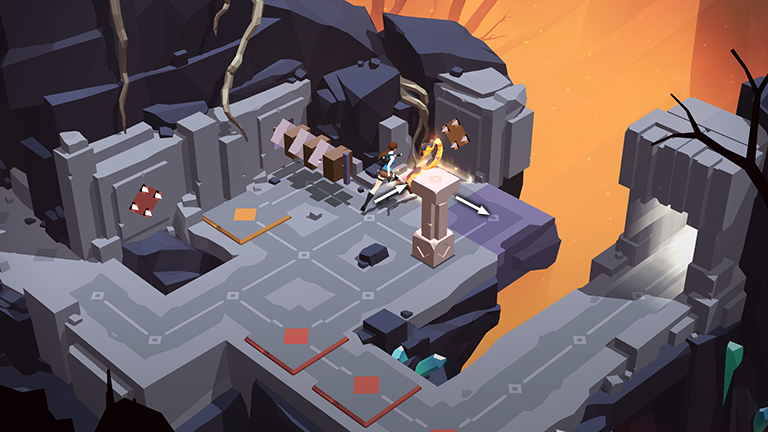
This time step over the snake, which should still be disabled, onto the gray block.

Now push the movable pillar once more toward the lower left. The snake revives while you're doing this, but you should be out of its way by then.
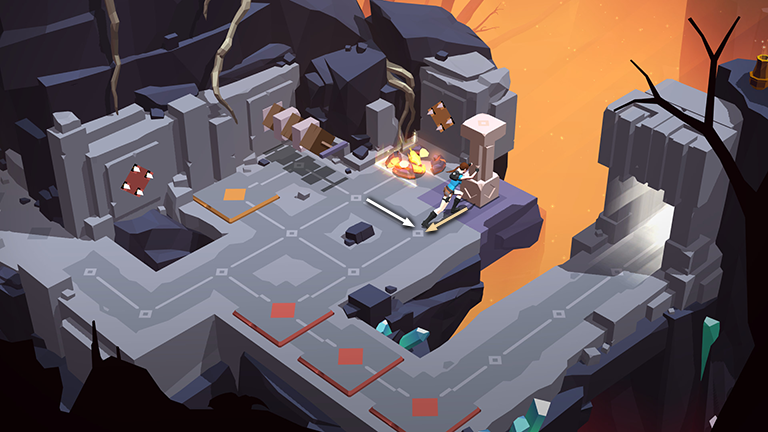
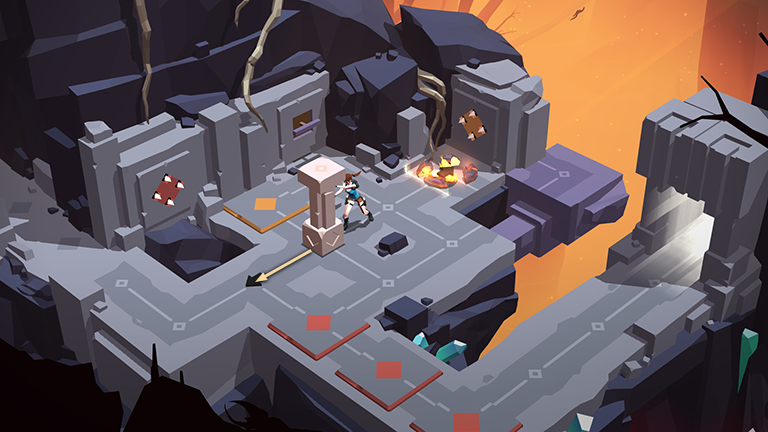
Move back onto the gray block. Smash the vase on the ledge at the top right corner of the screen to get another piece of THE SACRED BEETLE (2/11). Then approach the snake from the side to kill it once more.
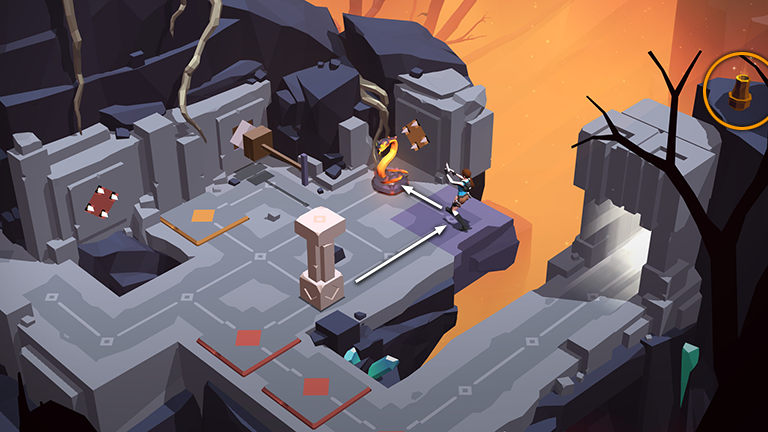
Move two spaces to the left and then pull the pillar once toward the middle of the room.
As you do this, Lara will step on the yellow pad again, but since the snake is already disabled, this will have no effect.
Step toward the switch then back onto the yellow pad to riddle the snake with arrows once more.
If you didn't unlock the Déjà Vu achievement/trophy in the previous level, it should pop now.

Move around between the pillar and the snake.
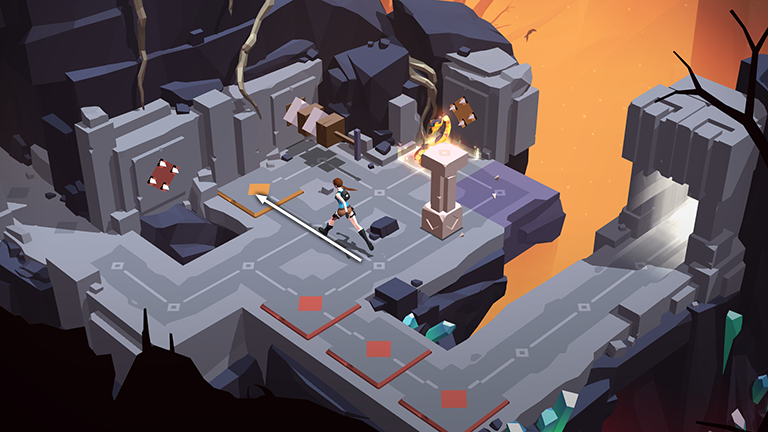
Then push the pillar once to the left, positioning it between the orange arrow trap and the 3 orange pressure pads.
Now you can make your way safely across the pressure pads
to the exit. If you missed the vase with the relic piece, you can get it on the way out.
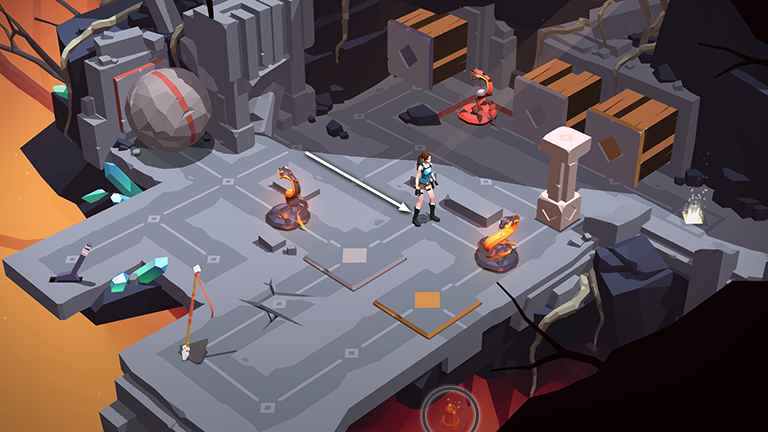
In the next area, step forward twice and then smash the vase under the floor to get another shard of OBSIDIAN (2/13).

Step forward once more to shoot the snake sitting next to the movable pillar.
Now drag the pillar to the left, over the snake and onto the pressure pad with the yellow diamond. This retracts the yellow block trap near the exit.

Follow the path to the left to get a SPEAR.
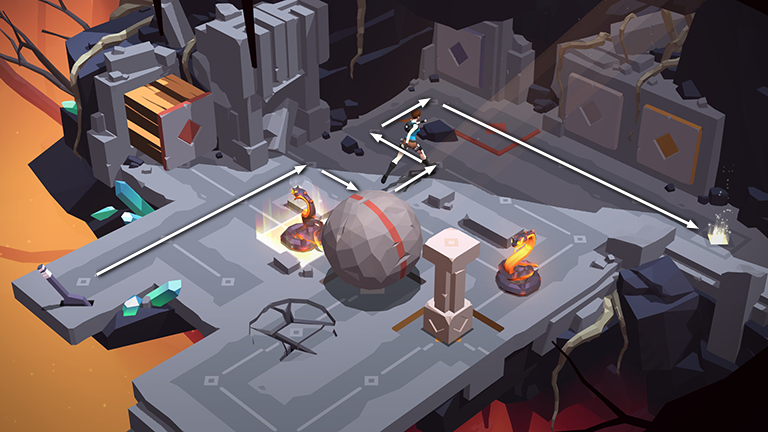
Step over the cracked floor and onto the pressure pad with the tan diamond. This retracts the tan block trap but only temporarily. You'll need to find something to hold it down. Move in behind the second snake to shoot it, disabling it for a few turns.
Step forward toward the boulder. (It won't move as long as the third snake remains on the orange pressure pad on the far side of the room.) Then move left, then to the lower right so Lara is standing near the second snake, which should still be in pieces, assuming you didn't take any extra steps.
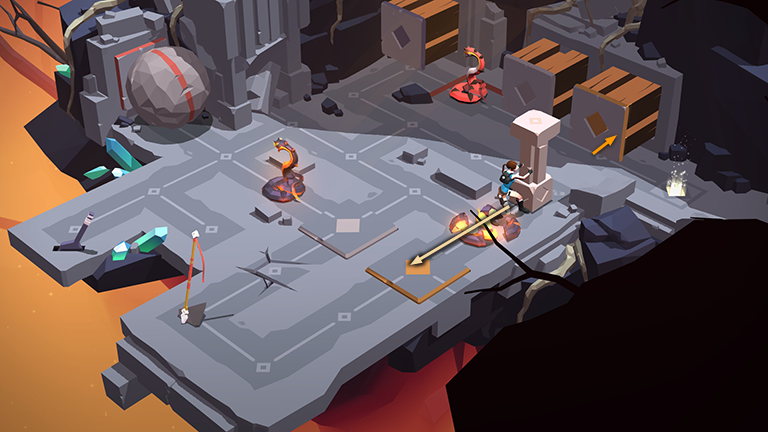
Throw the spear past the second snake to hit the third snake—a normal enemy that does not regenerate. Now that it is no longer holding down the pressure pad, the orange block pops out, shoving the boulder forward.
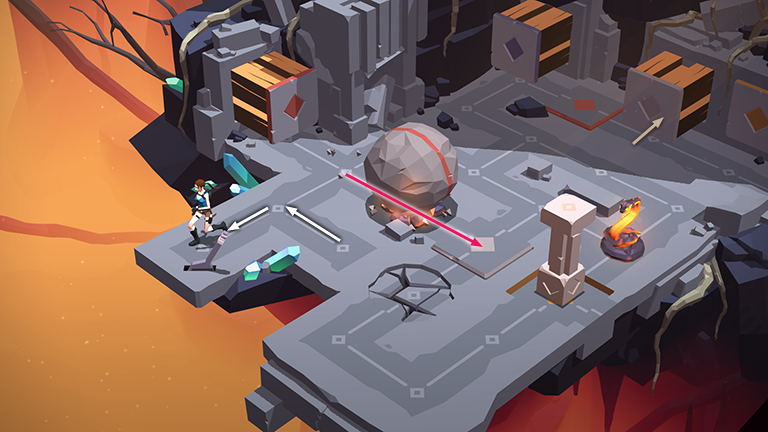
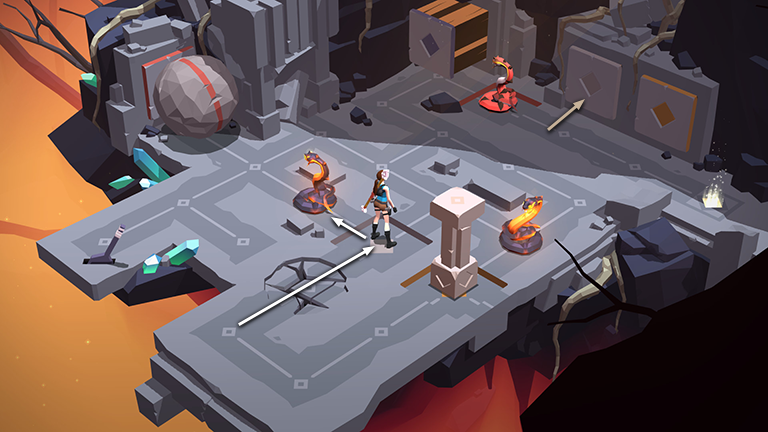
Move around to the lever in the left corner. As you go, the boulder rolls forward crushing the second snake and landing on the tan pressure pad. This retracts the tan block trap. The movable pillar prevents the boulder from rolling farther, so the tan block remains retracted.
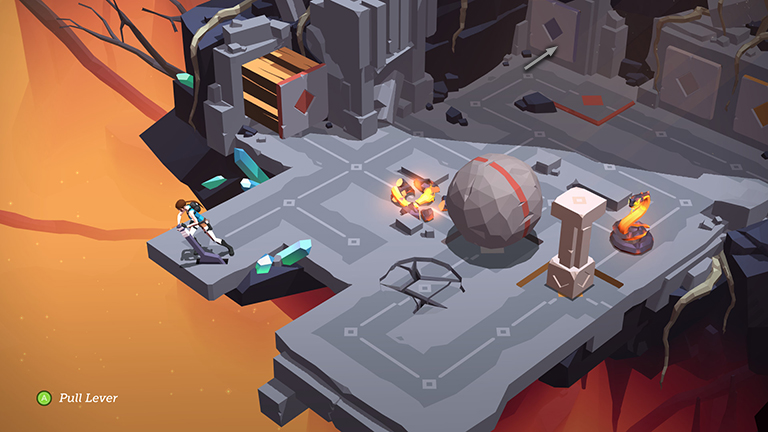
Pull the lever to retract the gray block trap in the upper corner.
Now make your way past the second snake, which should still be disabled, and around to the exit.
†UPDATE HISTORY: 3/19/17 - Walkthrough first posted.
WAS THIS WALKTHROUGH HELPFUL? If not, I apologize and invite you to contact me with any questions. If you need help right away, I recommend the r/TombRaider subreddit. Other fan-run forums are listed at tombraiders.net/stella/community.html. If this site was useful, please consider supporting it financially or in other ways. For details, visit tombraiders.net/stella/support.html. As always, I welcome your corrections/suggestions. Thank you!
Copyright © - Stellalune ( ). Screenshots for the Shard of Life expansion levels were made using the Steam version of Lara Croft GO. Feel free to copy or print this walkthrough for personal use. Share it with friends if you like, but please include this credit line so people can send me their feedback. No part of this walkthrough may be reproduced on another site without permission. Follow this link for details about this site's advertising and privacy policy.
Stella's Tomb Raider Site: tombraiders.net.