Sleeping with the Fishes - Second Pool (part 2)
Including Secret #1
After pressing the button to open the white gate, as shown in part 1....
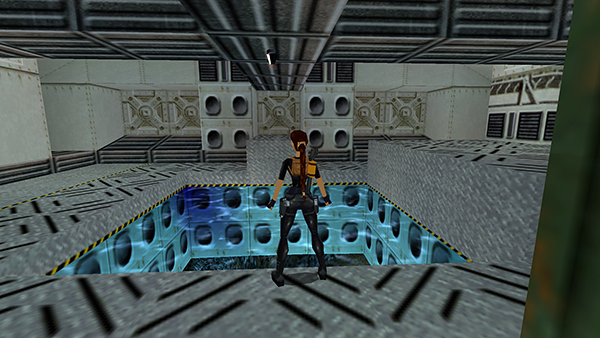
Stand at the edge of the pool with the green boxes behind Lara and jump into the water.
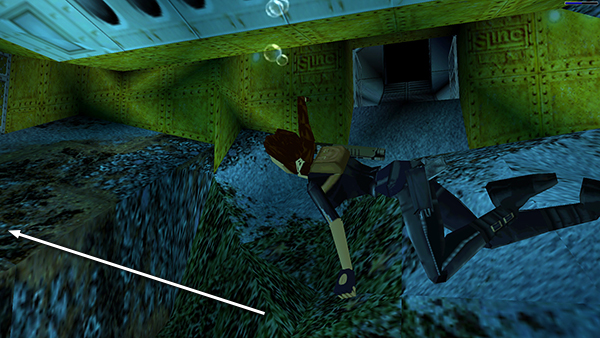
The white gate you just opened will be on Lara's right. If you want secret #1, do not go through this gate yet. Once you do, it's impossible to backtrack, so you'll miss the secret.
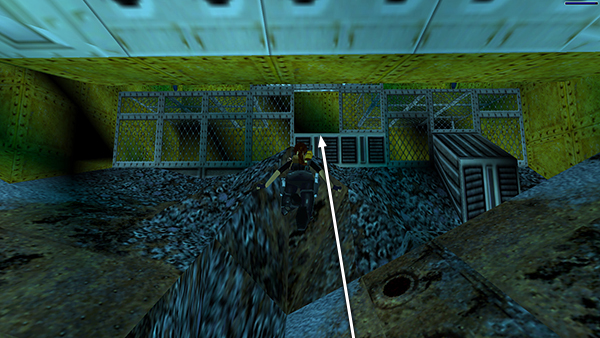
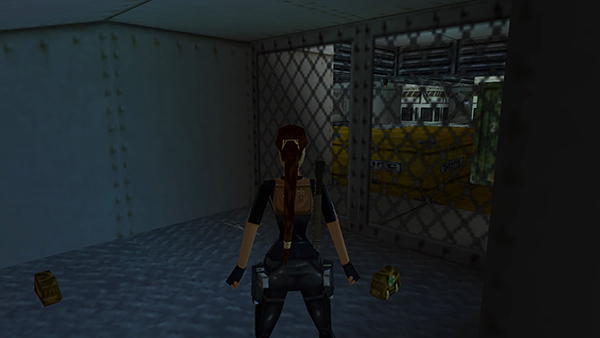
Instead, swim straight ahead toward the cage where you entered this area.
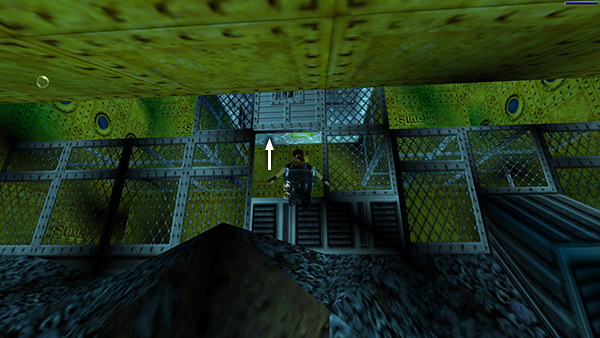
If necessary get air inside the cage.
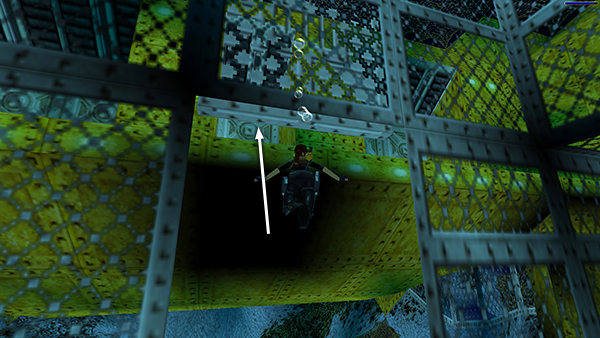
Then swim up between the cage and the yellow structure.
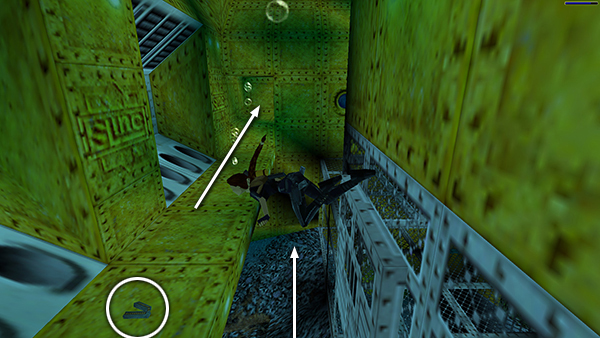
Grab some Uzi clips sitting on the yellow ledge just above the cage door. Turn right and swim along the side of the yellow structure into the square opening at the end of the ledge.
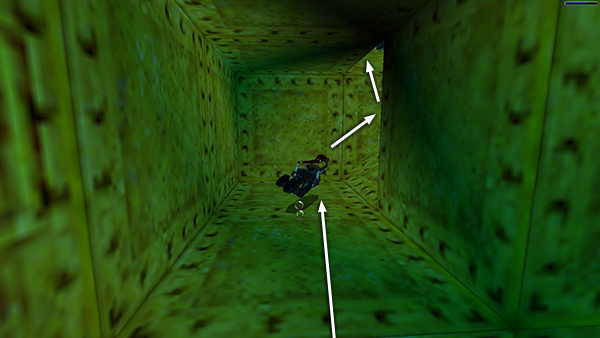
Follow the twisty tunnel...
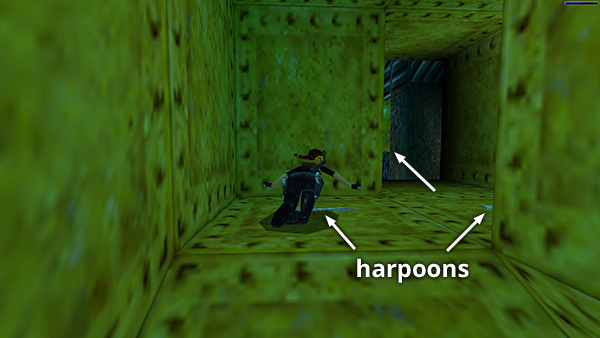
...and pick up 2 bunches of harpoons on the way.
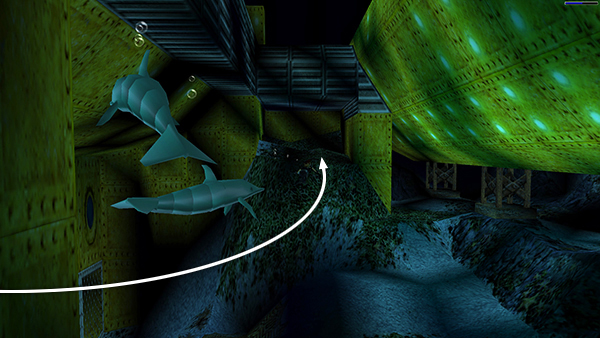
When you come out the other end of the tunnel, 2 friendly dolphins greet Lara. The camera will show a wide-angle view of this area as the current carries Lara to the left. Don't fight it. Just let the current carry Lara toward the rectangular alcove between the building on the left and the pipeline on the right.
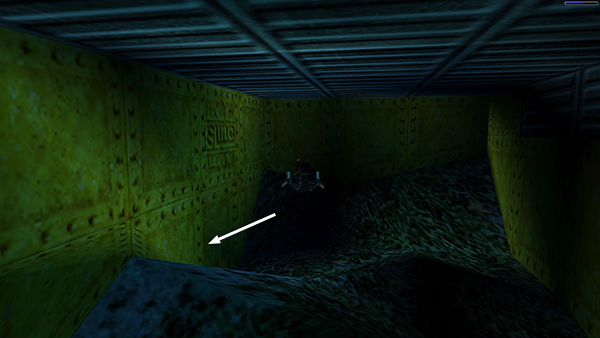
Inside this alcove, look for a square opening on the left and swim through.
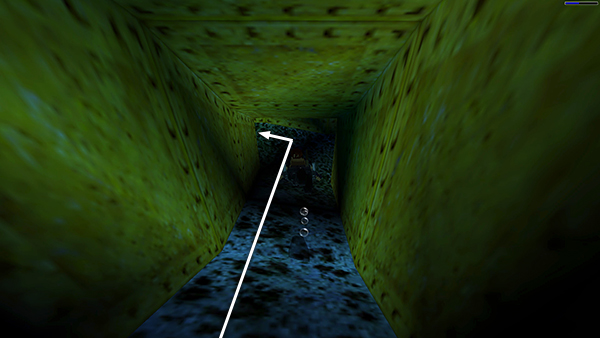
Follow the tunnel down to a T-intersection and turn left.
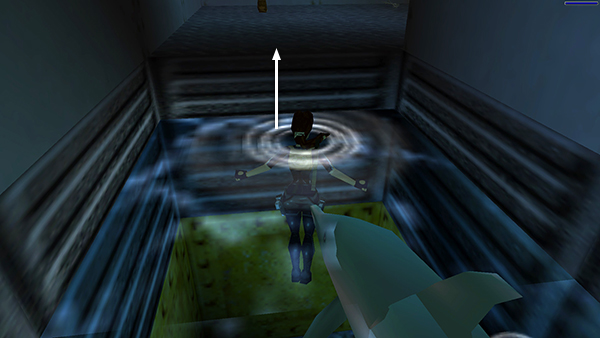
Come to the surface for air but don't climb out of the water yet. If you
linger near here, one of the dolphins should come and give Lara a boost onto the ledge.
(How cool is that?!)
This is secret #1, harpoons and 2 large medi packs—the goodies you saw from inside the crate room.
NOTES: The dolphins are triggered when you pick up the harpoons inside the yellow tunnel. So if you skip these pickups you won't see the creatures. If necessary, you can get the harpoons, swim back to the cage for air, and then go through the tunnel again. The path from the yellow ledge above the cage through the tunnel to the secret is marked with red arrows on the second map in the main walkthrough. Also, if you don't yet have the HARPOON GUN, you'll get it as part of this secret instead of the harpoons.
[Part 1 | Part 3 | Return to the Sleeping with the Fishes Walkthrough]
Copyright © 2000- - Stellalune (
). All rights reserved. Feel free to copy or print this walkthrough for personal use. By all means, share it with friends, but please include this credit line so people can send me their feedback. No part of this walkthrough may be reproduced on another site without permission. Follow this link for details about this site's advertising and privacy policy.