Sleeping with the Fishes - Second Pool (part 1)
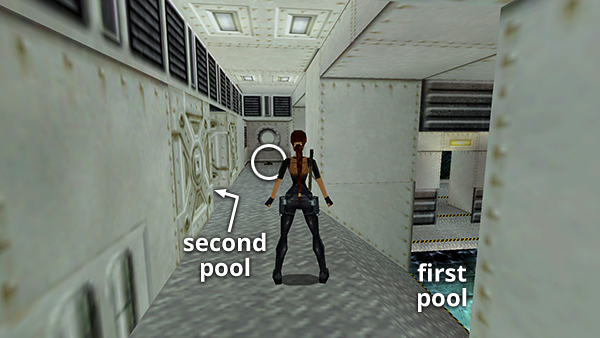
After picking up the MP5 ammo (circled in the screenshot above), backtrack a few steps and go through the doorway labeled "second pool."
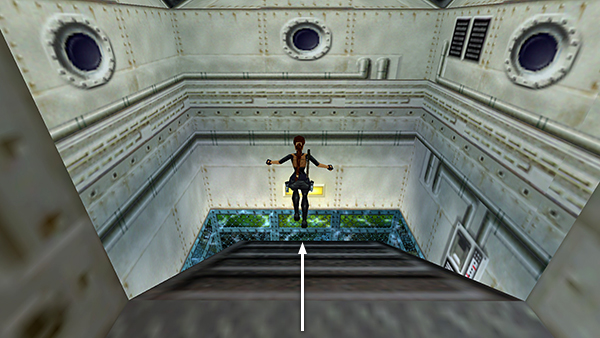
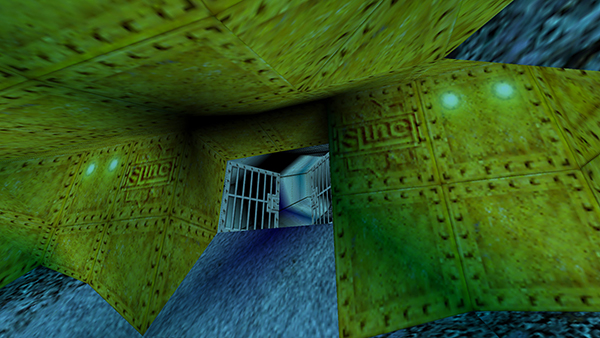
Slide down the short ramp into a cage-like enclosure submerged in another pool.
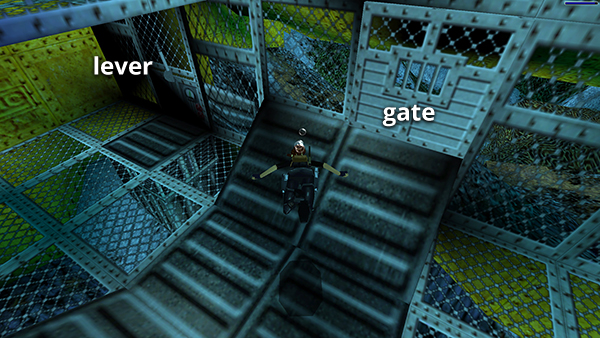
Find the lever to the left of the underwater gate and pull it to open the gate. This sets off alarms and alerts 2 scuba divers. Surface in the cage to get air if necessary.

Then swim out of the cage and either harpoon the divers...
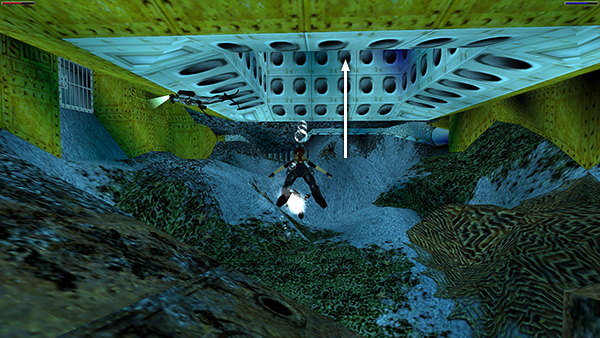
...or swim forward and up under the yellow structure.
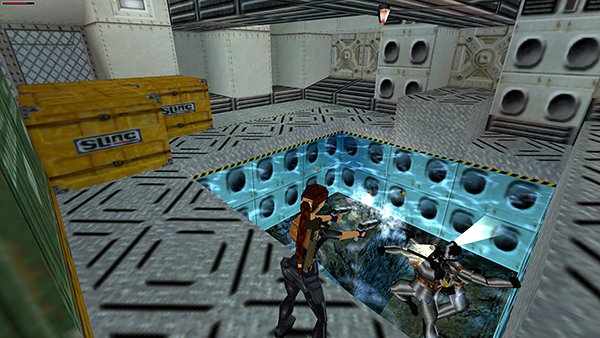
Here you can climb out of the water and shoot the divers from above.
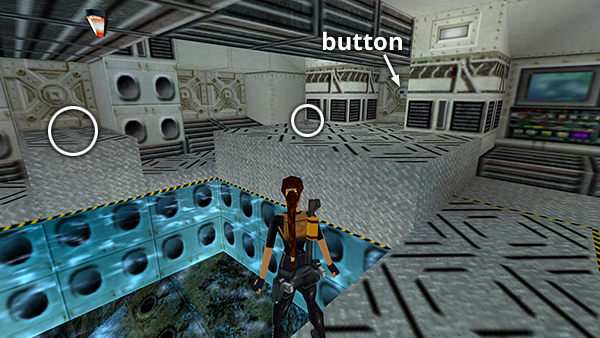
Inside this room you'll find harpoons and flares on the low ledges. Press the button in one of the alcoves...
...to open the white gate outside in the big pool.
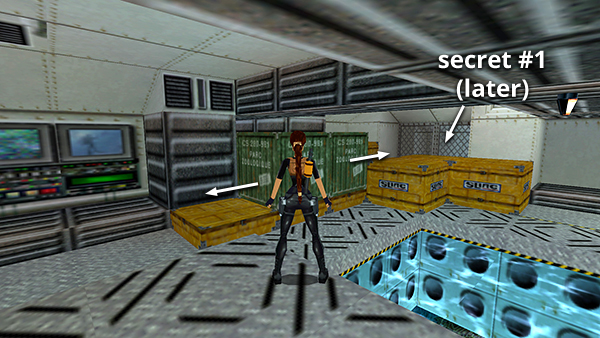
Find the movable crates (they're green) and pull the one on the right to the right. Then slide the crate on the left in either direction. Notice the goodies behind the fence in the corner with the yellow boxes. That's secret #1, which you'll get soon.
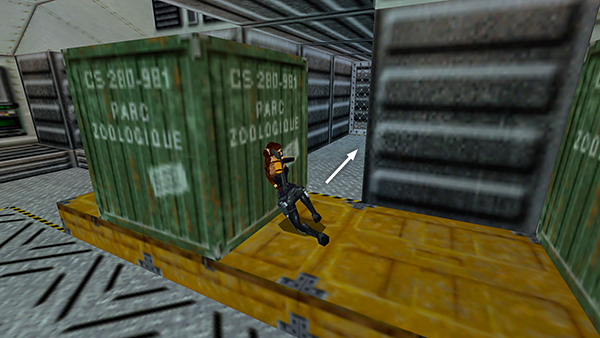
Go into the alcove that was previously hidden by the crates.

As you pick up the small medi pack, you'll also get a glimpse of a sentry on duty beyond.
[Part 2 | Return to the Sleeping with the Fishes Walkthrough]
Copyright © 2000- - Stellalune (
). All rights reserved. Feel free to copy or print this walkthrough for personal use. By all means, share it with friends, but please include this credit line so people can send me their feedback. No part of this walkthrough may be reproduced on another site without permission. Follow this link for details about this site's advertising and privacy policy.