Sleeping with the Fishes - Second Pool (part 3)
After retrieving secret #1, as shown in part 2....
Hop back in the water...
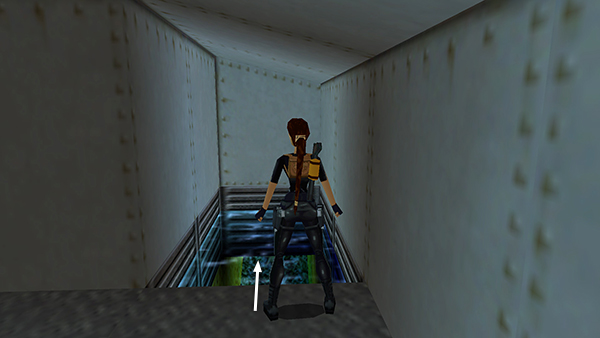
...and swim forward to another opening where you can surface and climb out onto a ledge.
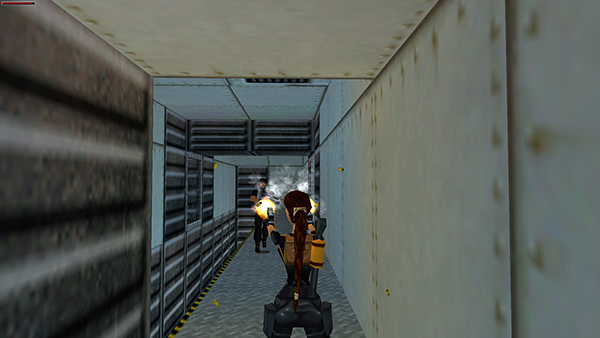
Immediately turn left, draw weapons, and kill the sentry you saw earlier through the fence.
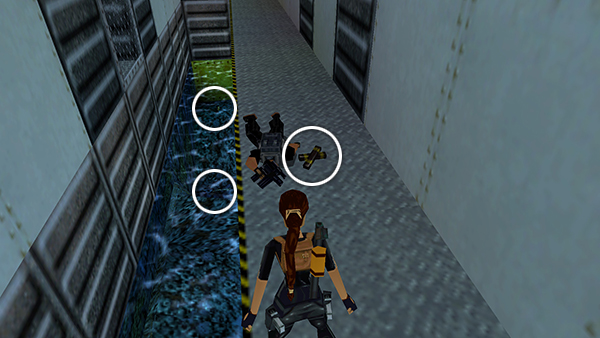
Take his MP5 clips. Then jump off the ledge into the water, where you'll find more harpoons and a small medi pack.
NOTE: If you don't yet have the MP5 SUBMACHINE GUN, you'll get it from the sentry instead of the clips.
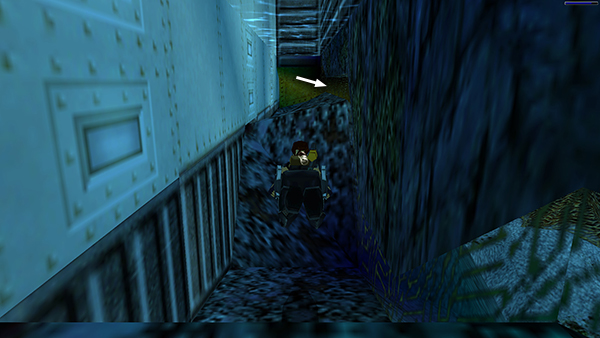
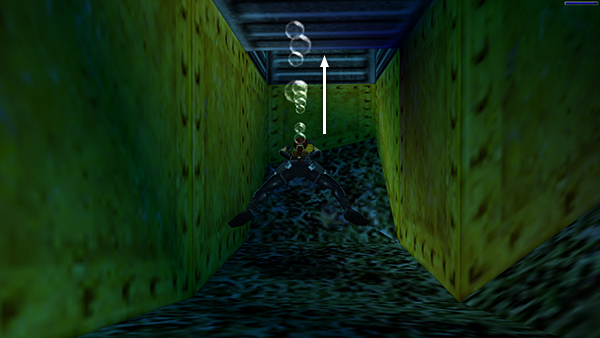
You won't be able to climb back out onto the ledge, since it's too high to reach from the water, but if you swim to the opposite end of the trench from where you found the medi pack, there's a break in the netting on the right. Swim through here...

...to get back to the SECOND POOL. Swim to the middle of the pool and surface for air in the crate room.
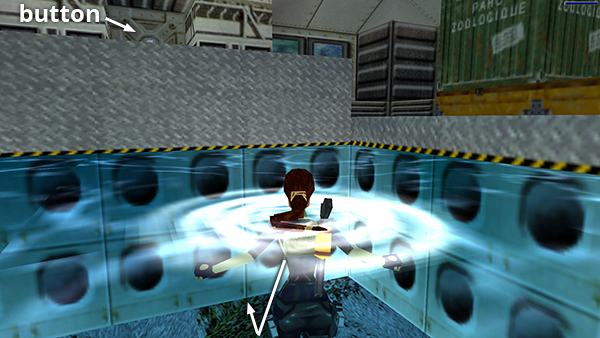
If you didn't press the button on the wall here earlier, do that now to open the white gate. Now tread water with the button directly ahead and the green crates on Lara's right. Then swim down and forward...
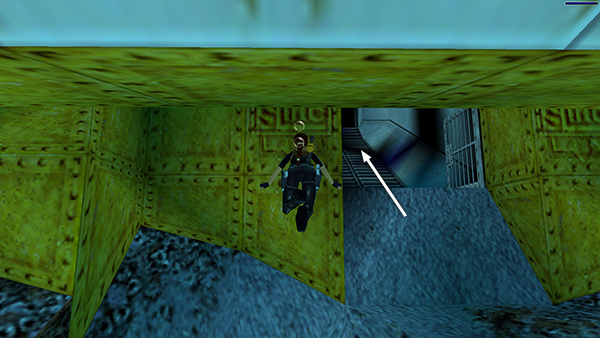
...and the white gate will be almost directly ahead. Swim through and let the current sweep Lara up the tunnel into the next area.
[Part 2 | Return to the Sleeping with the Fishes Walkthrough]
Copyright © 2000- - Stellalune (
). All rights reserved. Feel free to copy or print this walkthrough for personal use. By all means, share it with friends, but please include this credit line so people can send me their feedback. No part of this walkthrough may be reproduced on another site without permission. Follow this link for details about this site's advertising and privacy policy.