The Cold War - Flooded Passageway and Ice Cavern
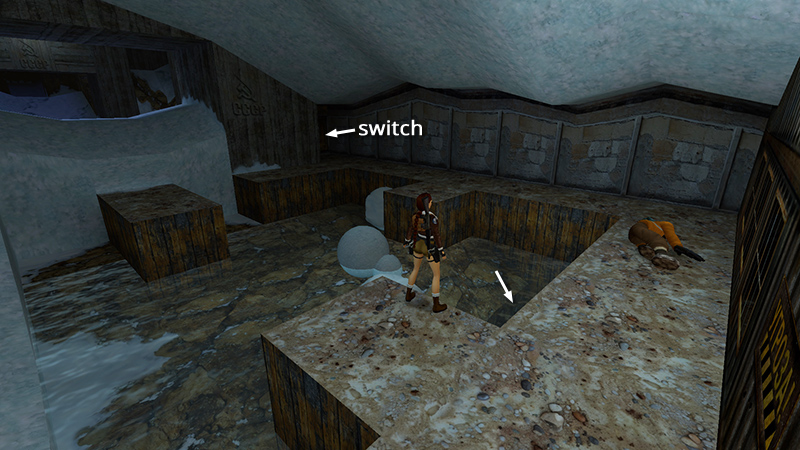
In the last section, you used this switch to start an avalanche, breaking through the frozen surface of the pool near the CORRUGATED METAL SHACK. Jump into the deep end of the pool outside the shack.
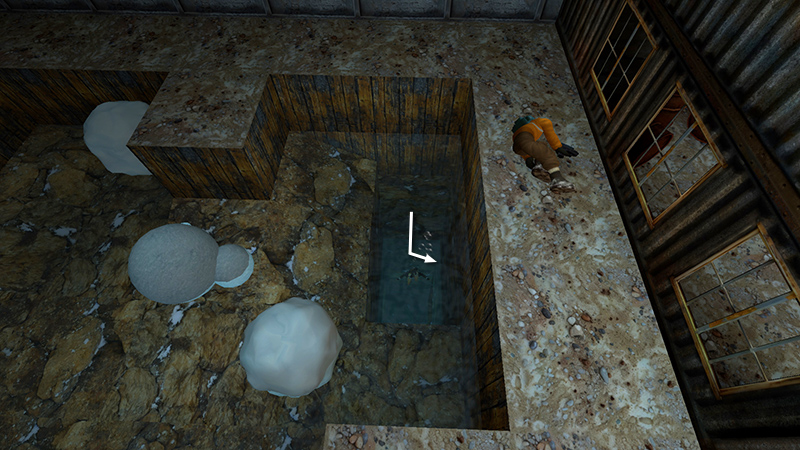
Swim down and follow the underwater passageway.
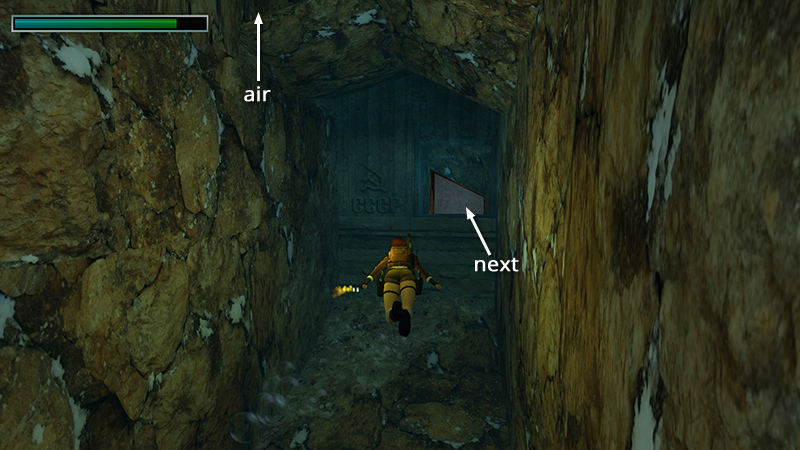
When you come to the concrete opening with the Soviet hammer and sickle, check your air supply. If necessary, you can swim straight up on the left side of the passage to an air pocket. Otherwise, continue through the opening in the concrete wall...
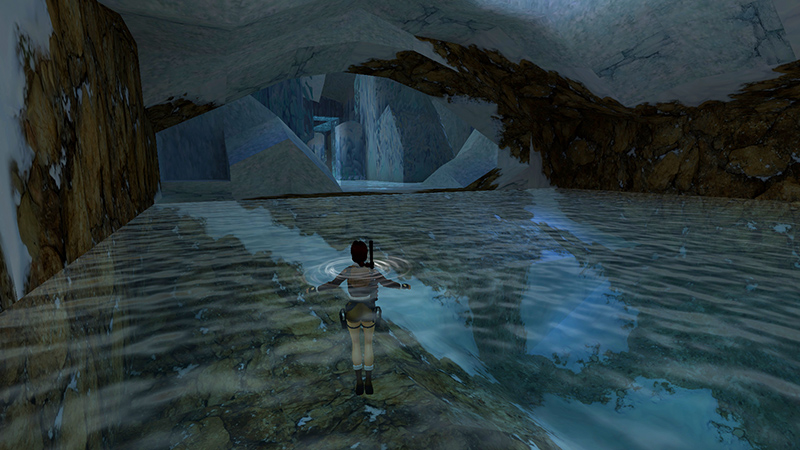
...then onward and upward to surface in an icy pool.
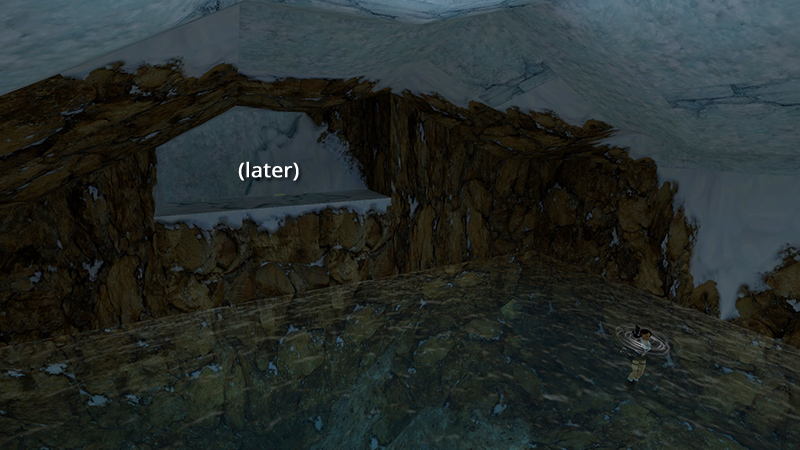
NOTE: There are some items on a high shelf at the back of this dark cave. You can't reach them yet, but you'll return shortly.
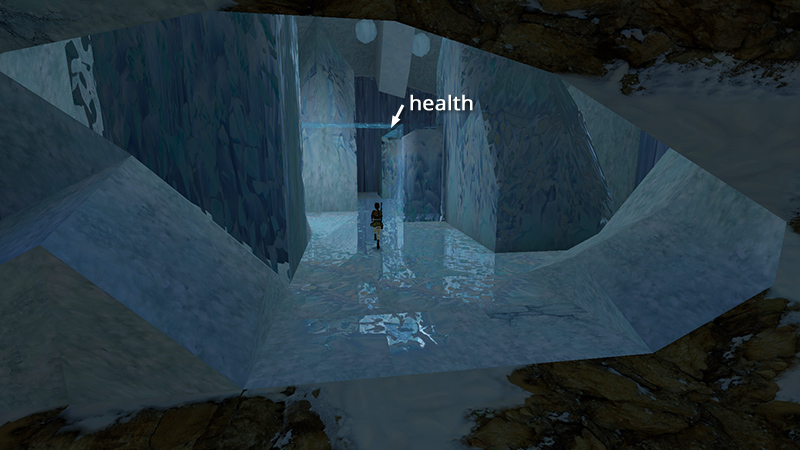
Wade out of the water and head toward the far side of the cave. Don't worry; the ice floor is safe to stand on. Ahead is a large medi pack (49) up on a tall pillar of ice. There are several ways to reach it. The easiest (using classic tank controls) is shown first:
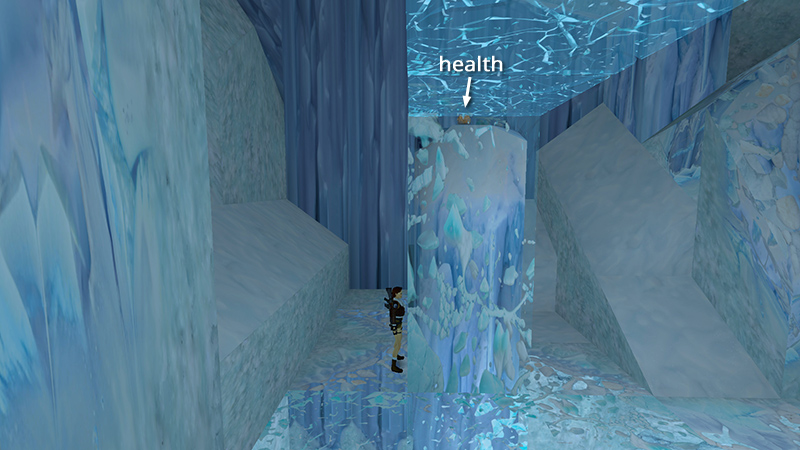
Position Lara with her chest against the pillar and her back toward the snowy slope on the left.
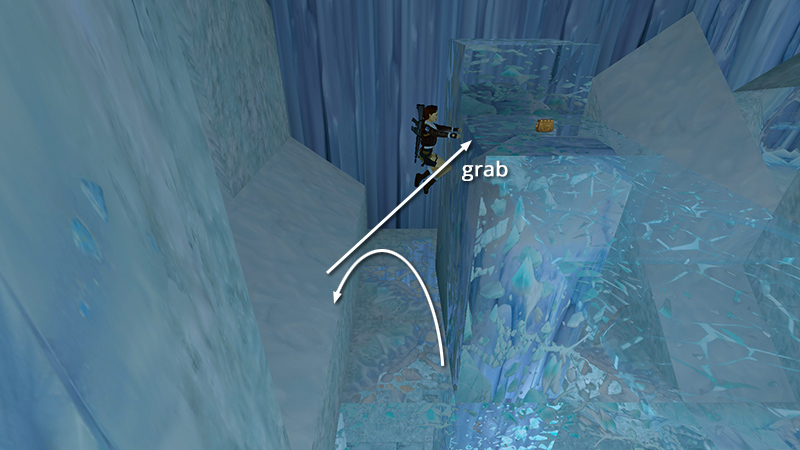
Then backflip onto the slope, quickly jump and grab the edge of the pillar, then pull up.
- OR -
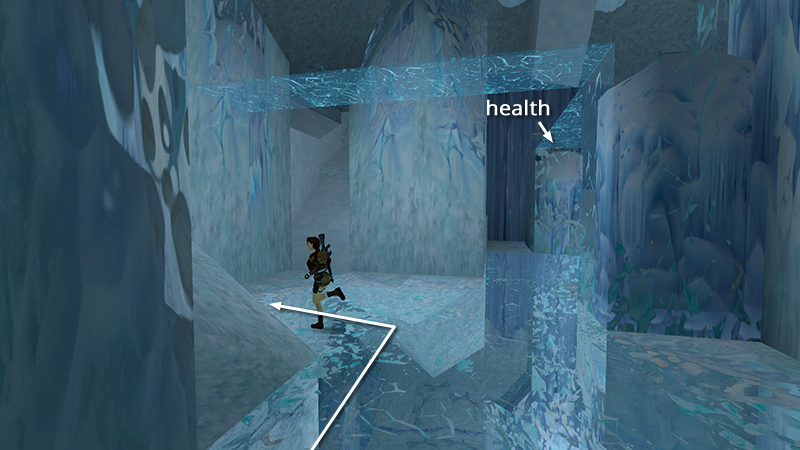
If you prefer a longer, more scenic route, instead, after wading out of the pool, move into the middle of the cavern until Lara is standing beneath the elevated walkway made of ice. Turn left here.
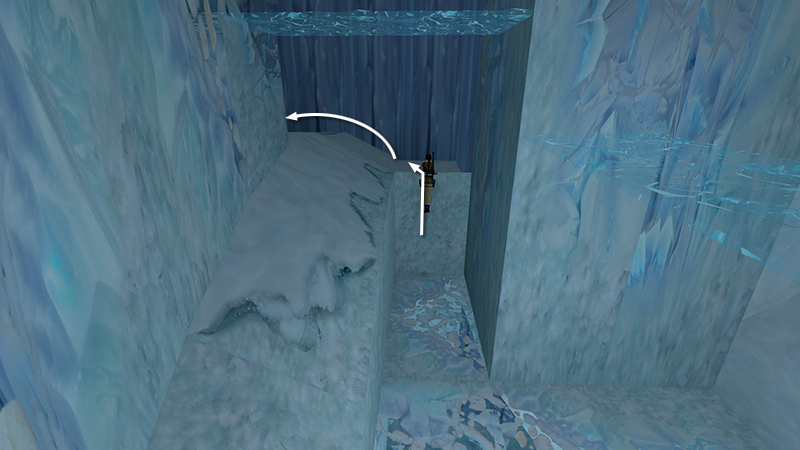
Go between the two walls of snow and climb onto the flat ledge straight ahead. Make a U-turn to the left...
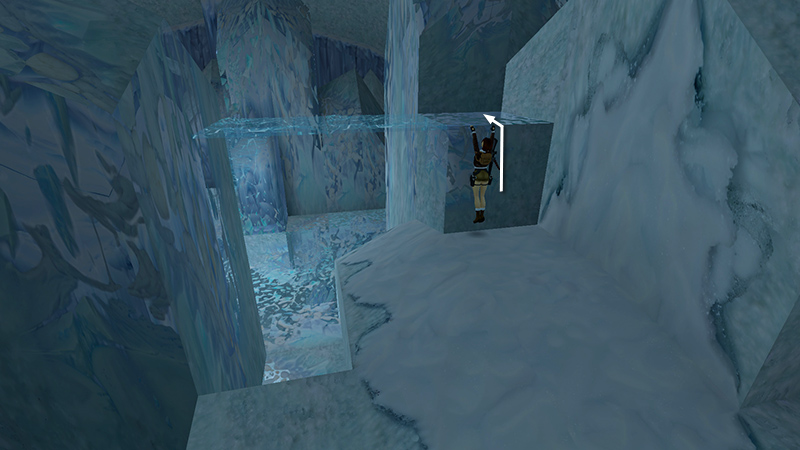
...and climb onto the snowy block level with the beginning of the ice walkway.
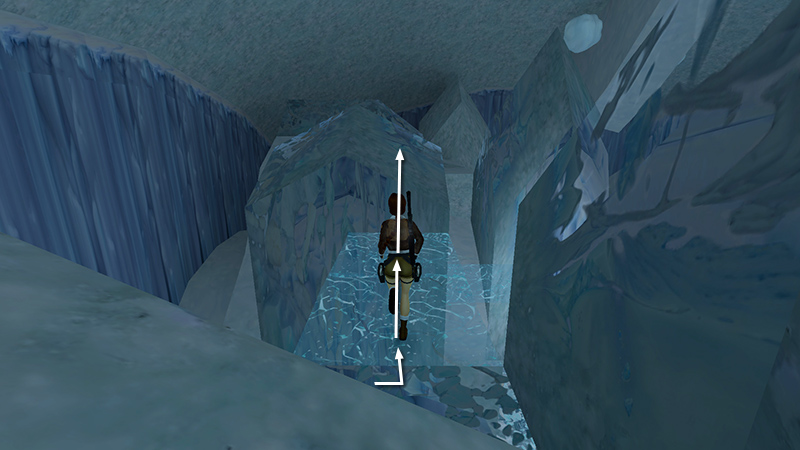
Turn left and take a running jump across the fragile ice tiles to land on top of the angled pillar straight ahead.
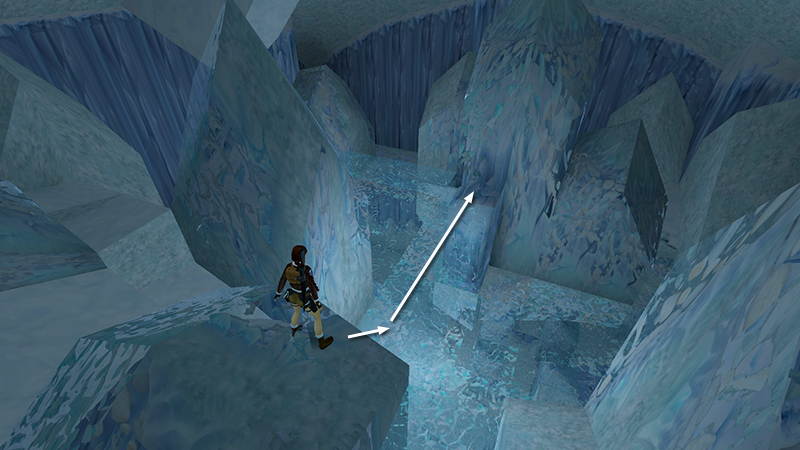
Turn right and run off the edge of the pillar onto the next ice walkway. Keep running forward as the ice collapses under Lara's weight. The column at the corner of the walkway is solid, so you can pause there if you like.
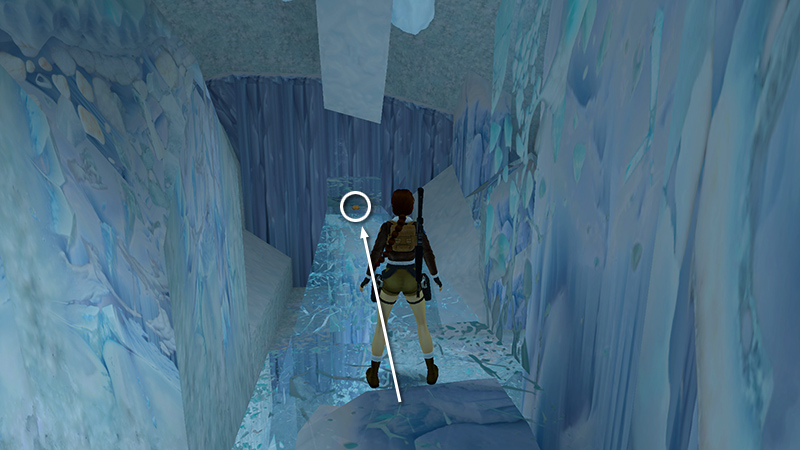
Then turn left and run across the last section of ice tiles to the medi pack (49).
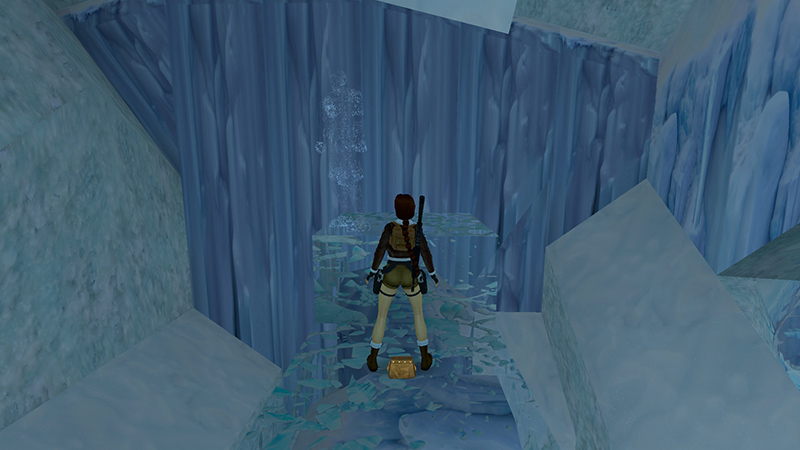
As you cross the ice walkway, a transparent human figure appears on the block above the medi pack. More of them patrol the cavern floor far below. I called them "ice men" in the original guide, but the level designers referred to them as "restless spirits." These spirit warriors are allies so don't harm them. Like the monks in the Barkhang Monastery in TR2, they won't attack unless Lara shoots first. They'll even help her fight enemies. You will also unlock the achievement/trophy "Na Zdorovye!" ("To Your Health!") if you don't provoke them.
NOTE: If you want all kills, rather than all achievements/trophies, see the note in the main walkthrough.
[Previous | Next | Cold War Walkthrough]
DARK MODE: I plan to add optional dark mode for these pages, but my current priority is updating the walkthroughs. Meanwhile, may I suggest a reputable dark mode browser extension, such as Dark Reader? (Download only from trusted sites, like darkreader.org or your browser's official add-on/extension site.)
Walkthrough text and diagrams copyright © Stellalune (email ). Feel free to copy or print this walkthrough for personal use. By all means, share it with friends, but please include this credit line so people can send me their feedback. No part of this walkthrough may be reproduced on another site without permission.