Louvre Galleries - Carvier's Office & Gallery Revisit

After obtaining Mlle. Carvier's office door code, as shown in the previous section, enter the code (14639) on the keypad beside her office door.
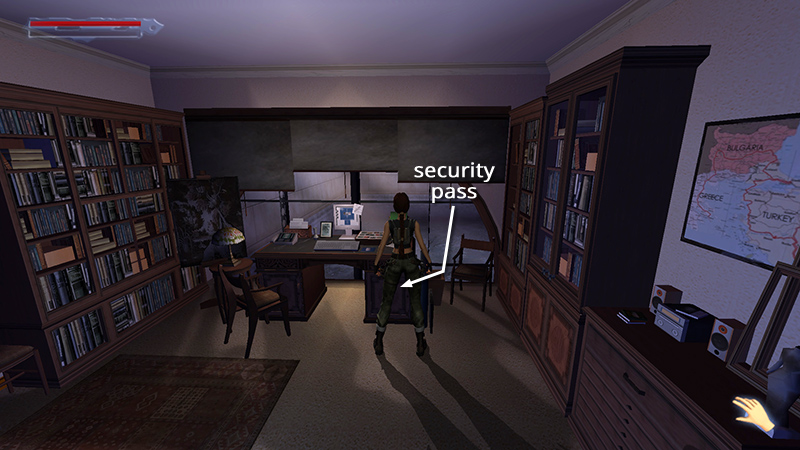
Go inside and snoop around. The cabinets on the right are empty. The right side of the desk contains CARVIER'S SECURITY PASS (9). Activating other objects in the room—the computer, drafting table, artwork above the mantel—provides information about Carvier's work on the Obscura Paintings, including the involvement of Eckhardt and the Lux Veritatis. Lara also learns that each of the five Obscura Engravings contains a map leading to one of the paintings, and that the five paintings together hide something called the Sanglyph or "Blood Sign."
NOTE: If you missed the notebook entry (33/62) unlocked by examining the Archaeological Dig sign in the VESTIBULE (earlier), you'll receive it when you steal Carvier's pass. It reads, "Get access to the archaeological dig at the second buttress."
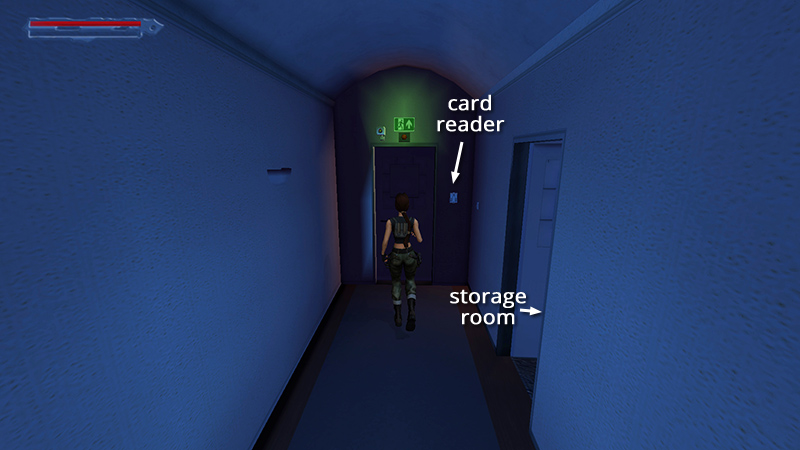
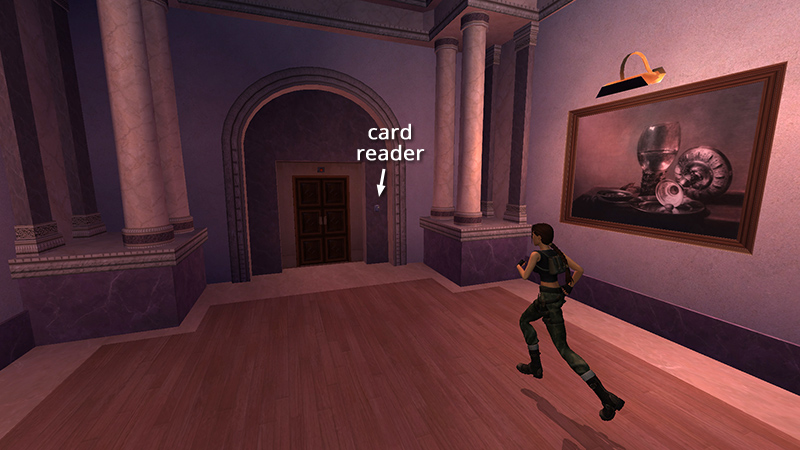
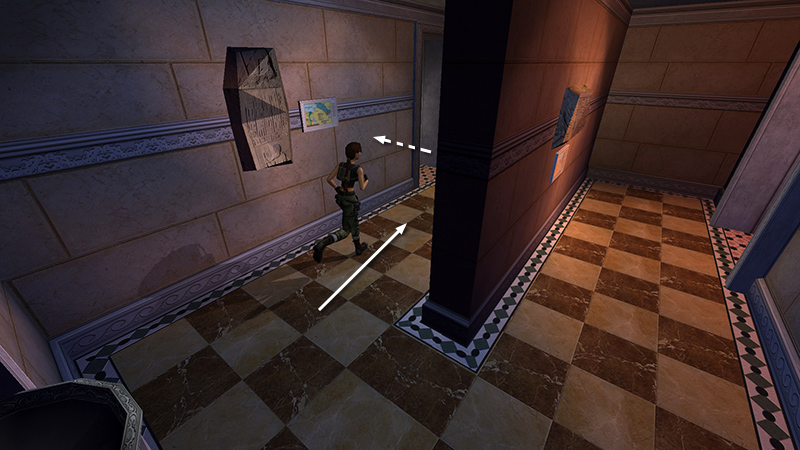
After gathering all the intel you can, leave the office, run to the far end of the hall and swipe CARVIER'S SECURITY PASS at the card reader to unlock the door.
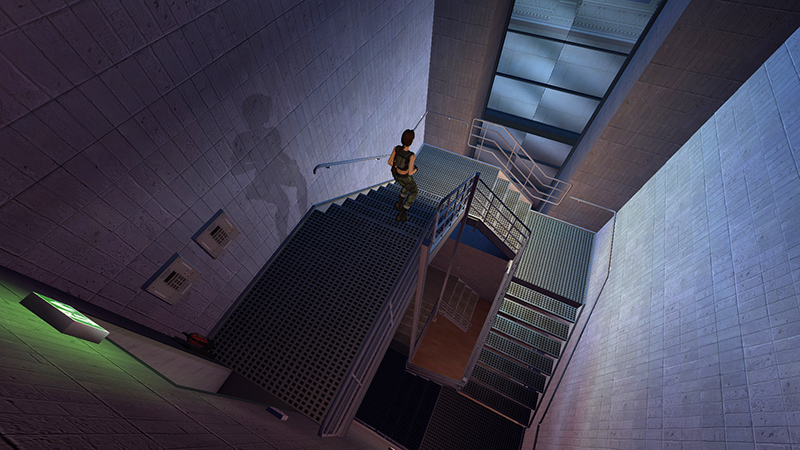
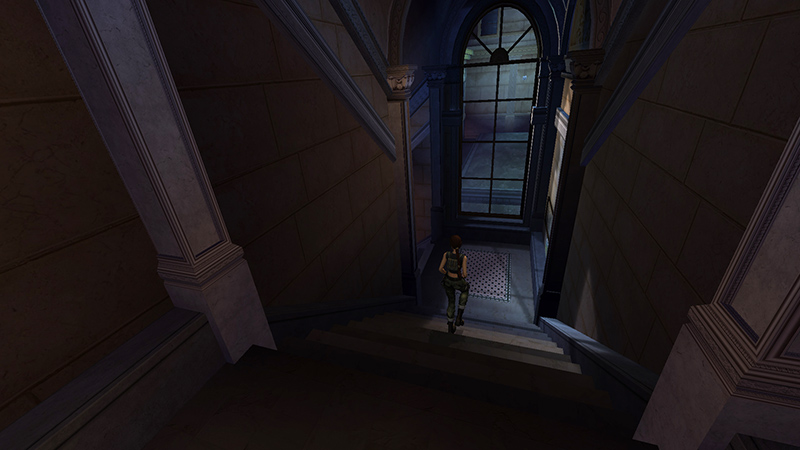
Enter and go down the stairs to the bottom.

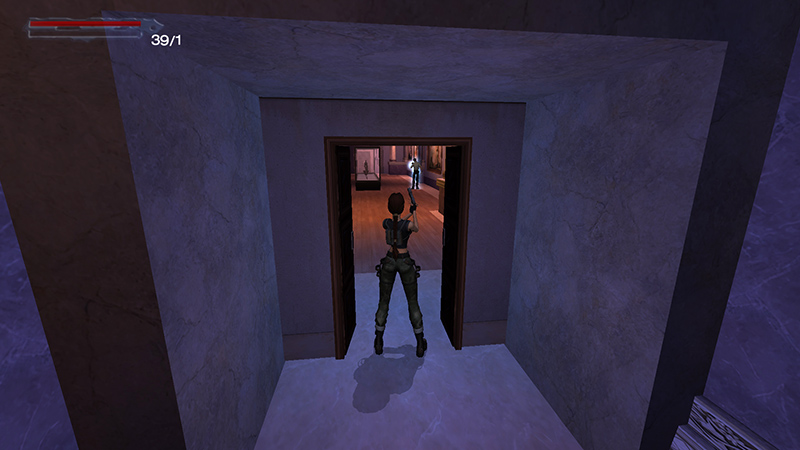
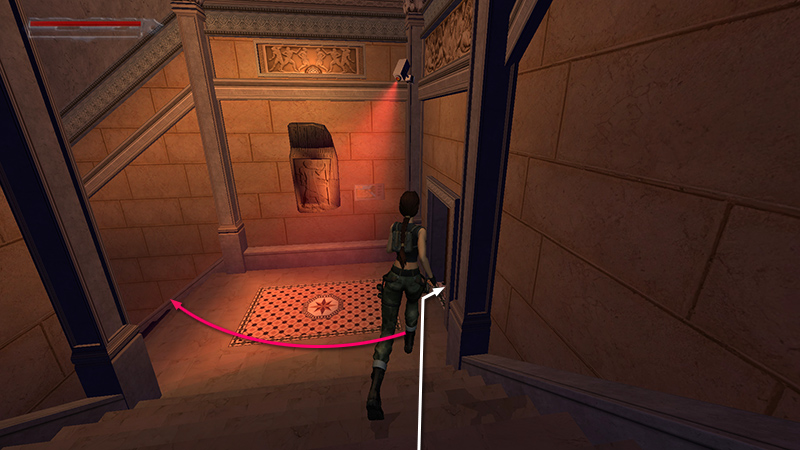
Follow the hall to a room with exits on the left and right. The left door doesn't open. If you're attempting the "Ghost of the Louvre" achievement/trophy, it's crucial to save the game before opening the door on the right.
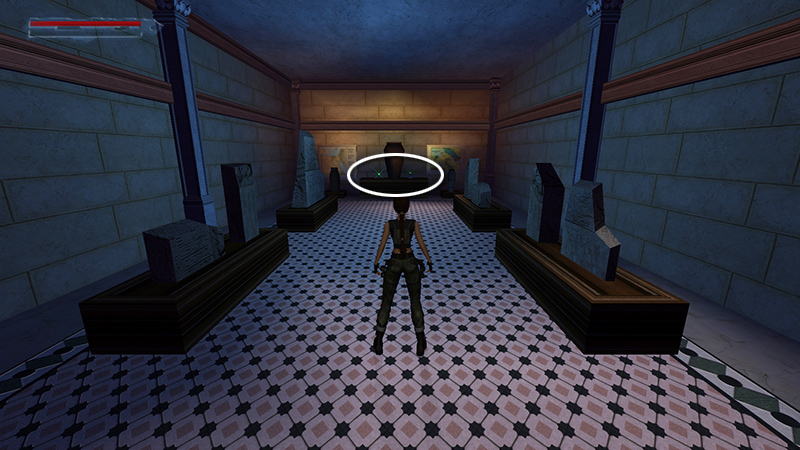
When you enter the THIRD GALLERY, the security guard (14) on patrol may or may not be facing your way. If he is, he'll call out and you'll immediately know you've failed. Load your save, wait about 30 seconds, save, and try again. If he's facing away from Lara, shock him quickly.
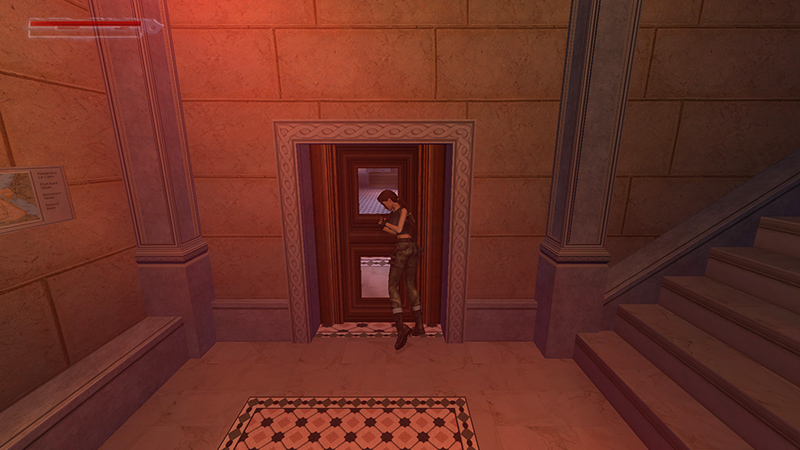
Go to the far end of the room, use the card reader, and go through but don't rush forward.
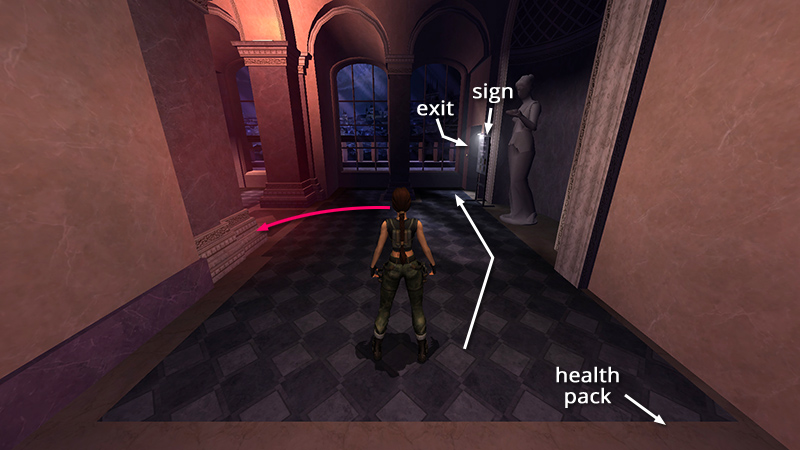
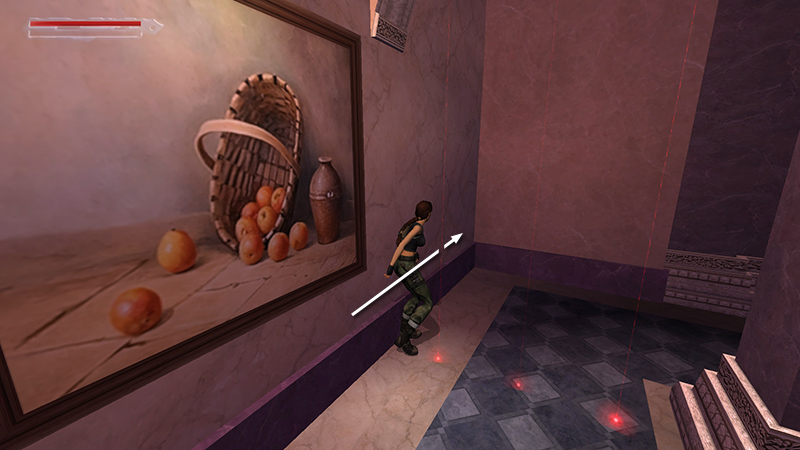
The security camera above is still active, so if you're still maintaining stealth, you'll want to avoid the sweeping red light. Get the large health pack (4, above) on the floor to the right if you didn't pick it up earlier.
If you don't care about getting all pickups, wait for the camera to swing to the left, as shown above. Then run forward to the Archaeological Dig Site sign. (If you didn't examine it earlier for a notebook update, do that now.) Then proceed through the exit, just beyond the sign on the right. Skip to the next section.
- OR -
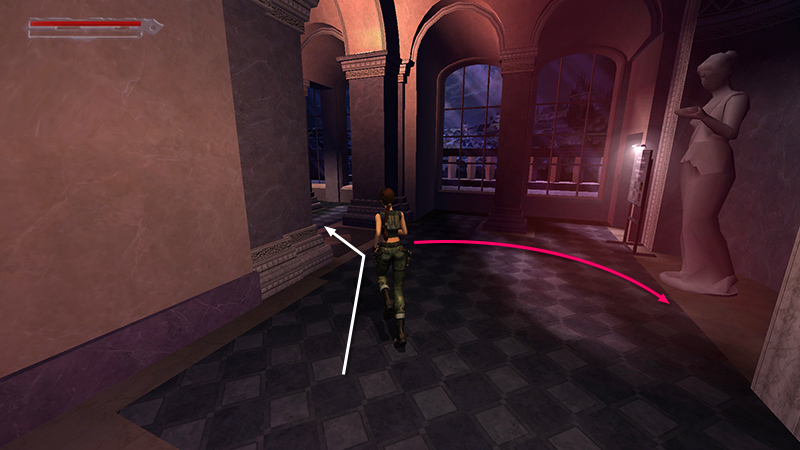
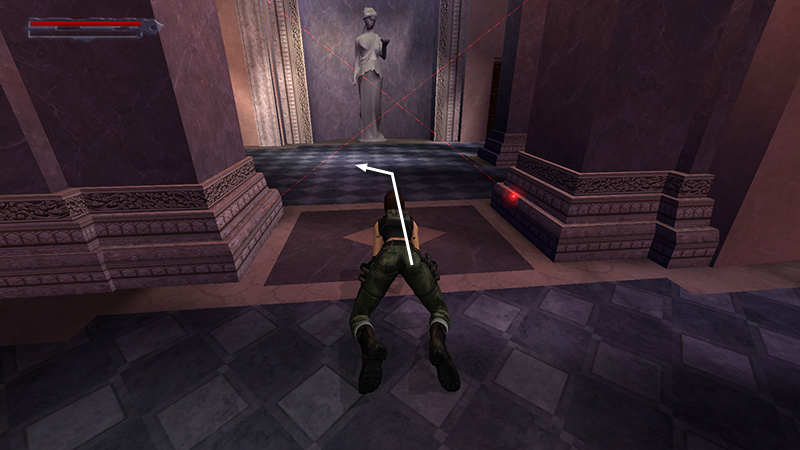
If you want all pickups, wait for the camera to swing to the right, then run through the doorway into the gallery on the left.
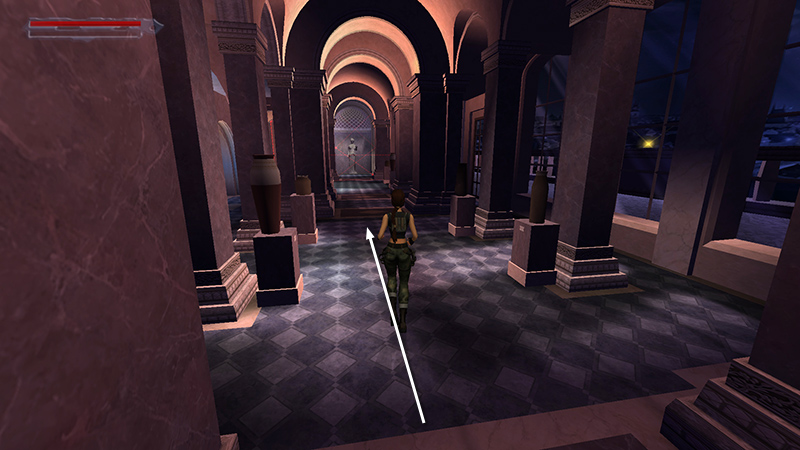
The last two pickups are way back at the beginning of the level. Start by making your way through this gallery, past the door to the Mona Lisa display, to the far end.
If you're still maintaining stealth for the achievement/trophy, avoid the laser traps as you did before: Use stealth to hug the wall and sidle past the vertical lasers.
NOTE: If you do trip the alarms in any of these areas, various armed guards (the ones noted as "optional" above) will appear to investigate. If you already set off the alarms the first time through, and killed these guards, they won't show up again.
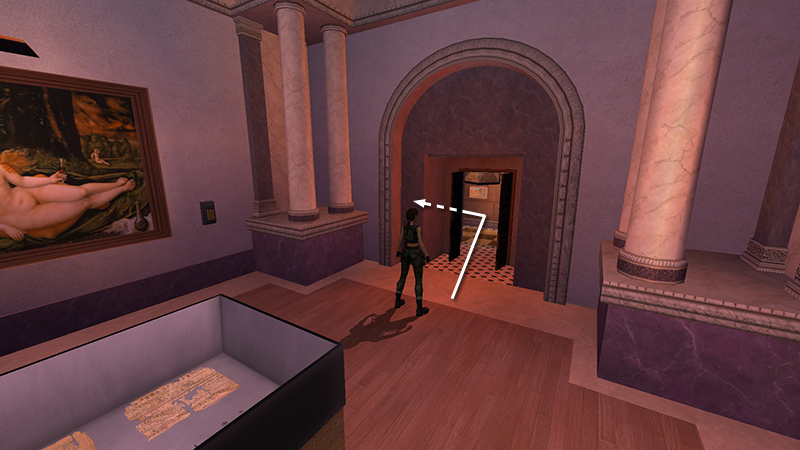
Then crawl under the criss-crossed lasers. At the far end of the room, turn left.
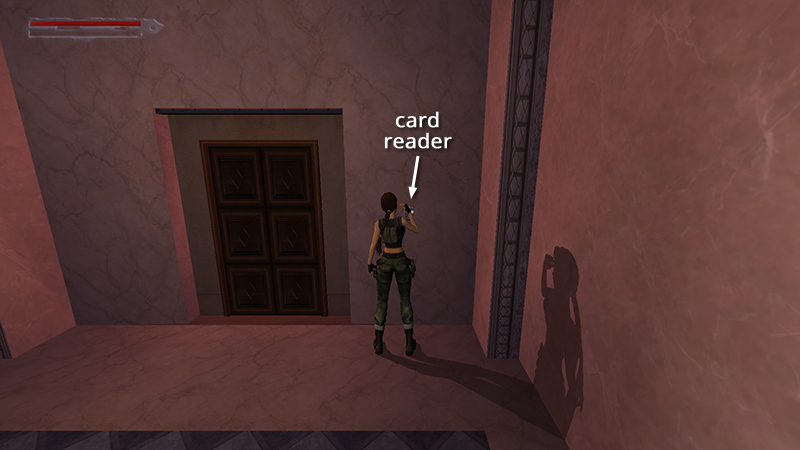
Swipe your stolen card in the card reader and go through the door.

The alarms are no longer set, so just run through to the end.
Follow the twisting corridor...
...to the stairwell.
Go down the stairs...
...and stop just before the landing with the security camera. To avoid tripping the alarm, stand near the right wall, wait for the red light to sweep to the left, and run forward into the doorway. Lara is safe here.
Barge open the door. (Lara couldn't do this before getting the strength upgrade in the Mona Lisa room.)
Gather some bandages (10) and a small medipack (11) from the display at the far end of the room.
Return up the stairs and through the FIRST AND SECOND GALLERIES, again avoiding the cameras and lasers if you're trying to remain stealthy. (No screenshots here. You're a pro now!)
[Previous | Next | Louvre Galleries]
DARK MODE: I plan to add optional dark mode for these pages, but my current priority is updating the walkthroughs. Meanwhile, may I suggest a reputable dark mode browser extension, such as Dark Reader? (Download only from trusted sites, like darkreader.org or your browser's official add-on/extension site.)
Walkthrough text and diagrams copyright © Stellalune (email ). Feel free to copy or print this walkthrough for personal use. By all means, share it with friends, but please include this credit line so people can send me their feedback. No part of this walkthrough may be reproduced on another site without permission.