Louvre Galleries - Museum Workrooms & Offices
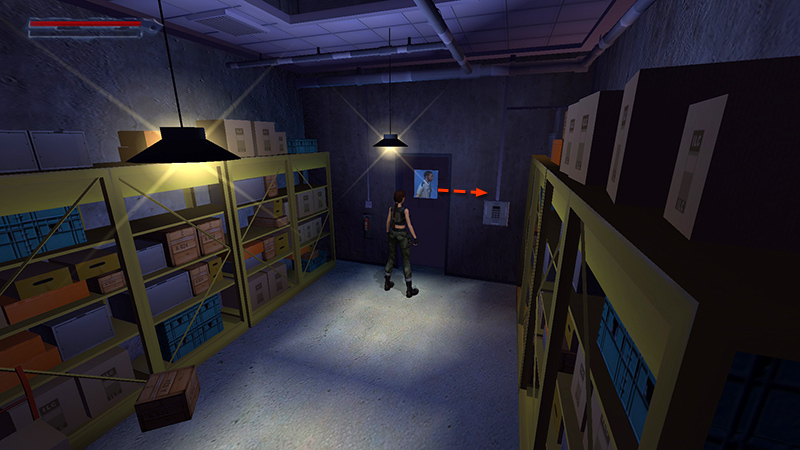
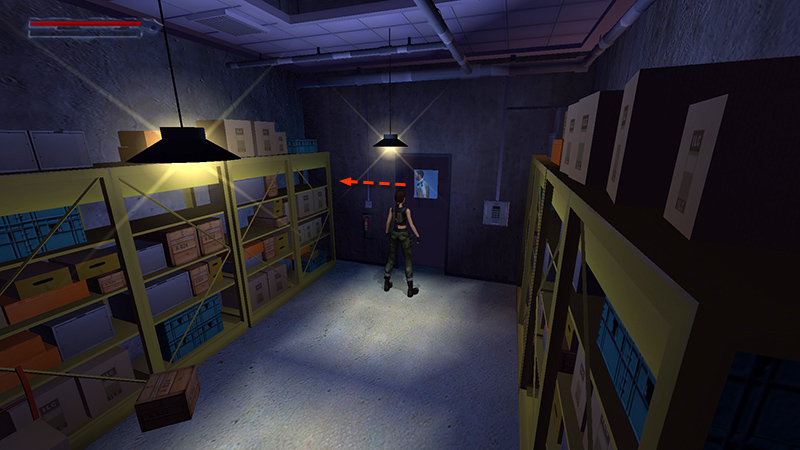
After opening the STORAGE CAGE on the roof and sneaking in through the ducts, as shown in the previous section, Lara ends up in this STOREROOM. There are no goodies here. Watch the small window in the door until a guard (12) walks past heading to the right. (This may take a little while.)
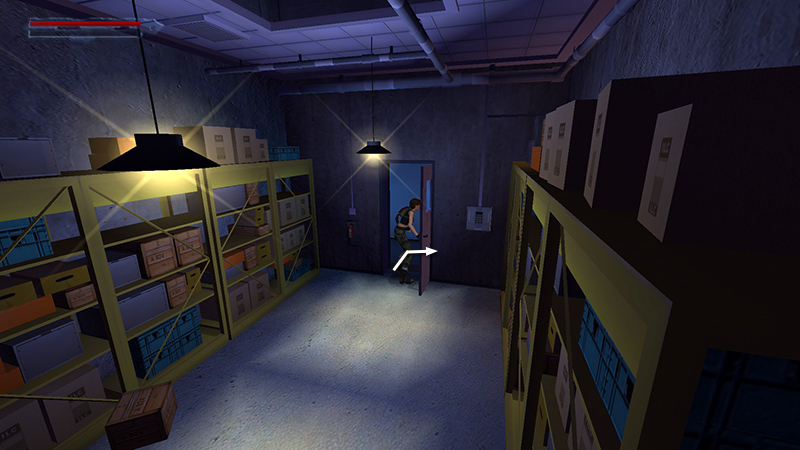
Then open the door, go into stealth mode before stepping outside...
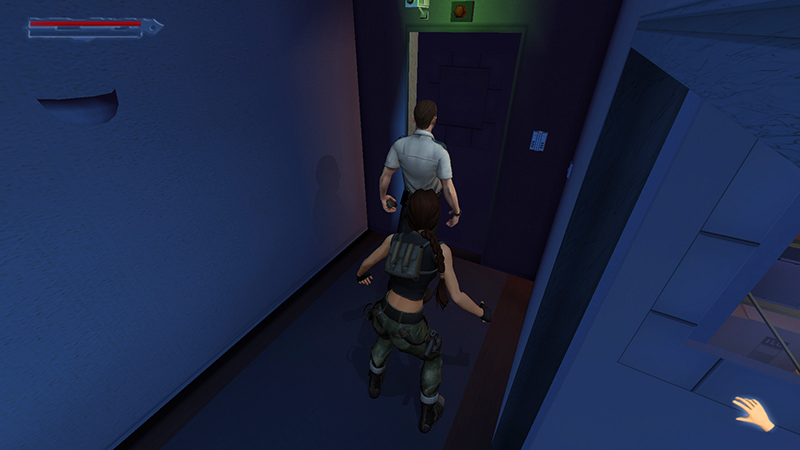
...sneak up on the guard...
...and take him down.
- OR -
Alternatively, wait for him to move to the left...
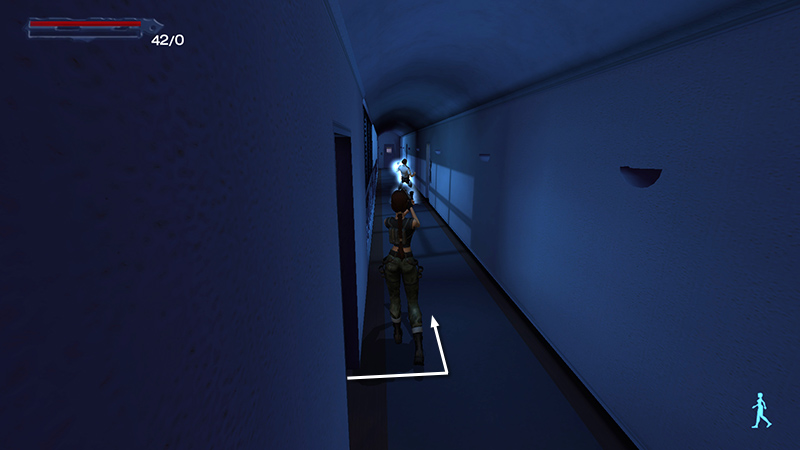
...open the door, step out, and tase him from behind.
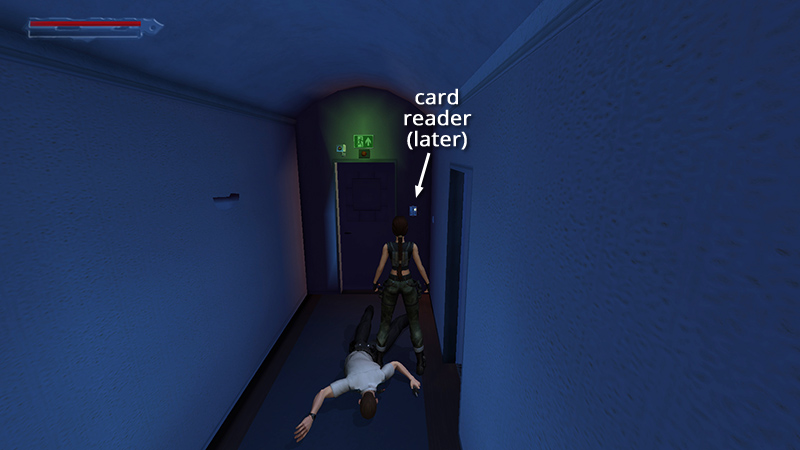
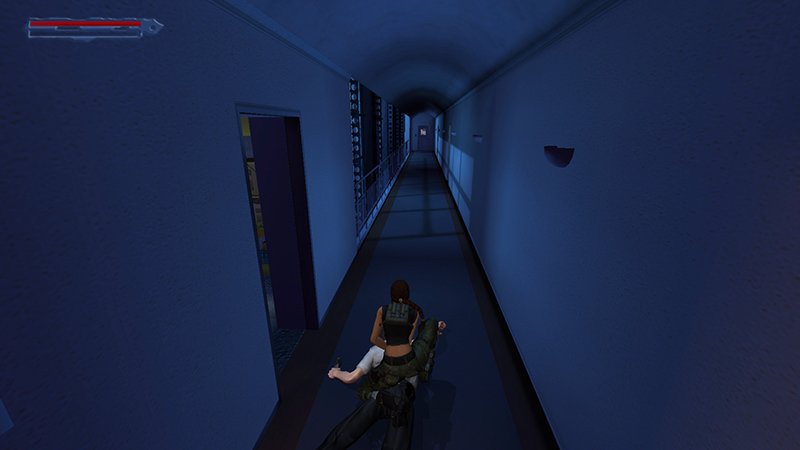
You don't yet have a pass for the locked door near the storeroom.
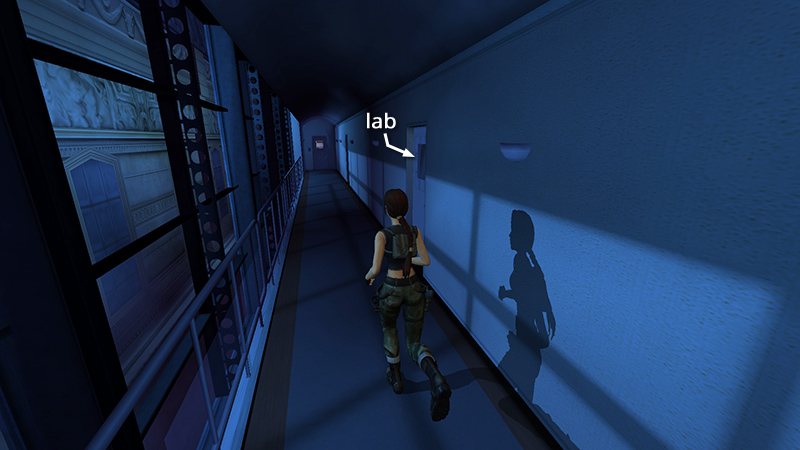
So head toward the other end of the hallway. The first room on the right is a LABORATORY. You can skip it for now unless you want to cheat a little and take advantage of a useful bug.

The inner room, beyond the glass doors, contains a cabinet with 3 RESPIRATORS (not counted in total).
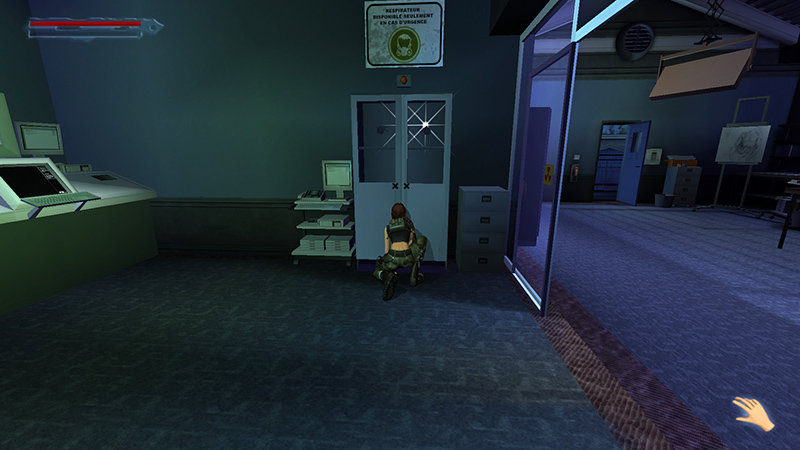
You aren't supposed to be able to get them yet, but if you position Lara in front of the cabinet a bit left or right of center, then press Duck and quickly press Action, Lara should crouch down...
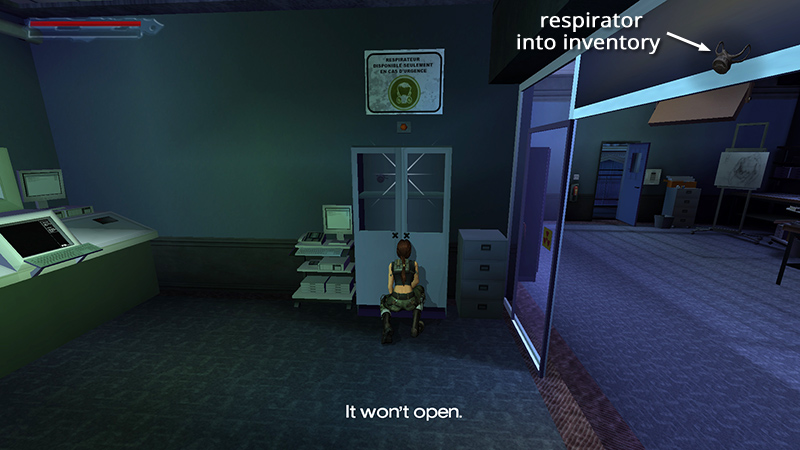
...and grab a respirator through the locked door. Adjust her position if necessary, and repeat twice more to get the other two respirators.
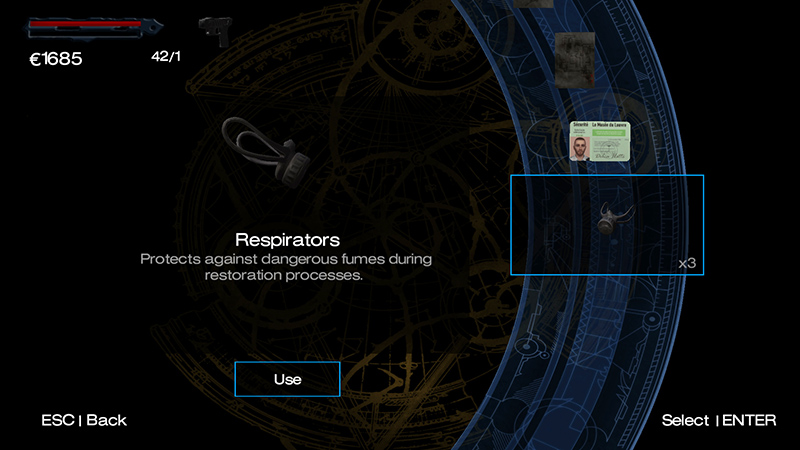
They should remain in your inventory until you need them. Later, when you return to this area in the GALLERIES UNDER SIEGE level, you'll be able to get a fourth respirator in the usual way, and possibly a fifth with the bug. In addition to protecting Lara from toxic gas, a respirator can be used later in the game like an aqualung, to extend her air gauge underwater.
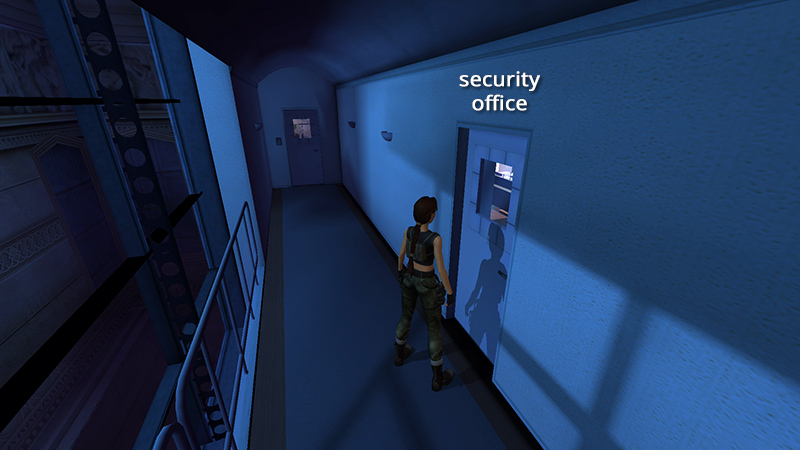
The second door in the long hallway leads to a SECURITY OFFICE. There's another guard (12) inside, so you may want to save before going in.
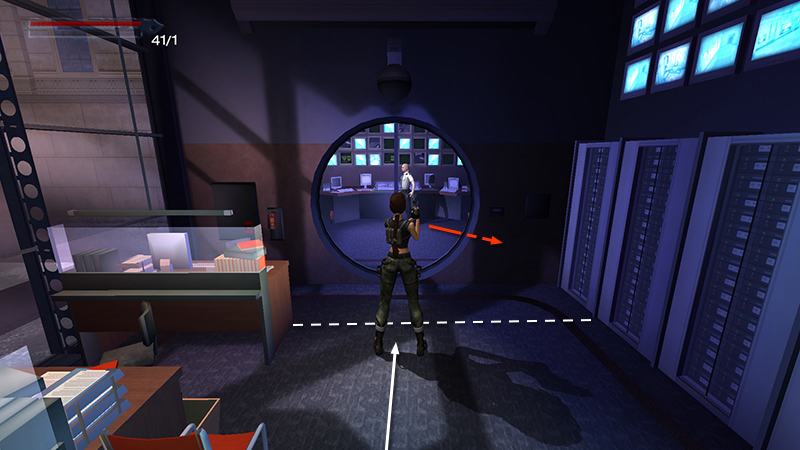
The guard is in the inner room behind the round glass door. He can't see Lara as long as the doors remain closed. So walk forward just as far as the desk near the door. Wait for the guard to move into the corner.
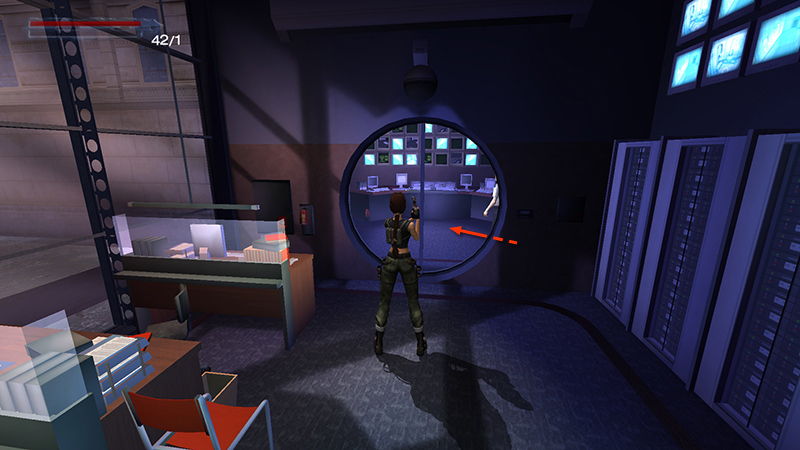
Then, when he moves out toward the security monitors and his back is toward you...
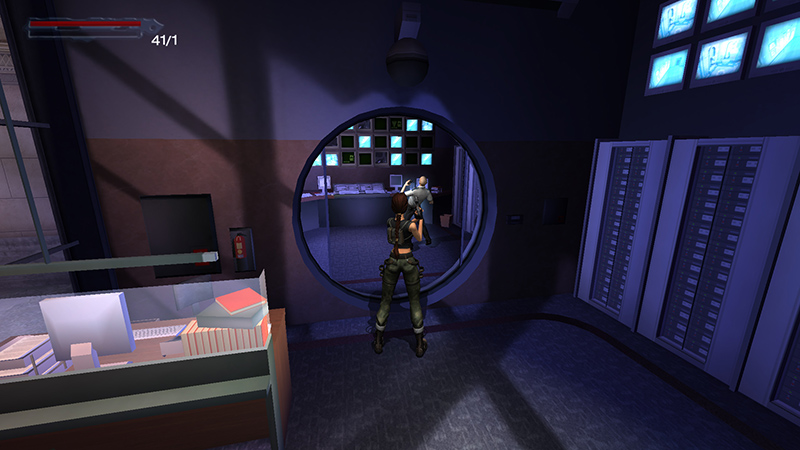
...step forward, and tase him as soon as the doors open.
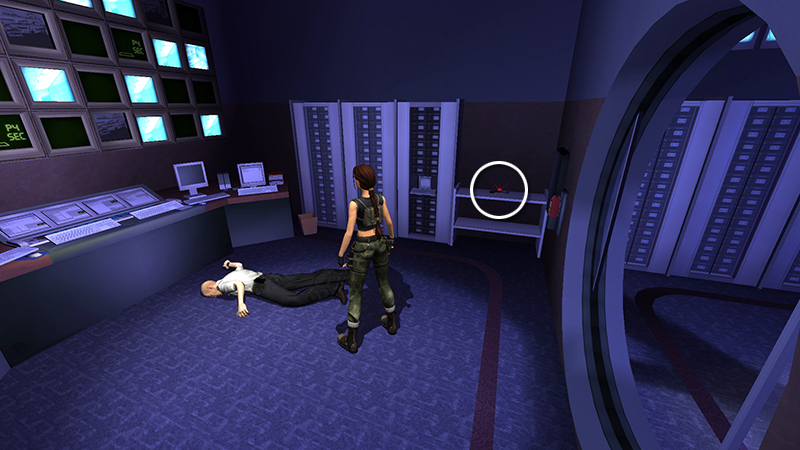
Enter the pick up the VECTOR-R35 (8) on the shelf to the right. Assuming you found the first VECTOR in the DERELICT APARTMENT BLOCK level, you'll now have a pair. This is one of two weapon types needed for the "Two of Every Kind" achievement/trophy.
NOTE: My game glitched here, and I unlocked the achievement prematurely. (screenshot) Normally you need to find a pair of VECTORs and a pair of SCORPION Xs, which you'll obtain later in Prague.
Unlike the classic game, the remaster allows you to equip dual guns. Open your Inventory, select Weapons, then scroll down to the bottom, and you should see "A Pair of Vector-R35s" if you've found both. (screenshots) You'll probably want to stick with the taser for now.

There are also several computer monitors. Use the one on the left to spy on MARGOT CARVIER'S OFFICE.
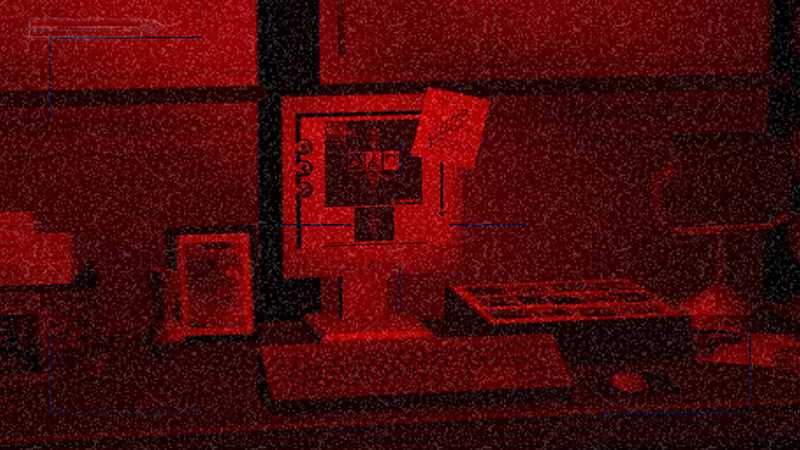
On keyboard, use direction keys to move the camera, Jump and Action to zoom in and out. On controller, use the left stick to move the camera and the right stick to zoom. Zoom in on Carvier's computer to see a sticky note with her office access code: 14639. Press Esc on keyboard or Roll on controller to disengage from the camera.

Exit the security office, turn right, and continue to the end of the hallway.
[Previous | Next | Louvre Galleries]
DARK MODE: I plan to add optional dark mode for these pages, but my current priority is updating the walkthroughs. Meanwhile, may I suggest a reputable dark mode browser extension, such as Dark Reader? (Download only from trusted sites, like darkreader.org or your browser's official add-on/extension site.)
Walkthrough text and diagrams copyright © Stellalune (email ). Feel free to copy or print this walkthrough for personal use. By all means, share it with friends, but please include this credit line so people can send me their feedback. No part of this walkthrough may be reproduced on another site without permission.