Temple of Xian - Trap Room with Spiked Walls
This sequence is also shown in a short video.
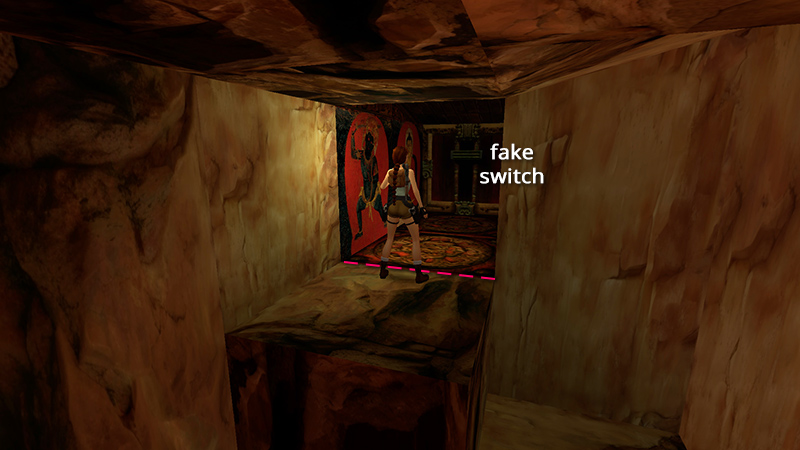
In the last section, you made your way through a room with stone slopes and lava to reach this high doorway. Do not rush into the alcove ahead. The switch there is a decoy. No matter how you approach it, the floor collapses, and you slide into the room below, where spiked walls begin to encroach. Grabbing the small medi pack (8) on the floor and getting out alive is a challenge, but it's possible.
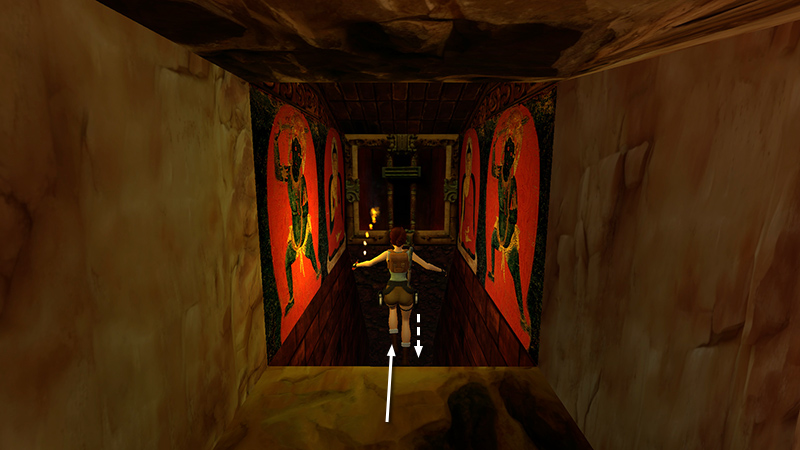
Top up Lara's health if necessary. Stand in the middle of the doorway and run onto the collapsing floor.
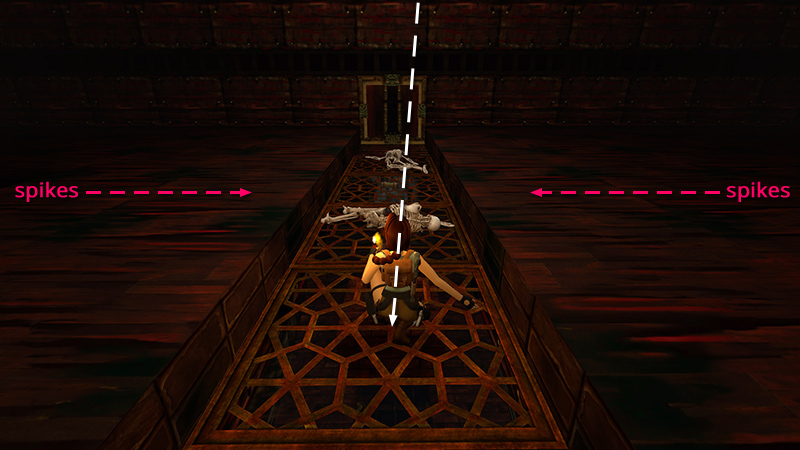
Don't press any other controls as you slide down the chute. When Lara lands, she should be positioned in the middle of the walkway facing the medi pack and skeletons.
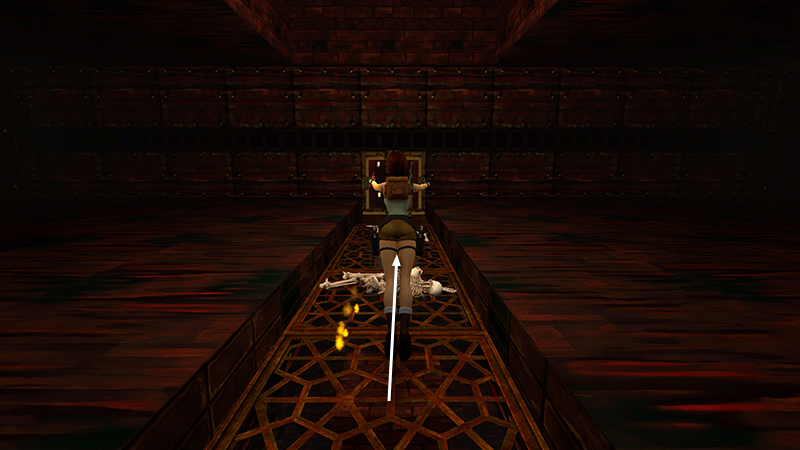
Hold action as you jump forward.
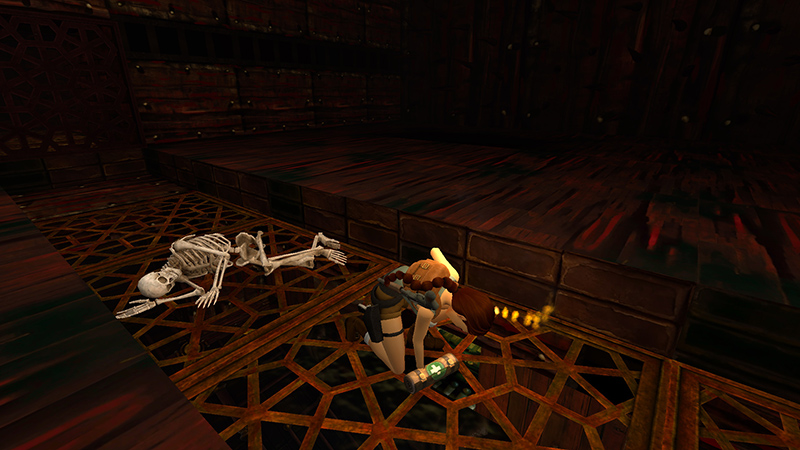
Lara should land on top of the medi pack and pick it up without hesitation.
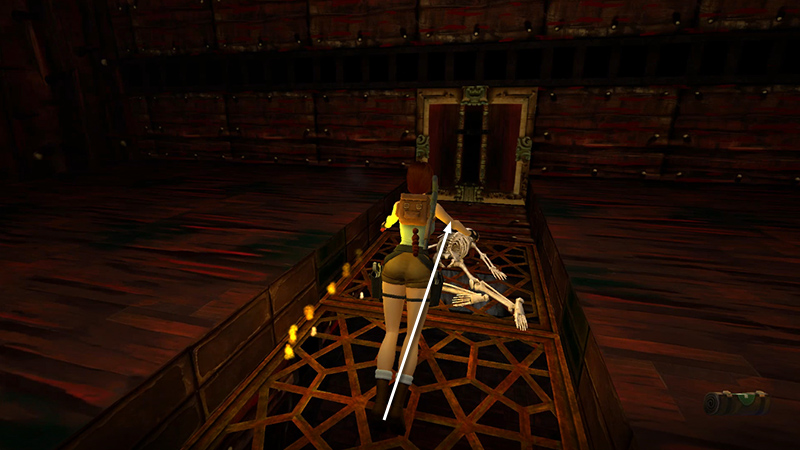
As soon as she stands up again, jump forward...
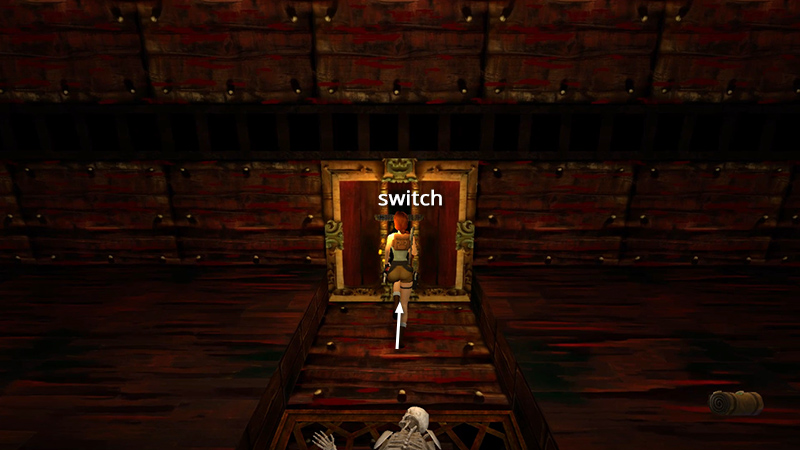
...run the last few steps to the real switch, and pull it to open the exit, which is directly behind her.
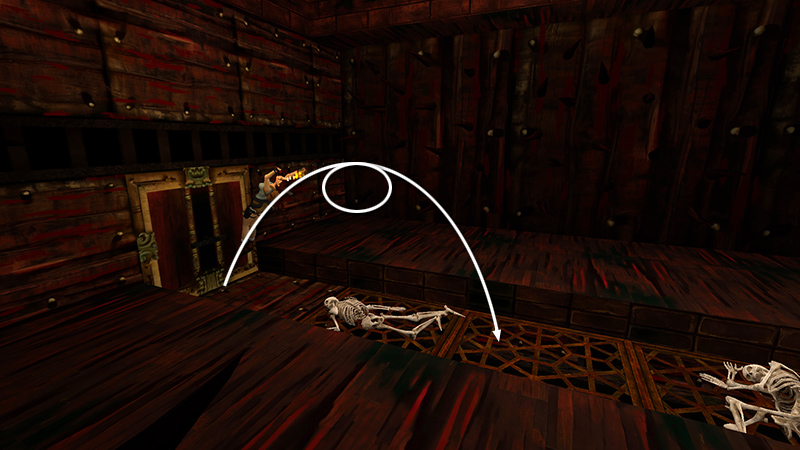
Immediately do a backflip with a midair twist (Jump + Back + Roll).
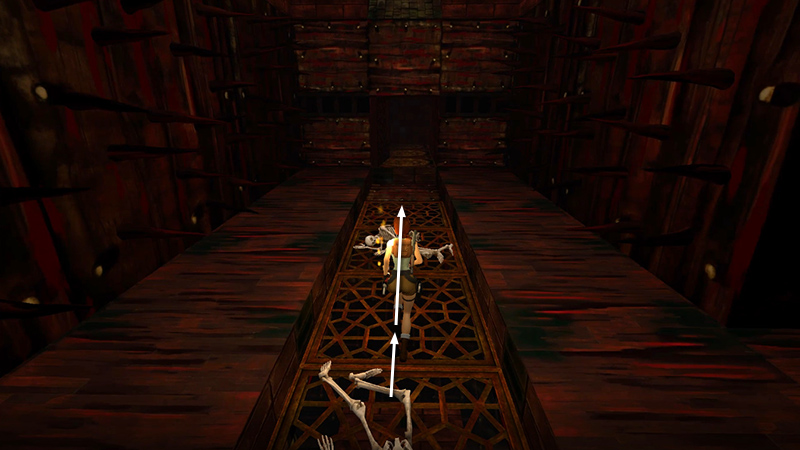
Lara should land facing the exit. Take a running jump...
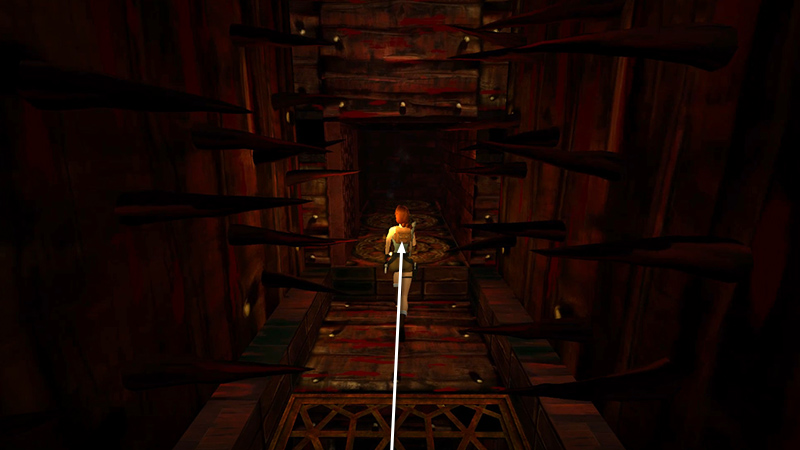
...then keep running through the door as the spikes close in.
NOTE: If you don't care about getting all pickups, just slide down the chute, run/jump to the far side of the room, flip the switch to open the exit, roll, and run/jump through.
DARK MODE: I plan to add optional dark mode for these pages, but my current priority is updating the walkthroughs. Meanwhile, may I suggest a reputable dark mode browser extension, such as Dark Reader? (Download only from trusted sites, like darkreader.org or your browser's official add-on/extension site.)
Walkthrough text and diagrams copyright © Stellalune (email ). Feel free to copy or print this walkthrough for personal use. By all means, share it with friends, but please include this credit line so people can send me their feedback. No part of this walkthrough may be reproduced on another site without permission.