Temple of Xian - Trap Room with Ramps and Metal Boulders
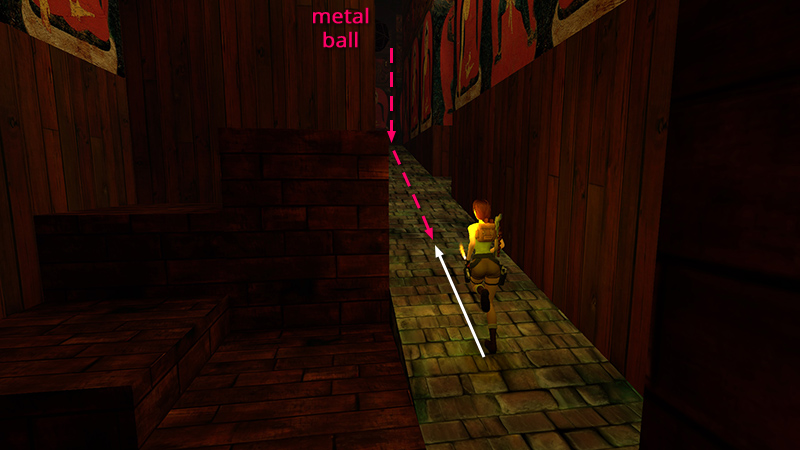
After surviving the room with the encroaching spiked walls, detailed in the last section, continue to the next room, which contains a long, stone ramp and two shorter ramps above, each with a giant metal ball perched above it. If you advance cautiously, you can trigger each one and get out of the way without being flattened. Start up the first ramp...
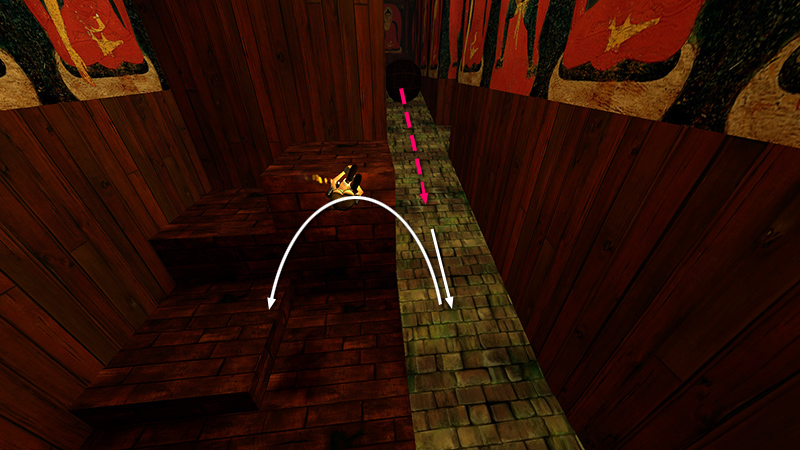
...then quickly hop back and jump to the left to avoid the first ball as it rolls down toward you.
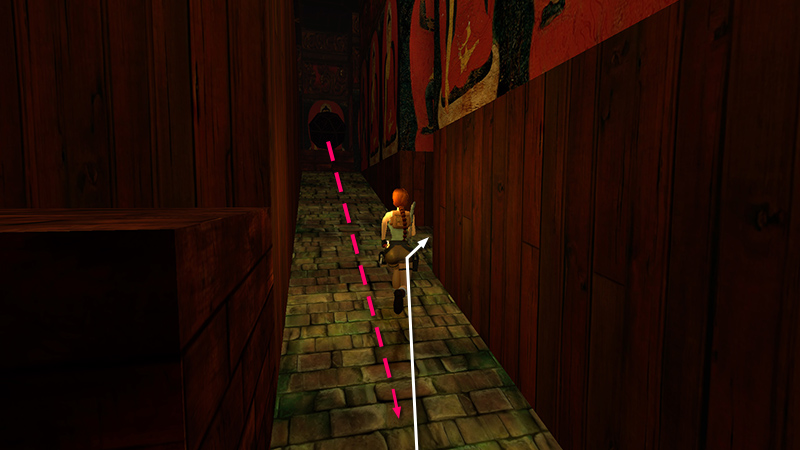
Or, run up the first ramp into the alcove on the right, and wait there for the ball to pass.
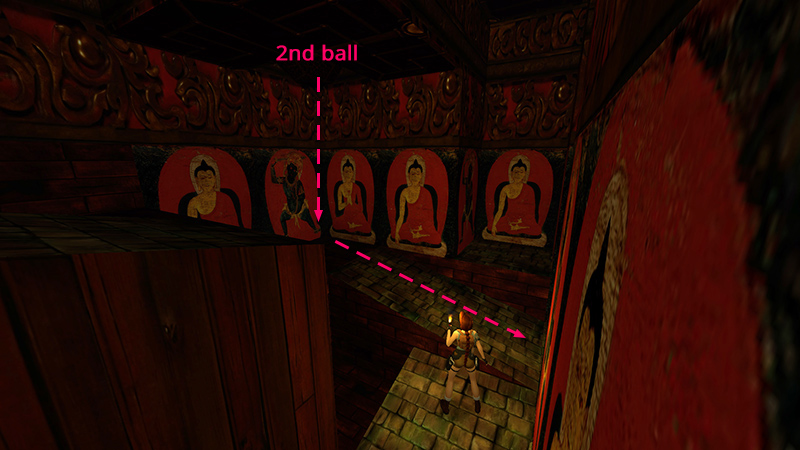
Continue to the top of the first ramp. Here a shorter ramp slopes down to the right. To trip the second ball...
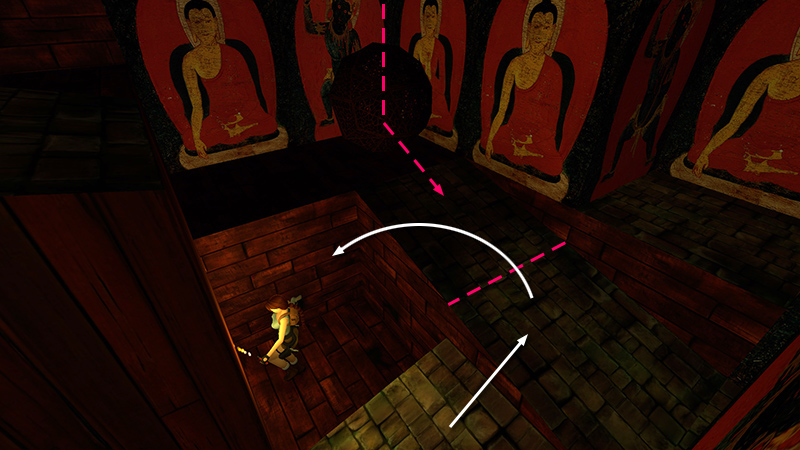
...step up onto the first section of the ramp. (It's safe.) Turn left. Then run up the ramp and off the left edge into the shallow pit as the ball drops and rolls by.
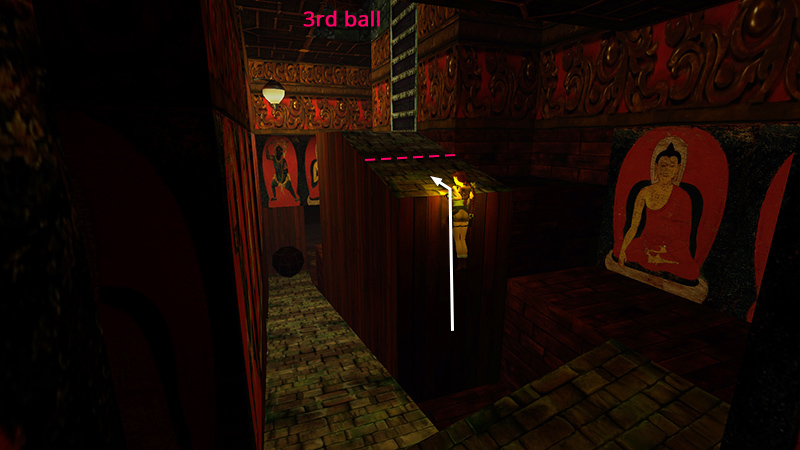
Then pull up out of the pit onto the third ramp. (The first tile is safe.)
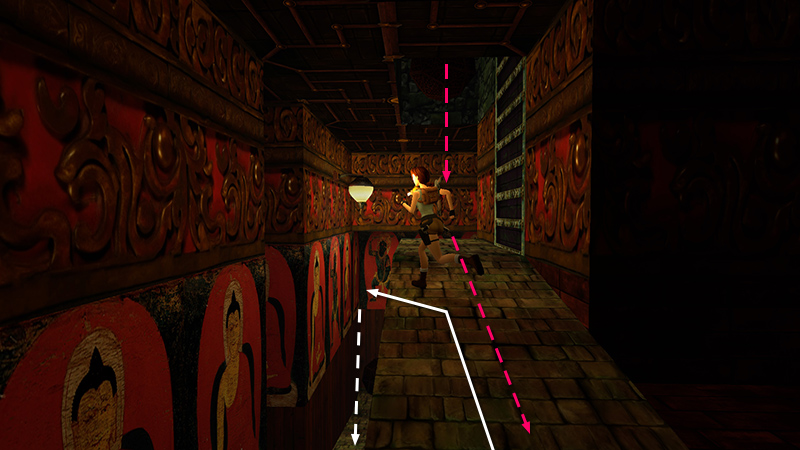
To trigger the third ball, either run forward and off the left edge, so Lara lands on the first ramp...
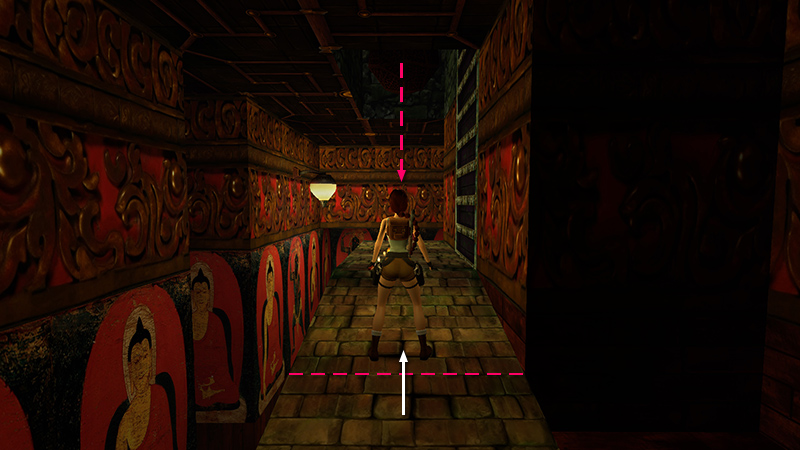
...or step forward to trip the ball.
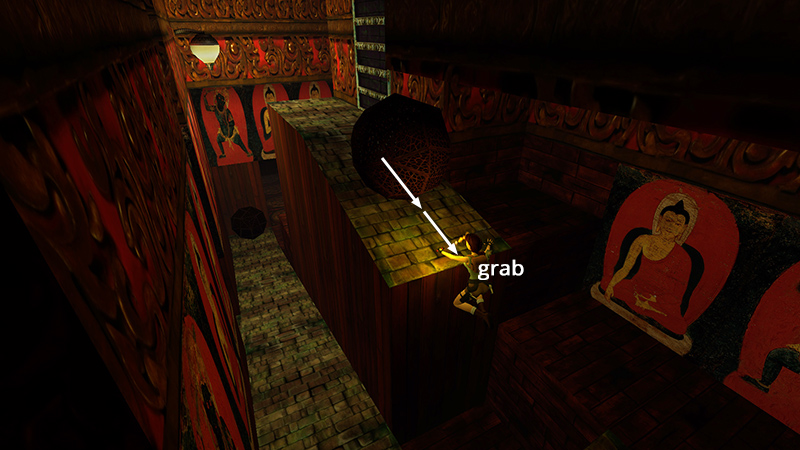
Then hop back twice, grab the end of the ramp...
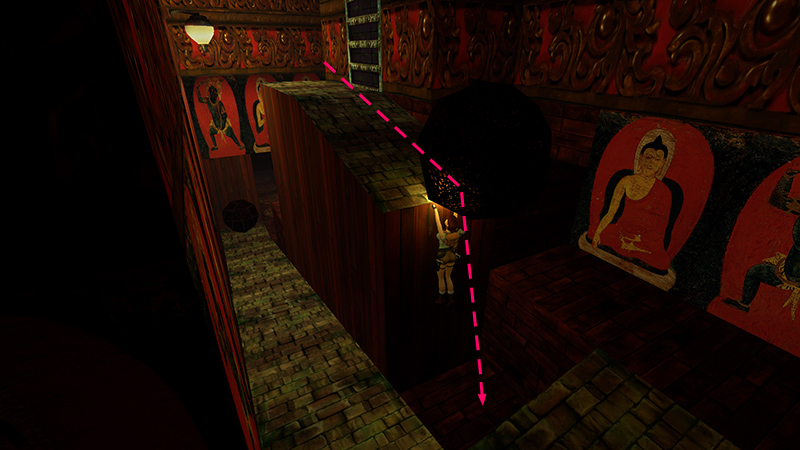
...and hang there as the ball passes harmlessly overhead.
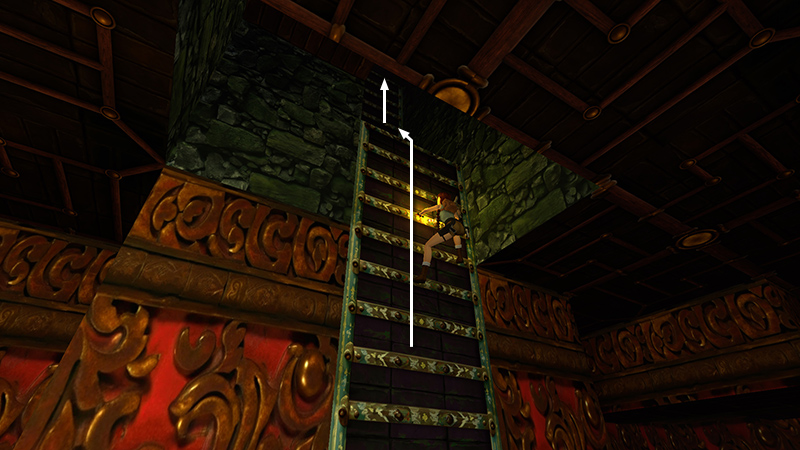
Pull up. Then climb the ladders at the top of the ramp.
DARK MODE: I plan to add optional dark mode for these pages, but my current priority is updating the walkthroughs. Meanwhile, may I suggest a reputable dark mode browser extension, such as Dark Reader? (Download only from trusted sites, like darkreader.org or your browser's official add-on/extension site.)
Walkthrough text and diagrams copyright © Stellalune (email ). Feel free to copy or print this walkthrough for personal use. By all means, share it with friends, but please include this credit line so people can send me their feedback. No part of this walkthrough may be reproduced on another site without permission.