Temple of Xian - Inside the First Temple
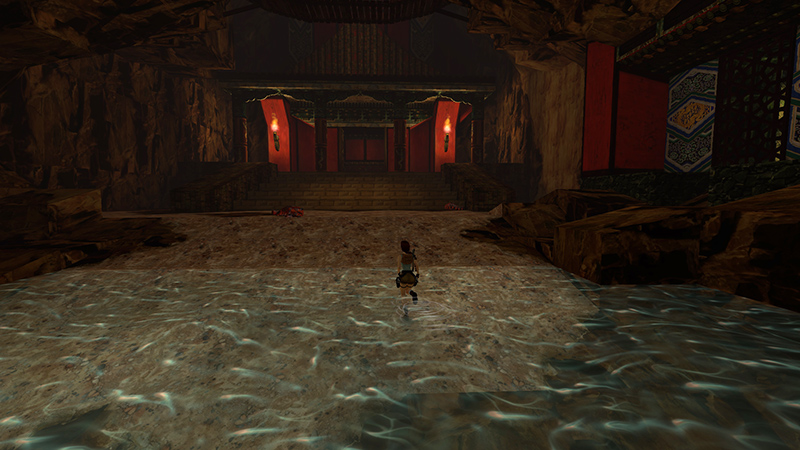
In the last section, you opened the doors leading into the FIRST TEMPLE. Now go inside.
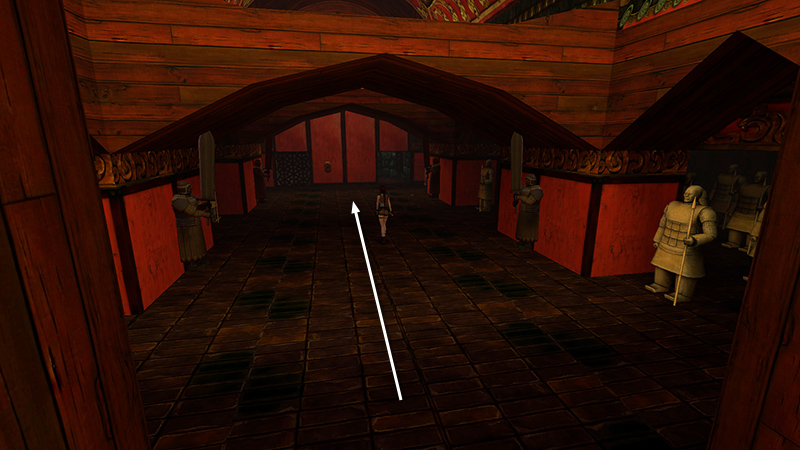
Head for the back of the room, keeping to the middle to avoid the mechanical guards. They don't move from their stations, but if you get too close, their swords will activate.
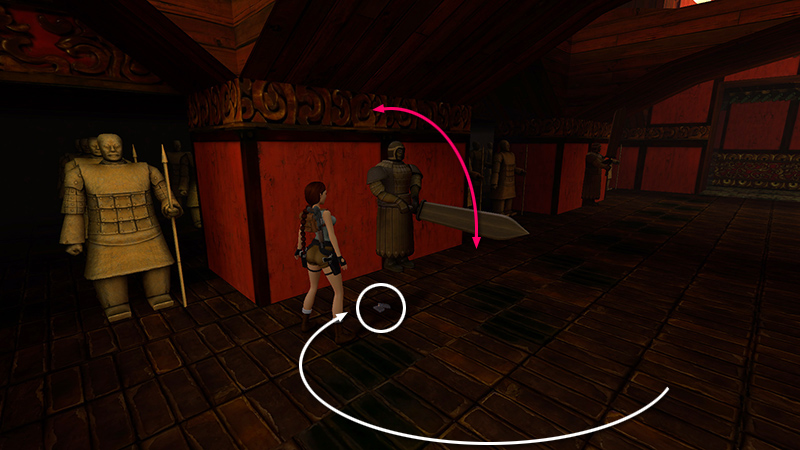
You'll notice some M16 clips (7) lying on the floor. Approach them from the back to avoid being sliced by the mechanical warrior's sword.
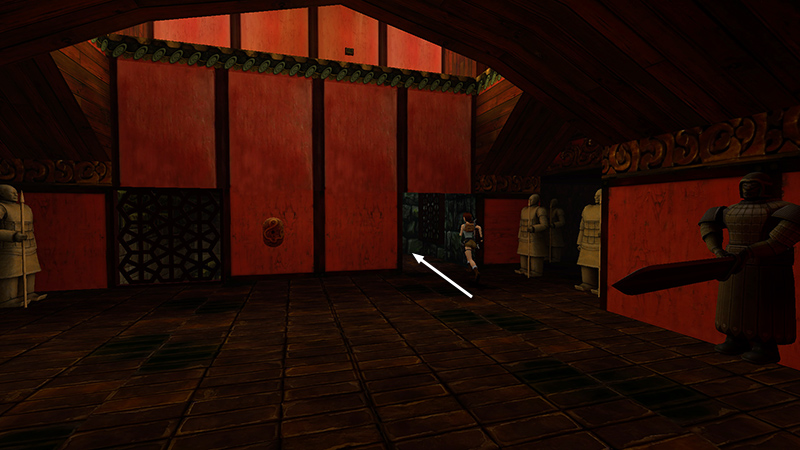
Go through the right doorway in the rear wall. (The door on the left requires an artifact to open.)
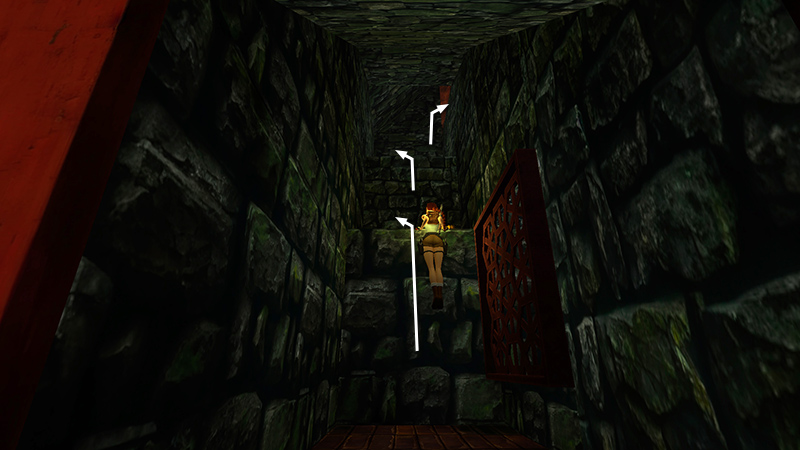
Inside is a grillwork gate, which also doesn't open yet. Climb the stone ledges...
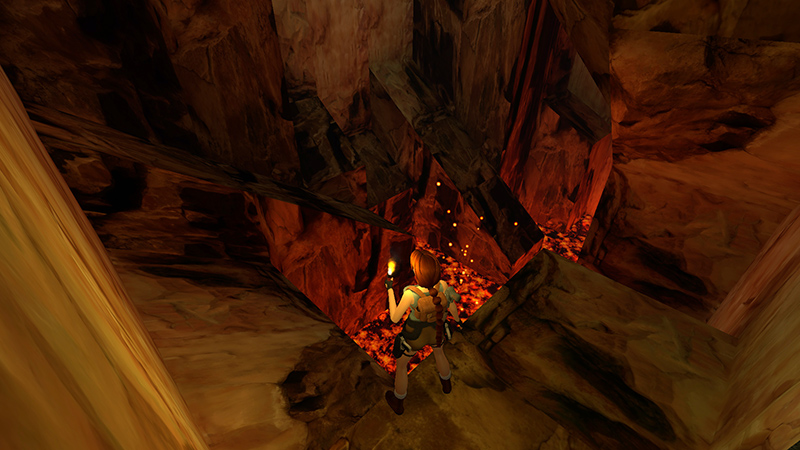
...to a room with many angled blocks and a lava pool below. You'll need to make a complicated series of sliding jumps to get through. (This sequence is also illustrated in a diagram in the main walkthrough.)
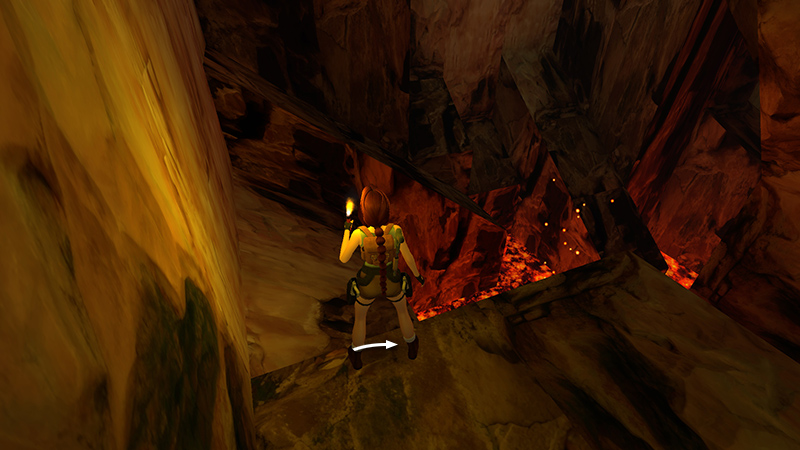
Position Lara in the doorway (A, in the diagram) so she's facing the long slope that angles downward to the right (B). Walk to the edge. Turn just a little to the right to make sure Lara will land on slope B facing downhill.
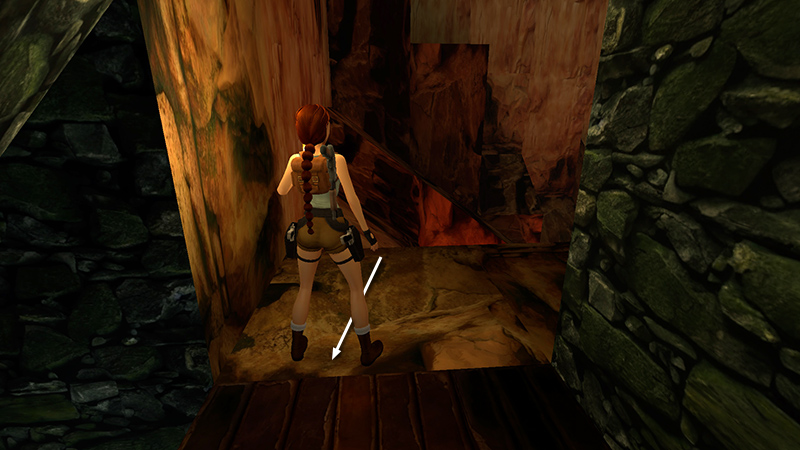
Hop back once. Then save the game.
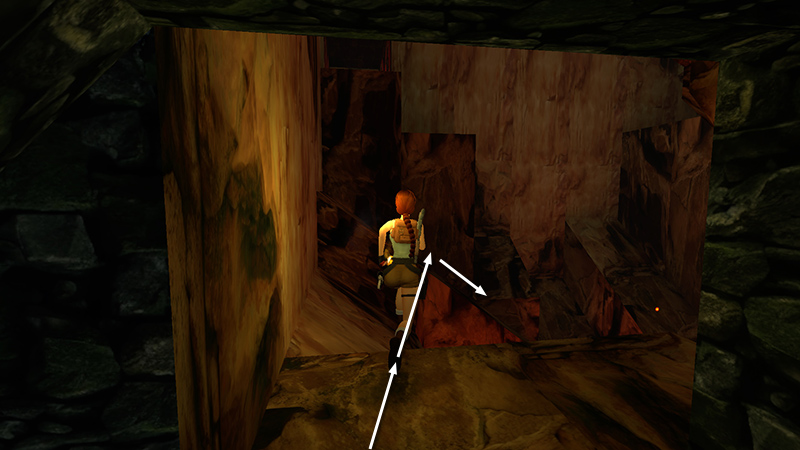
Now take a running jump across the room and onto the slope.
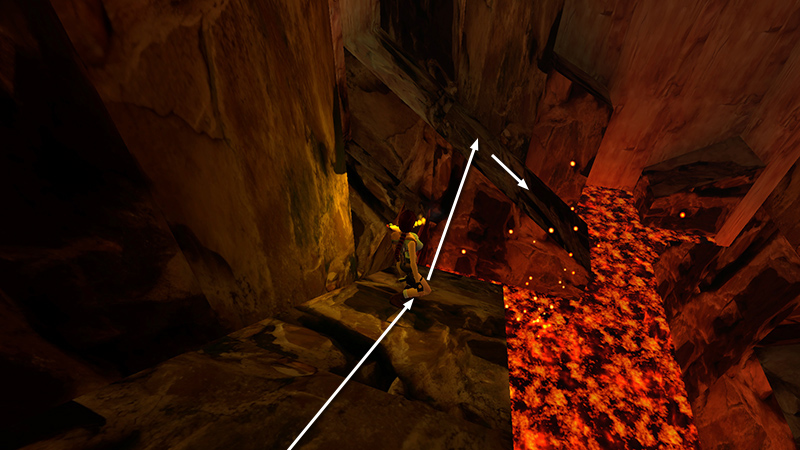
Slide almost to the bottom and then jump onto the next slope (C). (C is perpendicular to B and angles down to the right.)
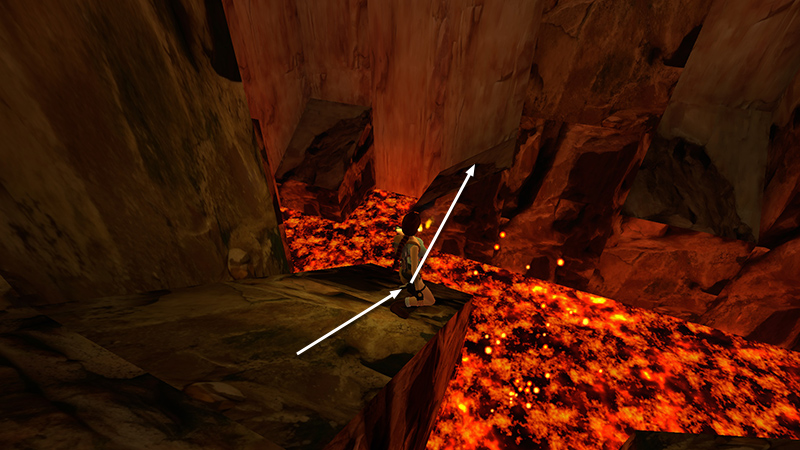
Slide almost to the bottom of slope C and jump across the lava onto the small angled block ahead (D).
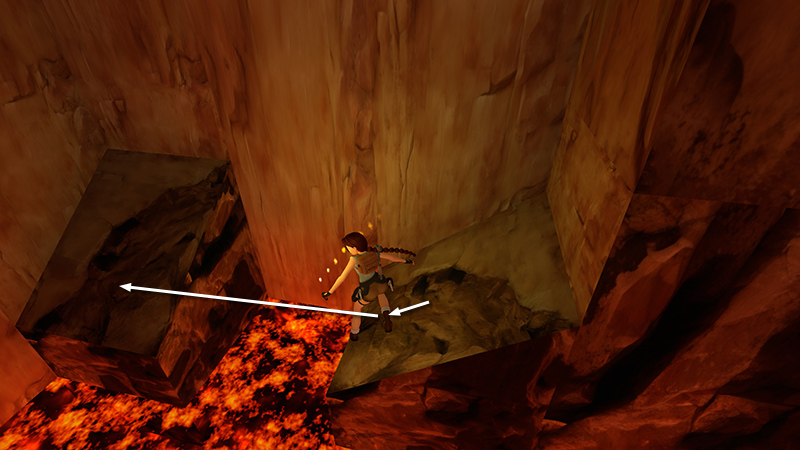
Slide just a little if necessary, then as you jump onto the fourth sloped block (E)...
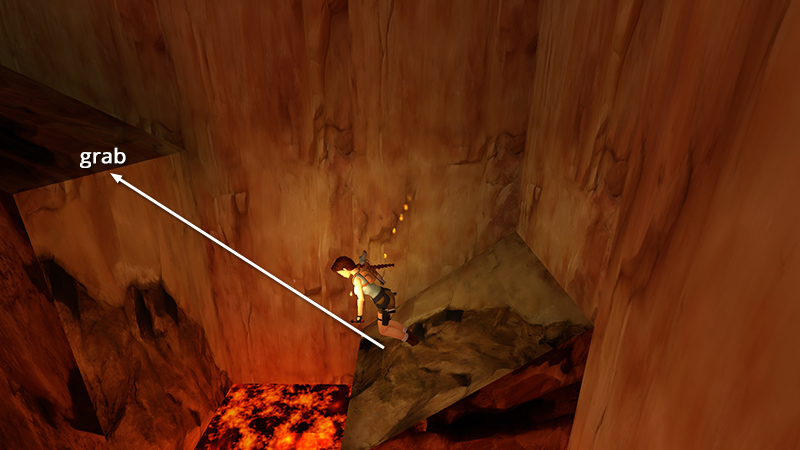
...hold Jump and Action to immediately jump and grab the final angled block (F).
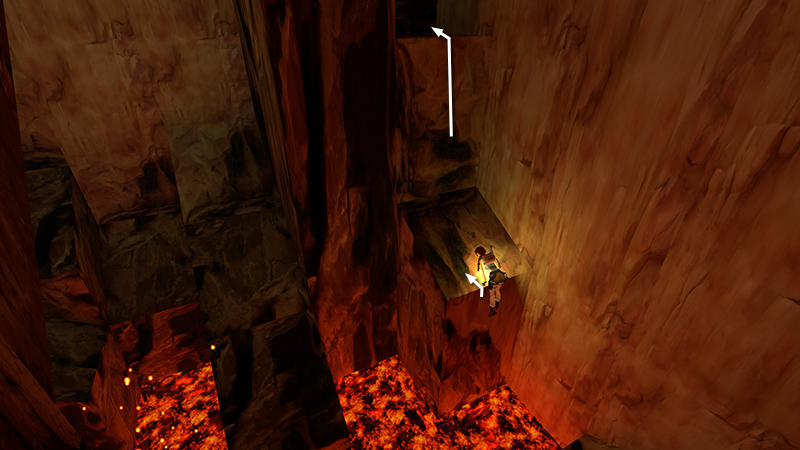
Pull up and climb the blocks ahead to the top of the room (G).
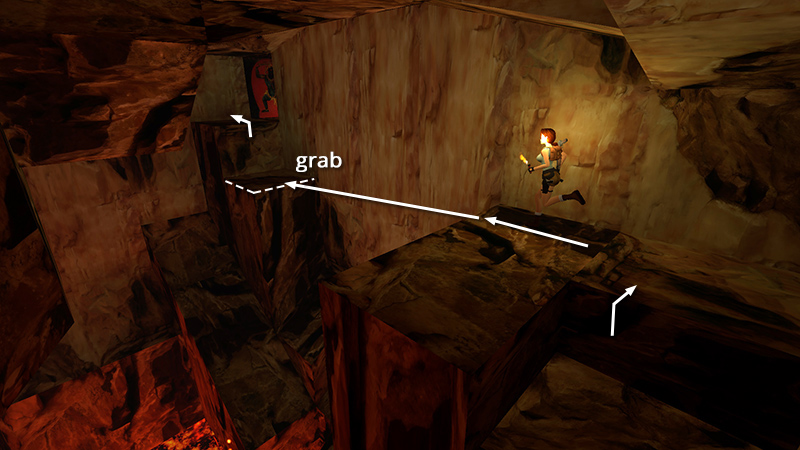
Turn left so the long cave wall is on Lara's right. Then take a running jump and grab the ledge below the exit (H). Pull up and climb to the doorway above, but do not rush forward.
DARK MODE: I plan to add optional dark mode for these pages, but my current priority is updating the walkthroughs. Meanwhile, may I suggest a reputable dark mode browser extension, such as Dark Reader? (Download only from trusted sites, like darkreader.org or your browser's official add-on/extension site.)
Walkthrough text and diagrams copyright © Stellalune (email ). Feel free to copy or print this walkthrough for personal use. By all means, share it with friends, but please include this credit line so people can send me their feedback. No part of this walkthrough may be reproduced on another site without permission.