Temple of Xian - Various Trappy Areas Beyond the Silver Dragon Secret
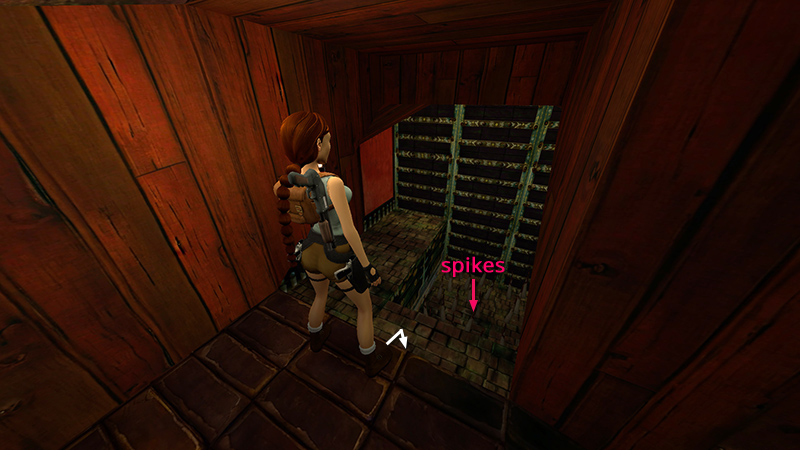
After collecting the Silver Dragon and climbing out of the lava room, as shown in the last section, carefully drop down into this small room with a spike pit and climbable wall.
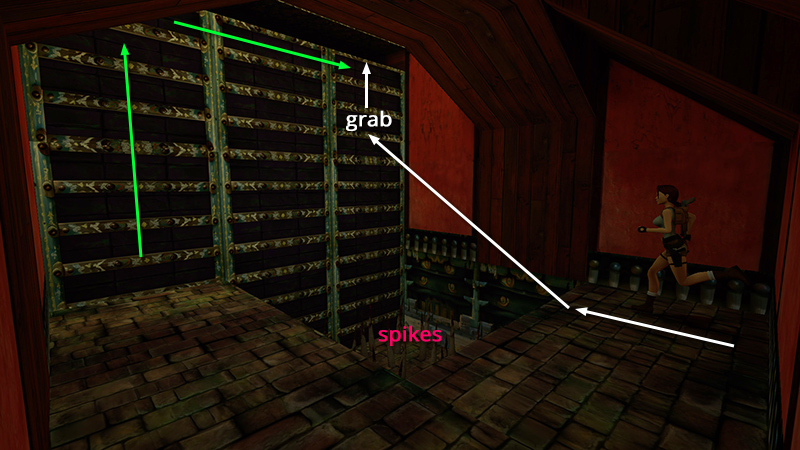
Either go around the spike pit and grab onto the wall of ladders (green arrows) or take a running jump over the spikes and grab on (white arrows). Climb up until a horizontal gap prevents you from going any farther. Traverse to the right...
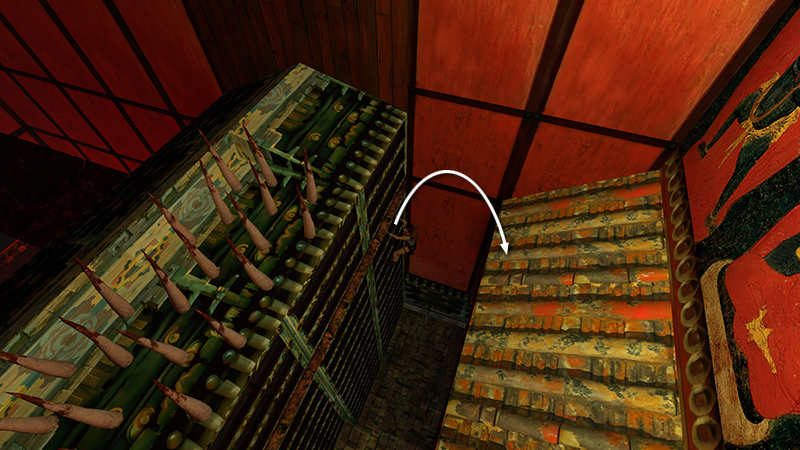
...so Lara is hanging below the safe part of the ledge above, rather than below the spikes. Then backflip onto the slippery slope behind...
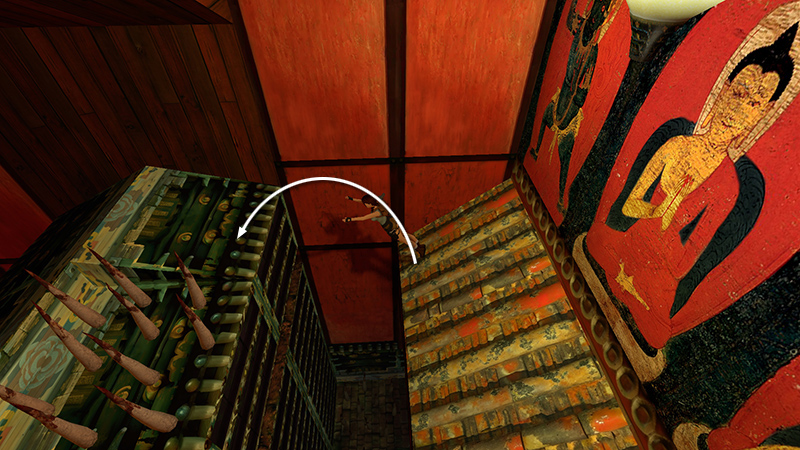
...and immediately jump forward to land on the ledge above where you were just hanging.
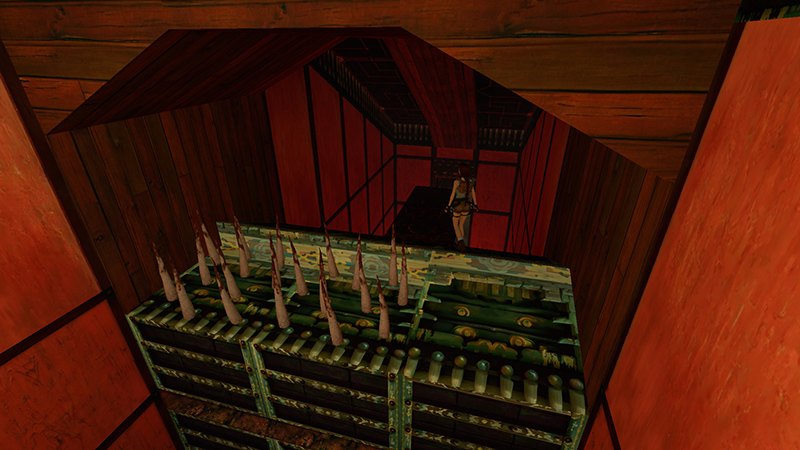
Walk over the rise...
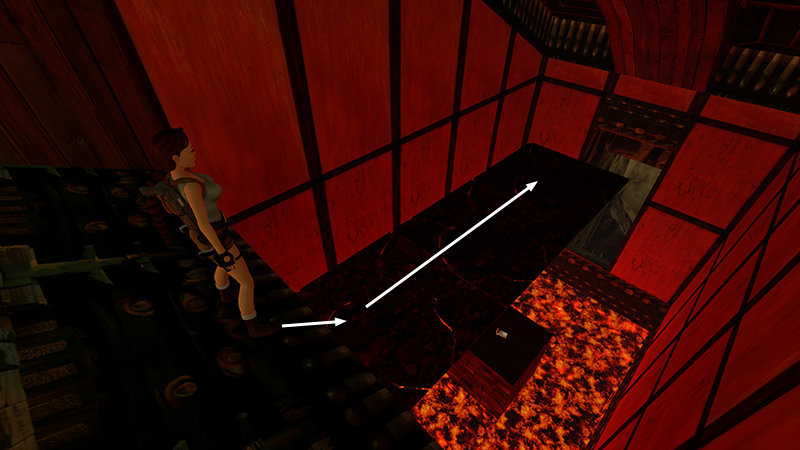
...and position Lara in the middle of the ledge facing out over the breakaway tiles and lava pool. Run across the tiles and stop on the last one.
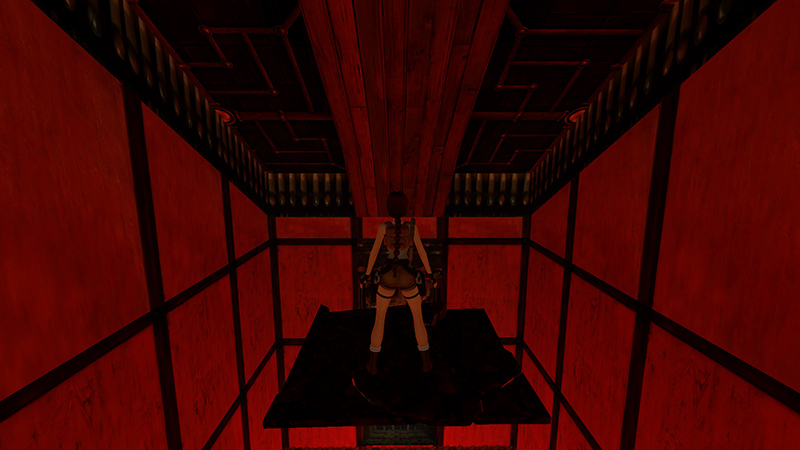
When they break...
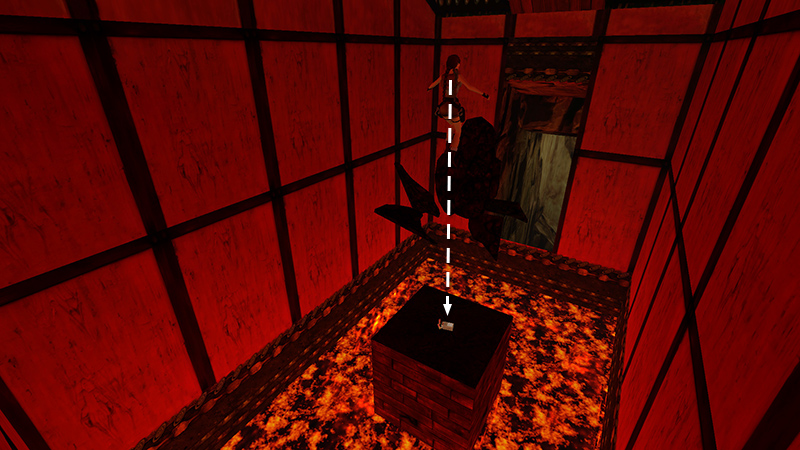
...Lara will fall onto the pedestal below, where you'll find some shotgun shells (5).
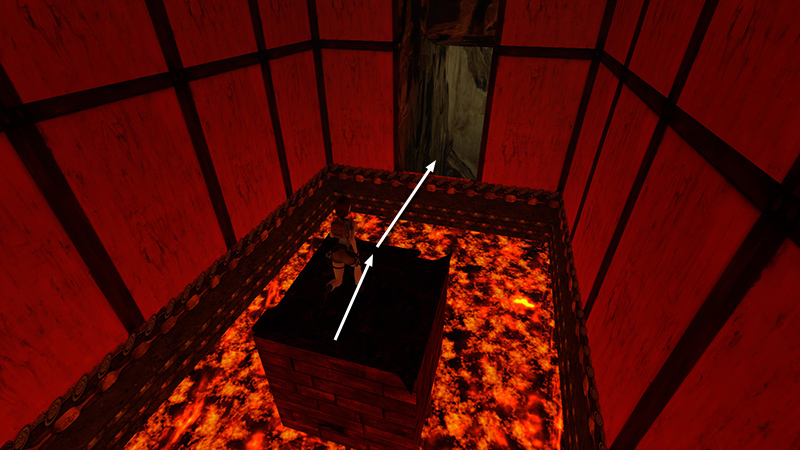
Take a running jump from the pedestal over the lava and into the doorway.
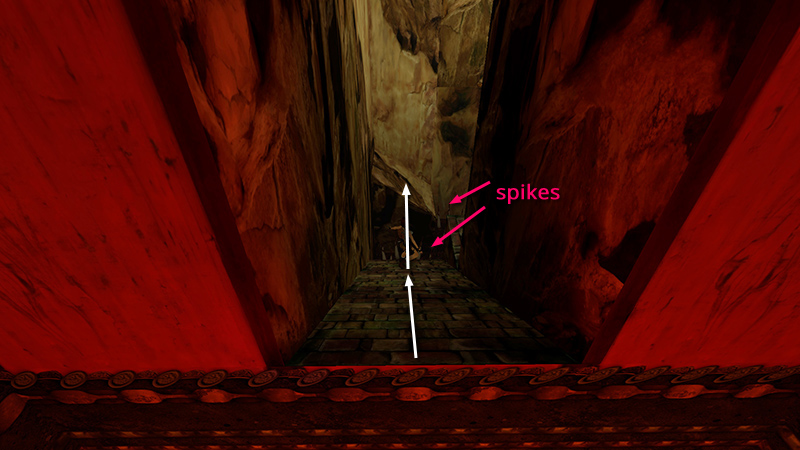
Lara will immediately start to slide into a little cave with spikes on the floor. Jump just before the end of the slope to land on the angled block ahead.
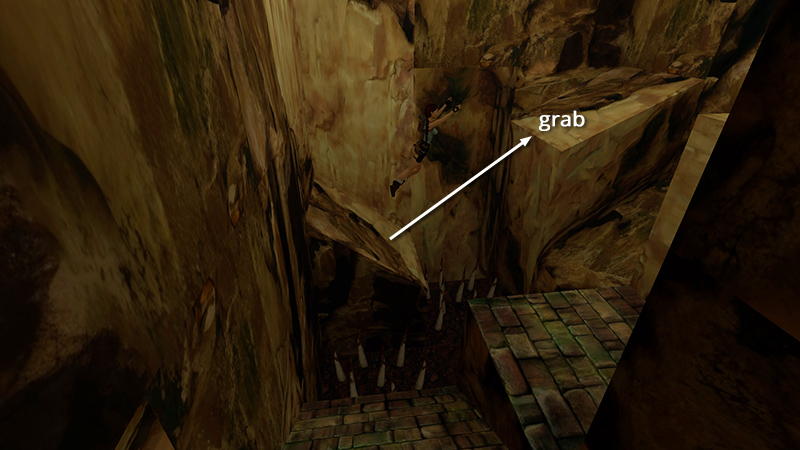
Almost immediately jump again to clear the second set of spikes and grab the ledge above.
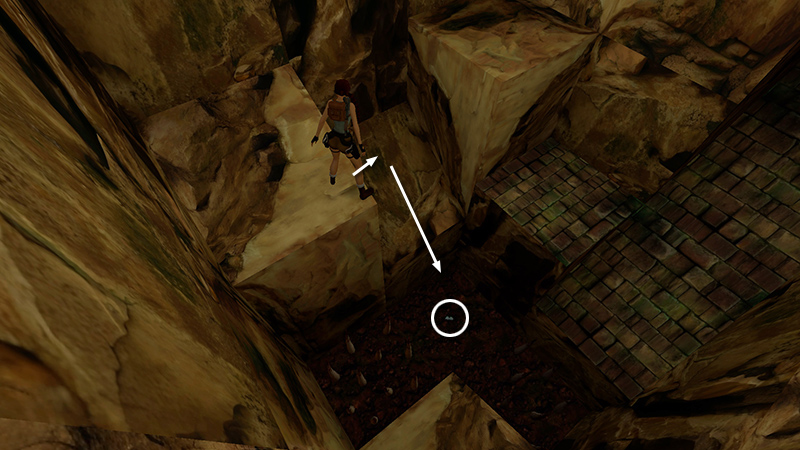
Pull up, then slide down the angled block on the right to land safely near the grenades (6).
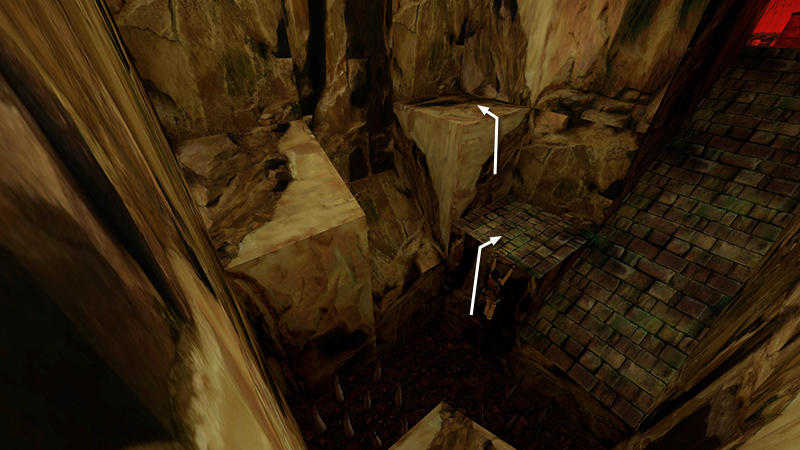
To get out, pull up onto the brick ledge next to the slope where you slid into the room. Then climb onto the next block on the left.
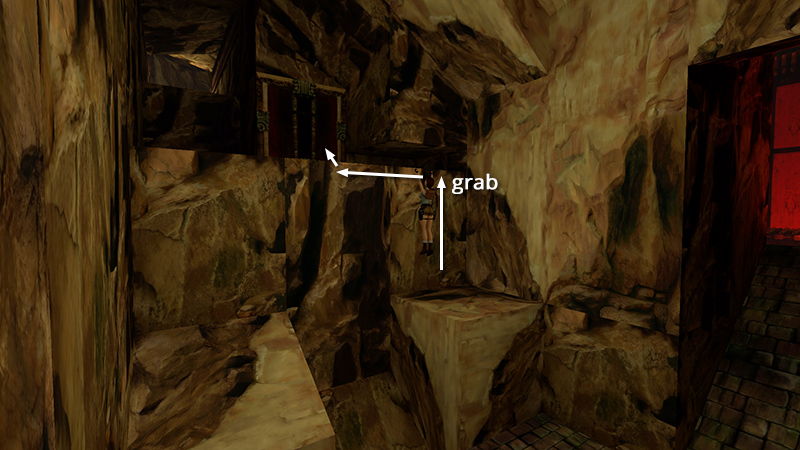
Grab the horizontal crevice, traverse to the left, and pull up onto the ledge.
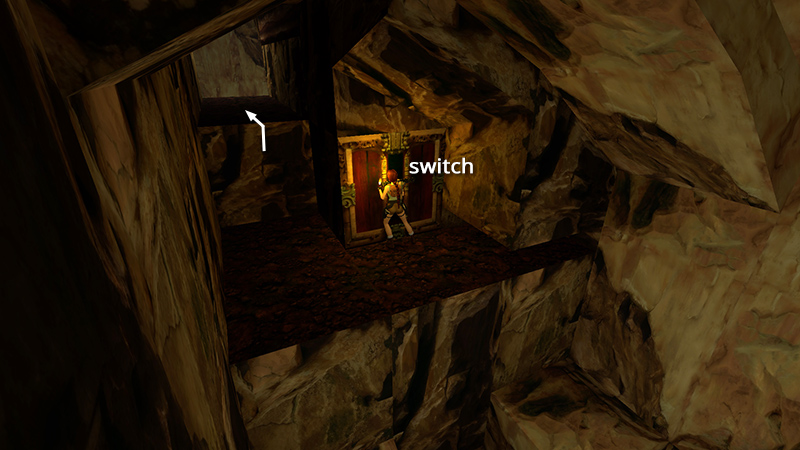
Use the switch...
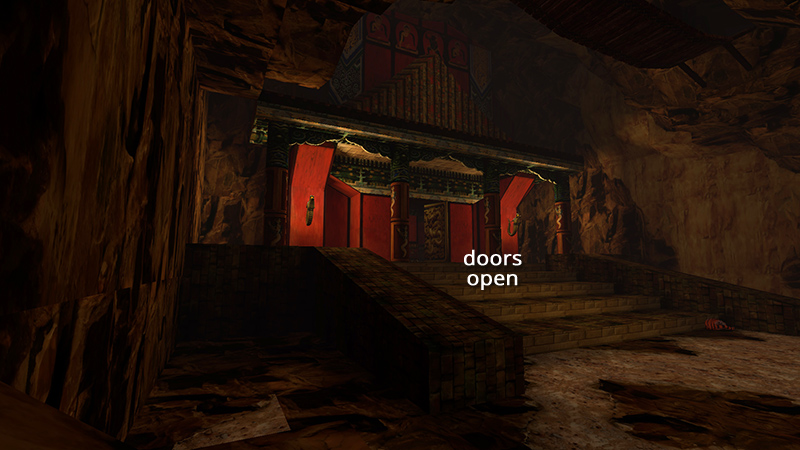
...to open the main doors back at the FIRST TEMPLE.
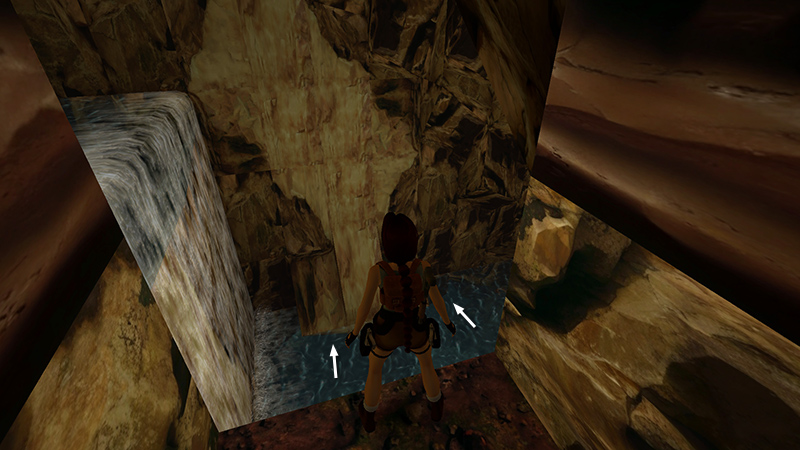
Follow the short passageway to the left of the switch, dive into the water, and swim back through either of the underwater openings...
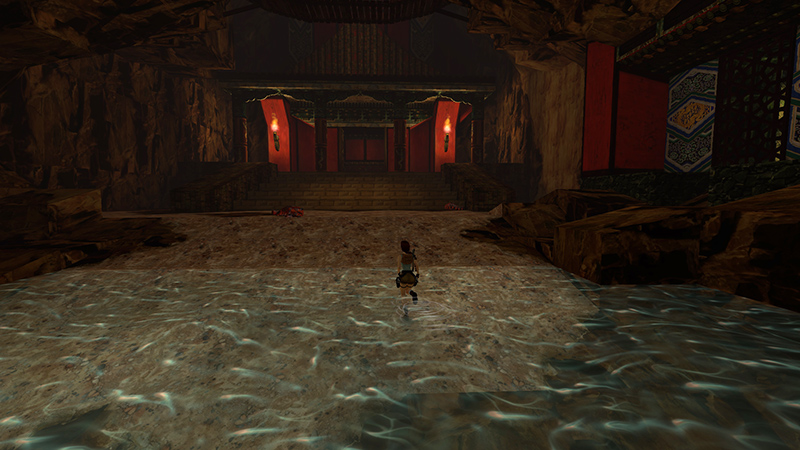
...to the TEMPLE ENTRANCE.
DARK MODE: I plan to add optional dark mode for these pages, but my current priority is updating the walkthroughs. Meanwhile, may I suggest a reputable dark mode browser extension, such as Dark Reader? (Download only from trusted sites, like darkreader.org or your browser's official add-on/extension site.)
Walkthrough text and diagrams copyright © Stellalune (email ). Feel free to copy or print this walkthrough for personal use. By all means, share it with friends, but please include this credit line so people can send me their feedback. No part of this walkthrough may be reproduced on another site without permission.