The Great Wall - Level Start and Secret #1 (Silver Dragon)
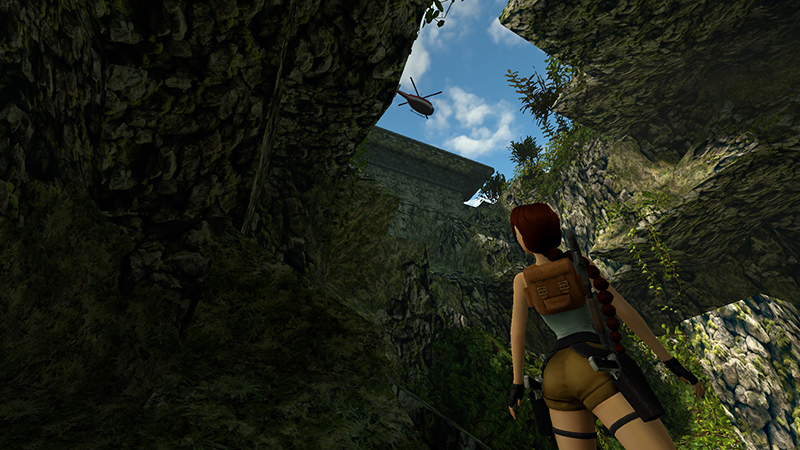
The level begins in a cave at the base of the wall. As you cross the cavern floor, the camera shifts to show the helicopter flying away. The building above is where you're headed next.
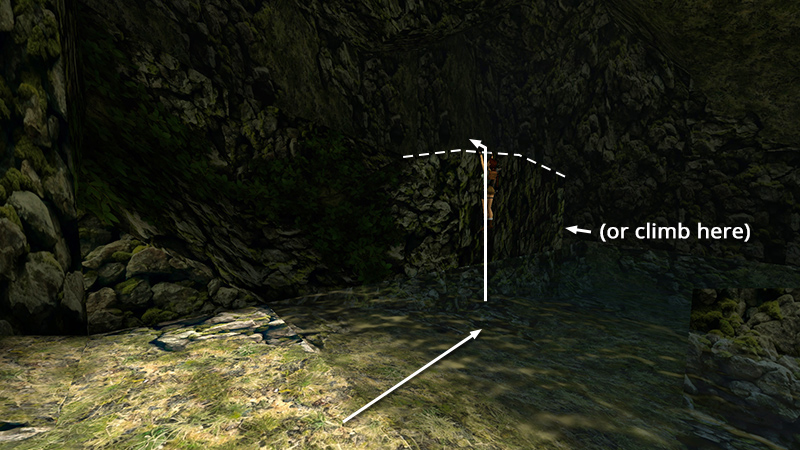
Start by wading into the shallow pool. Climb out of the water on the stone ledge on the left. (You can either pull up directly onto the ledge by facing it and pressing Forward + Action, or go around behind the rock formation and climb up.)
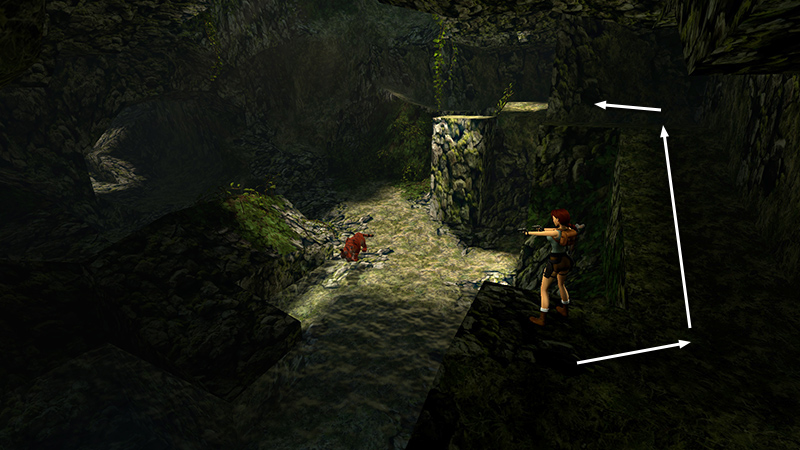
If you like, you can turn, draw your pistols, and shoot at the tiger (1) that emerges below. You don't have to kill it, though, since you're going up, not down. And tigers are endangered, you know. ;-)
Move up the slope, turn left, and walk to the end of the ledge. (If you hold Walk while maneuvering, Lara will not accidentally step off the edge.)
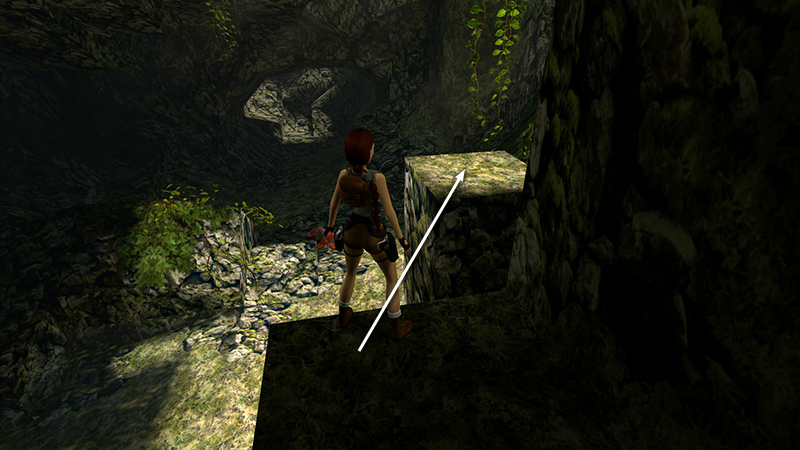
Take a standing jump (Forward + Jump together) onto the freestanding block ahead.
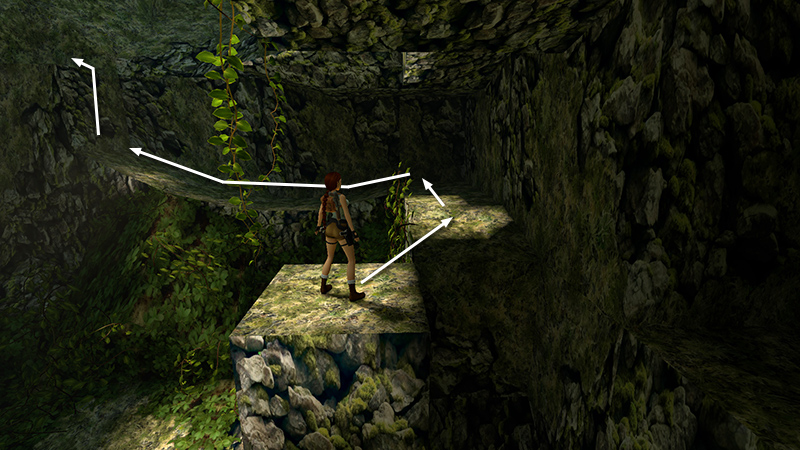
Turn right and jump onto the long, L-shaped ledge. Follow this ledge all the way to the other end and climb onto the raised block.
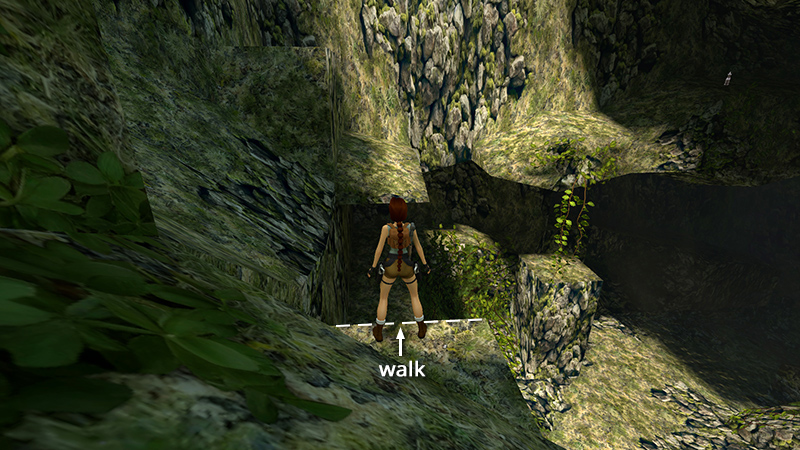
Now, turn around and take a running jump to land on the thin ledge above the ledge on which Lara was just standing. If you're using classic tank controls and aren't already familiar with the technique for setting up jumps, I highly recommend you try this now: Walk to the edge and face where you want to land.
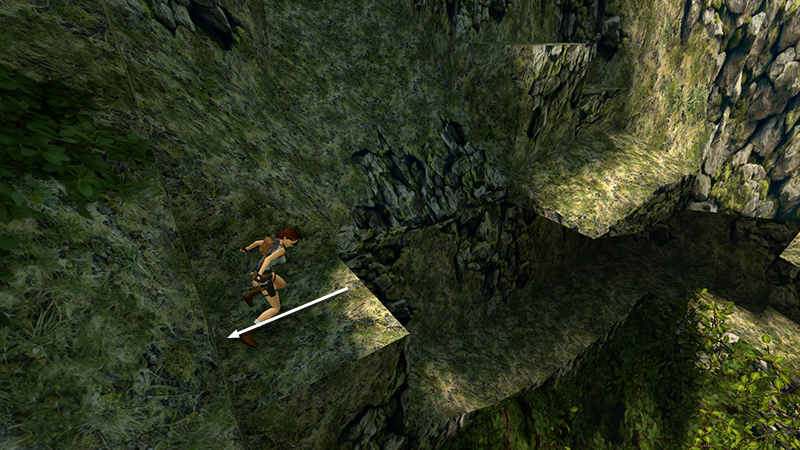
Then take a single hop back from the edge (Back + Jump).
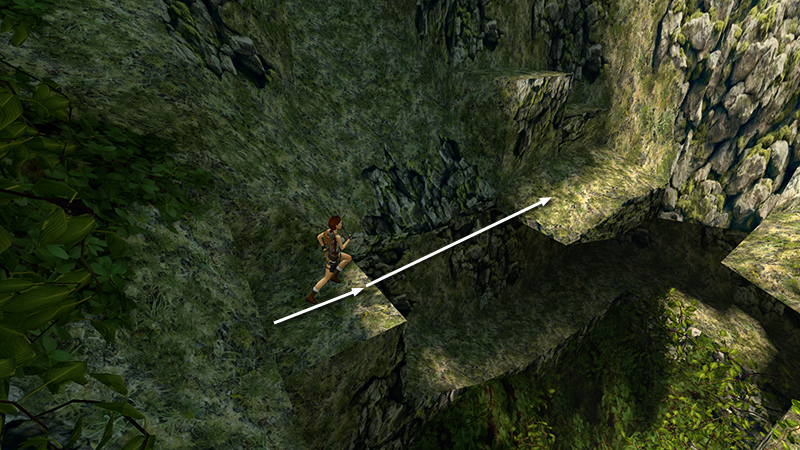
Press and hold Forward, then almost immediately press Jump, and Lara will run two steps and jump on the third, taking off right at the edge and landing on the other side of the gap.
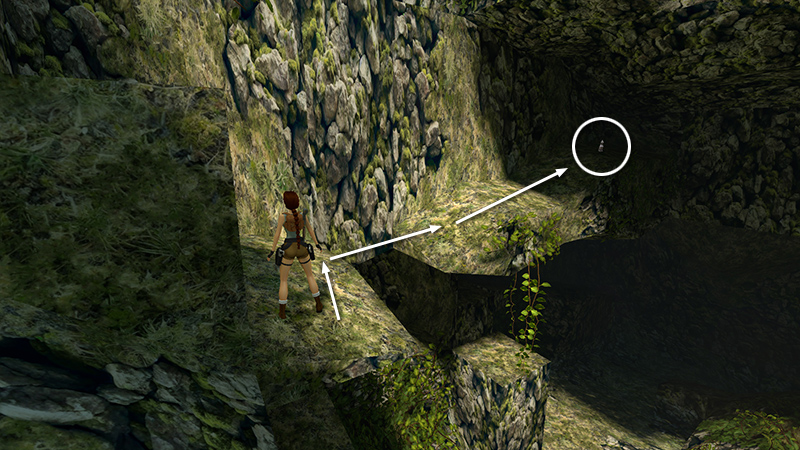
Before continuing to climb, look to the right. Across a small gap is a longer ledge extending out toward the pool. Jump onto this ledge and follow it to the end to find SECRET #1, the Silver Dragon (1). Stand over it and press Action to pick it up.
NOTE: You must collect all secrets to unlock several achievements/trophies, "Souvenirs From Around the Globe" for all pickups, "Codex of China" for all secrets in the various China and Tibet levels, and "Extinct is Extinct" (later).
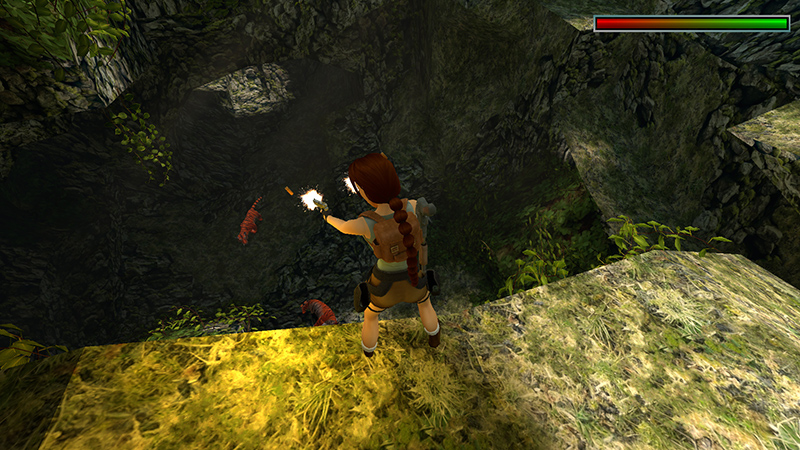
From up here, you can kill a second tiger (2) on the cavern floor if you like. Just be sure to hold Walk to prevent Lara from stepping off the edge.
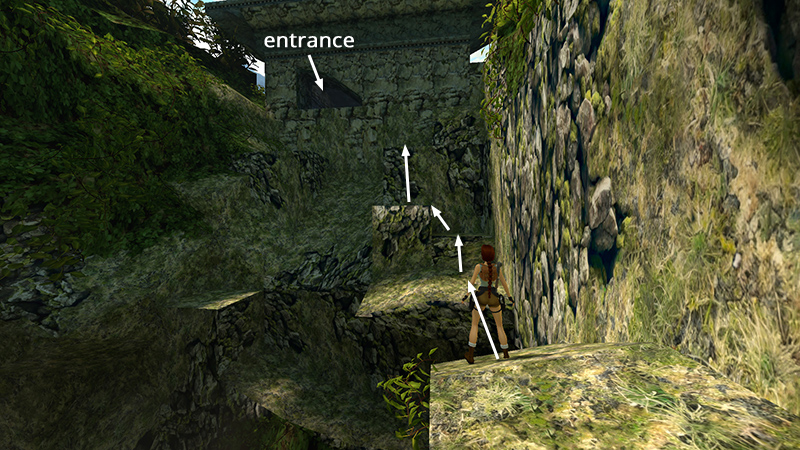
Jump back across the small gap to the previous ledge. Then climb the blocks in front of you until you can touch the side of the Great Wall. Look to the left to spot an opening leading inside. That's where you're headed.
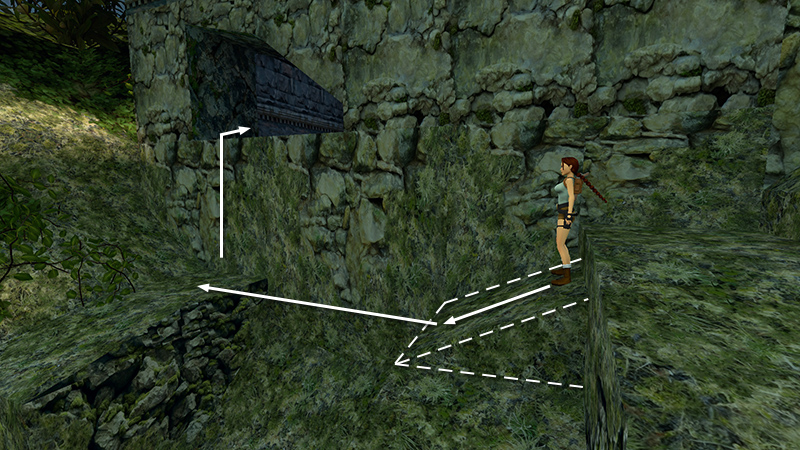
Stand on the slightly angled block with the wall on Lara's right. Then take a running jump to land on the flat area just below the opening. (Again, set up the jump as described above to make sure Lara doesn't fall.) Pull up into the FIRST GUARDHOUSE.
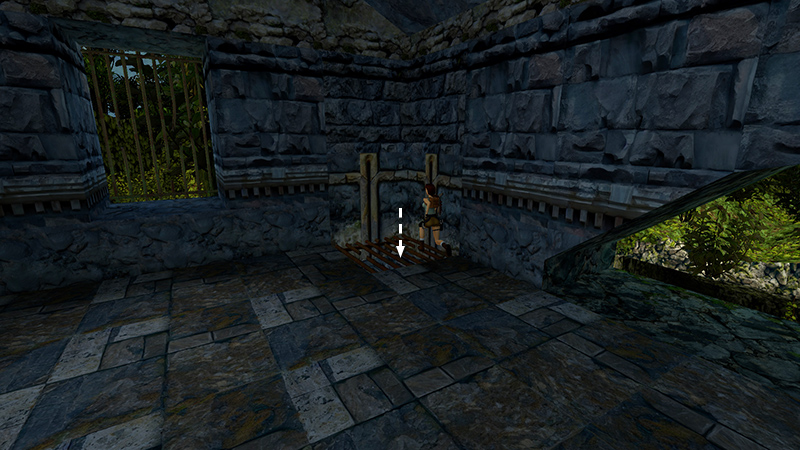
Stand on the trapdoor in the corner to fall safely into the flooded room below.
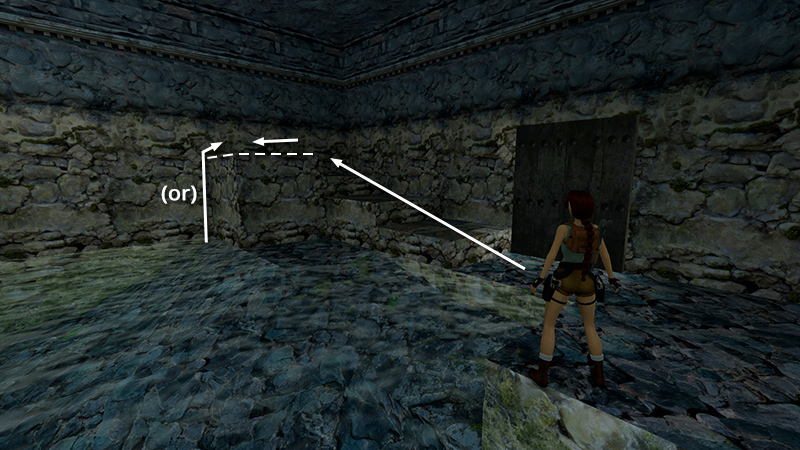
Swim/wade out of the pool (use Jump + direction buttons to swim) and go to the top of the stairs.
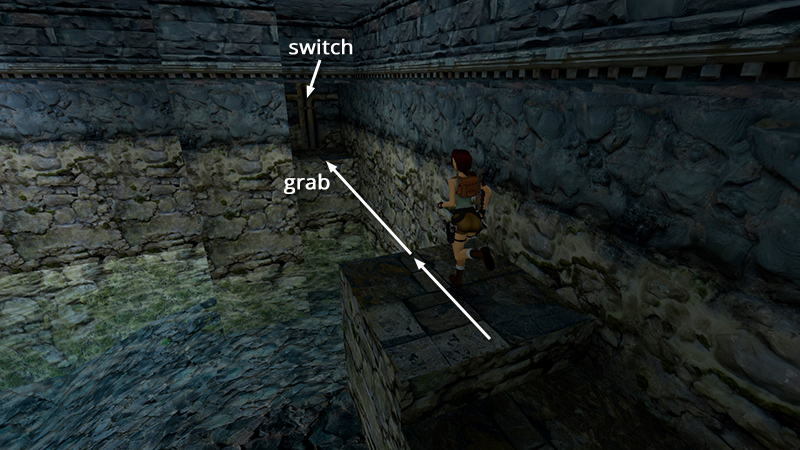
Take a running jump to grab the ledge near the switch. (Again, be sure to use the setup-and-jump technique described above. Then press and hold Action while Lara is in the air to grab.) Pull up. Throw the switch...
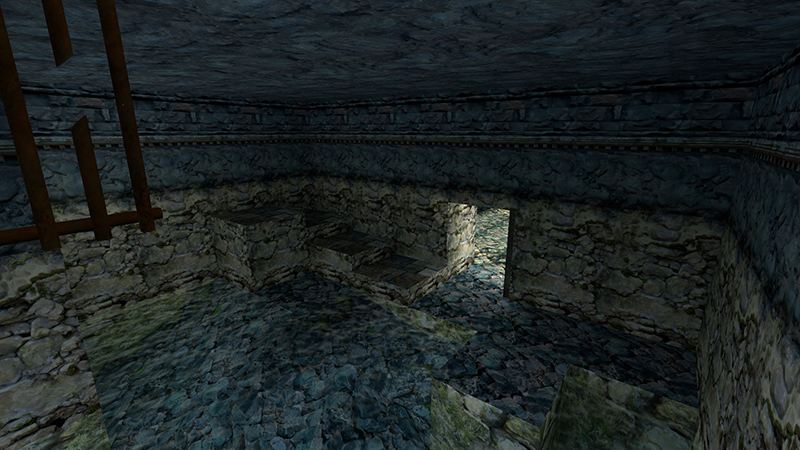
...to open the door on the opposite wall.
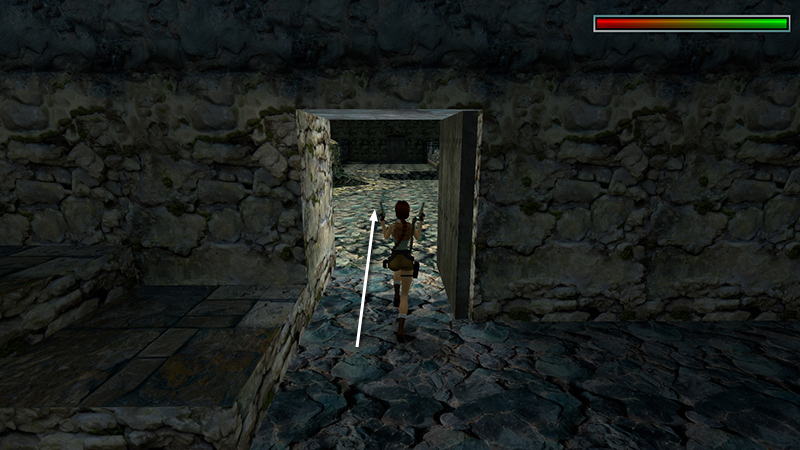
Move out onto the wall and kill 3 crows (3-5) that fly in from the next building. If you draw your pistols and run forward...
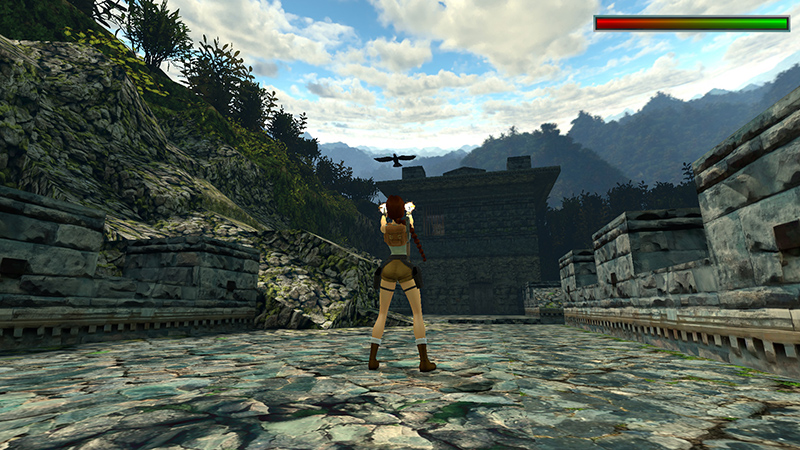
...Lara will automatically lock onto the first target she sees. Fire until the crow drops out of the sky...
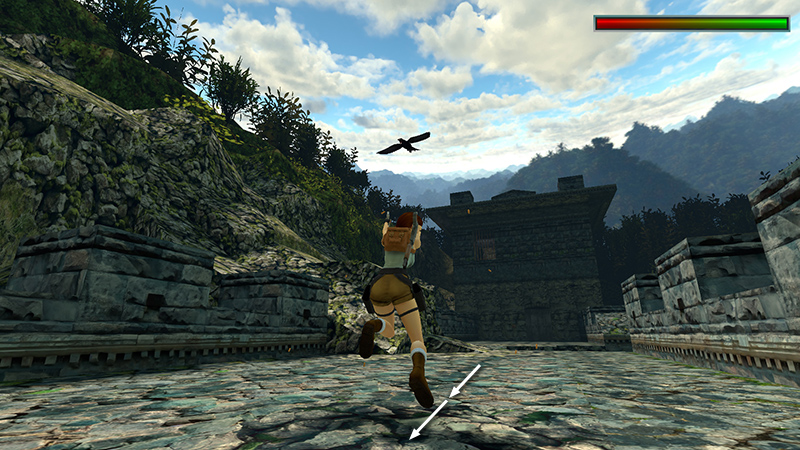
...hopping back if necessary to avoid it.
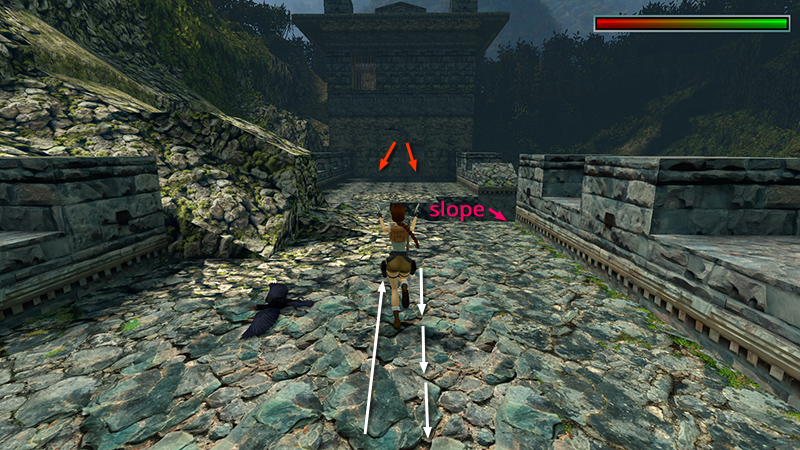
Run forward and repeat the process with the other two birds. Just take care not to run onto the uneven area between the two guardhouses, or Lara will slide off the wall.
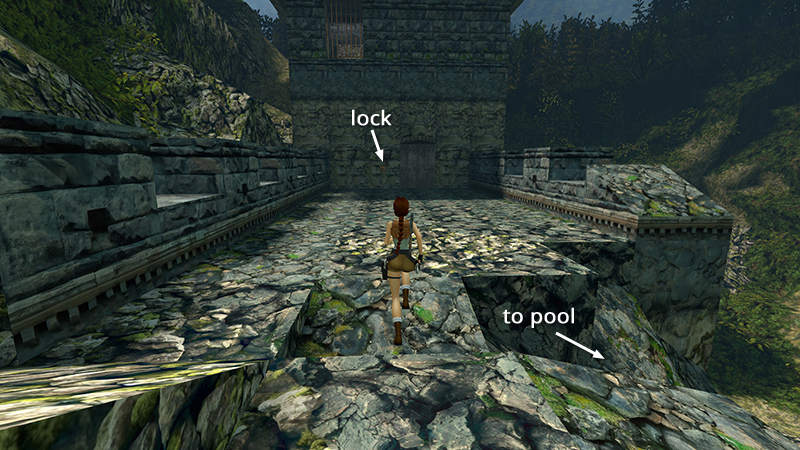
The entrance to the SECOND GUARDHOUSE is locked. You'll need to find a key. If you're in a hurry, you can just slide down the crumbling section of wall into the pool below. (Skip the next section and pick up the walkthrough here.) Otherwise, take a little detour for three achievements/trophies.
DARK MODE: I plan to add optional dark mode for these pages, but my current priority is updating the walkthroughs. Meanwhile, may I suggest a reputable dark mode browser extension, such as Dark Reader? (Download only from trusted sites, like darkreader.org or your browser's official add-on/extension site.)
Walkthrough text and diagrams copyright © Stellalune (email ). Feel free to copy or print this walkthrough for personal use. By all means, share it with friends, but please include this credit line so people can send me their feedback. No part of this walkthrough may be reproduced on another site without permission.