Hidden City - The Pillar DLC
The Age Makers Mission Continues (part 7)
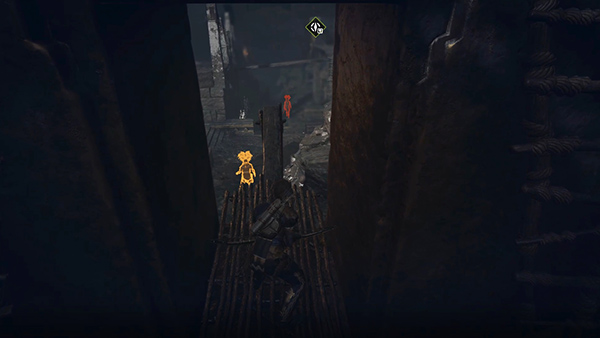
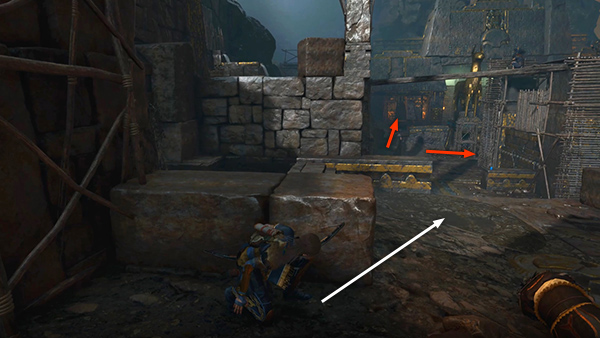
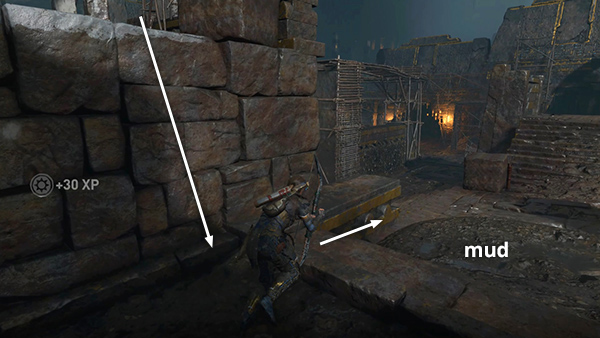
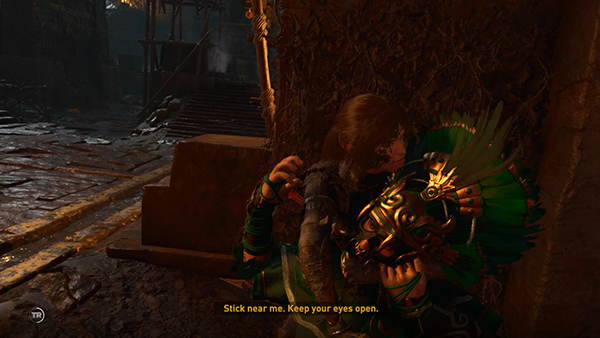
There are 10 cultists below, a mix of Jaguar Warriors (brown uniforms and obsidian blades), Eagle Archers (blue), and a few Serpent Guards (green).. Remember that archers can be killed with a single arrow to the head, since their helmets are only decorative. You'll need at least two shots to kill the others, which tends to attract attention. Start by waiting until the first enemy, just below the doorway, is isolated (yellow in Survival Instinct).
Then move out onto the jutting beam and press Melee...

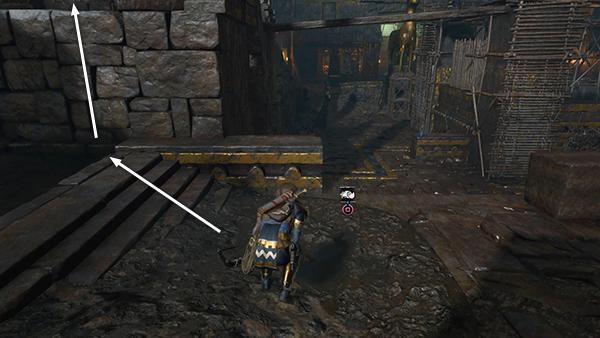
...to drop down and stab him.
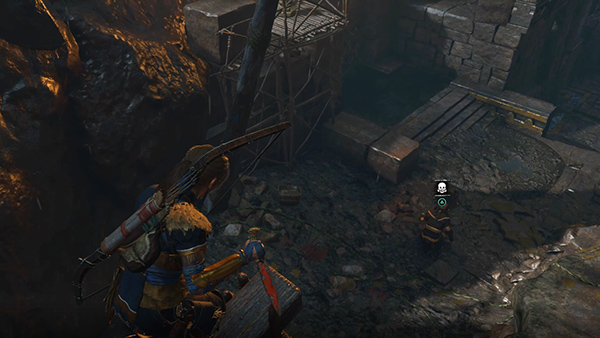
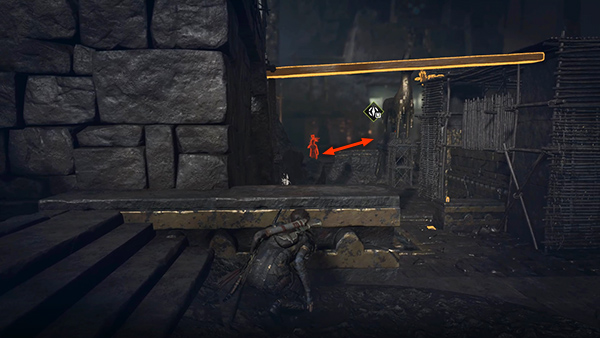
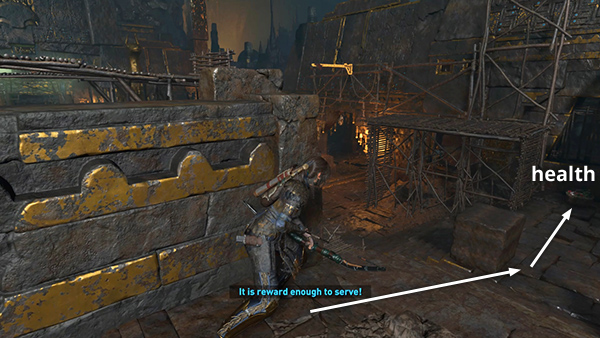
Quickly move behind the stone blocks on the left so the others can't see you. There's a basket of healing herbs here in case you need them. Now we'll take out a few of the archers so Lara isn't completely outnumbered. There's a lone archer on the ledge directly ahead. He's partially obscured by another stone block...
...but if you move to the left and aim around the side of the block, you should be able to kill him with a headshot from your bow. If you need to shoulder swap for a better angle, press Left Shift on the keyboard or click the left stick (L3).
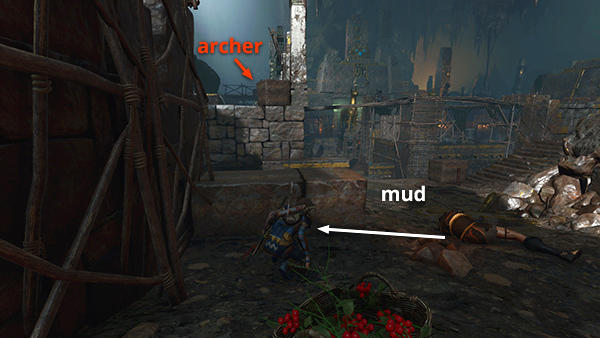
After that second kill, wait for the other enemies to move away. Then step forward into the mud puddle just beyond the first enemy's body...
...and press Interact to coat Lara in mud camo. Climb onto the ledge on the left, where that last archer just fell.
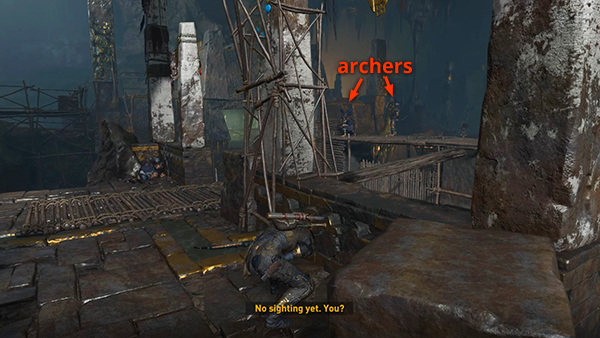
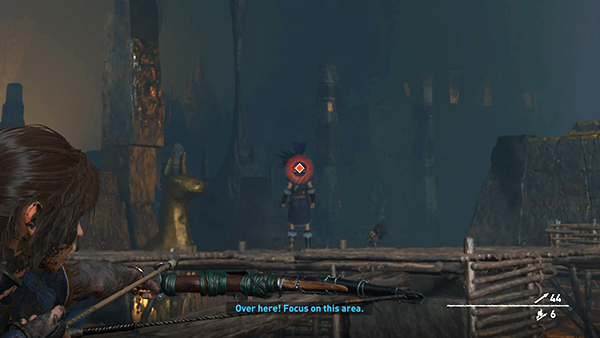
You can then watch the 2 archers on the center platform from behind the balcony railing.
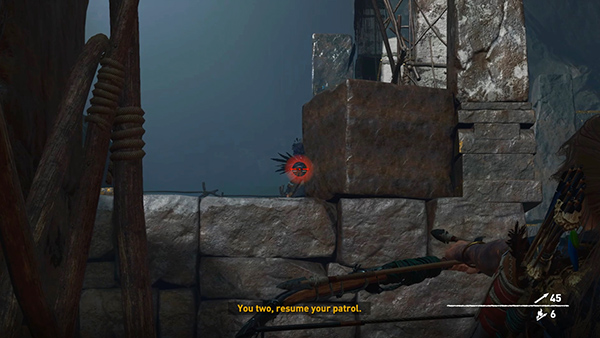
The one on the right paces back and forth. When he moves all the way to the right and has his back turned to the other, they'll both turn yellow in Survival Instinct view.
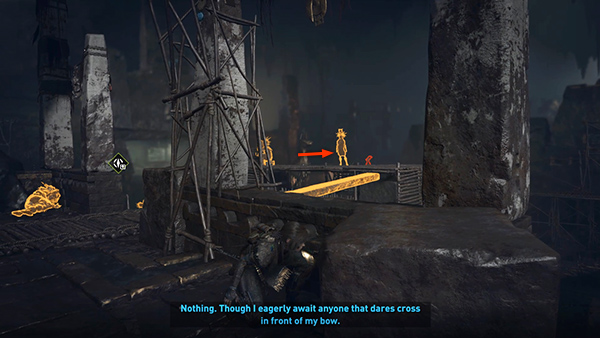
If you act quickly, you can take out the one on the right with a headshot.
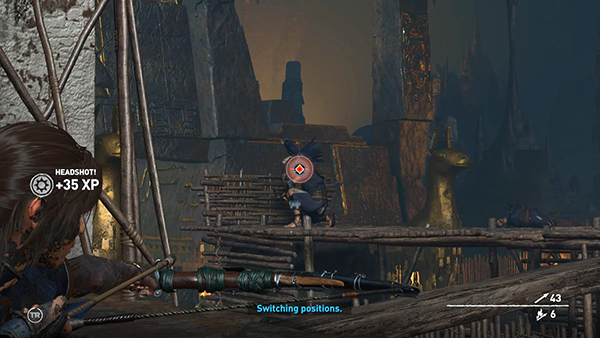
Then do the same with the one on the left before he notices anything is amiss.
- OR -
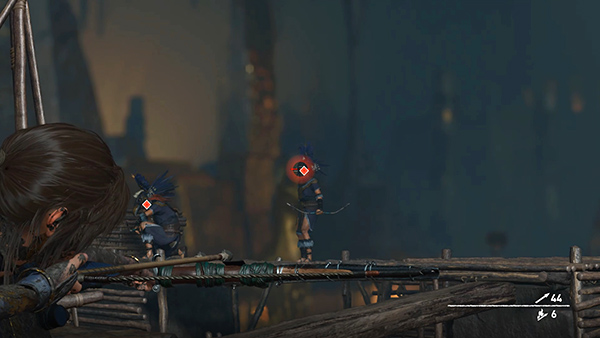
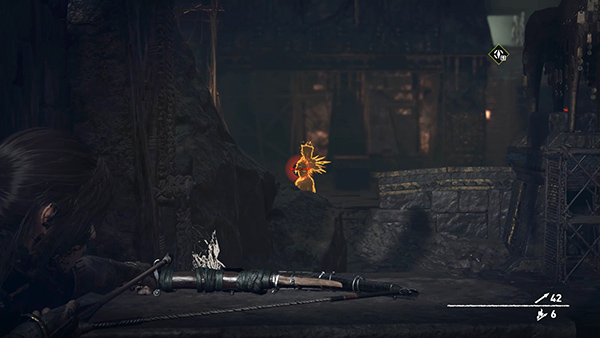
If you have the Warrior Skill Howler's Troop, which allows Lara to shoot arrows simultaneously at two locked targets, wait until the 2 archers are close together. Then lock onto one of them by aiming with your bow, holding the fire button, and zooming in (Z/R3). When you see the diamond-shaped headshot reticle over one enemy, shift your aim slightly to target the other enemy. You should then see a second diamond-shaped reticle over his head.
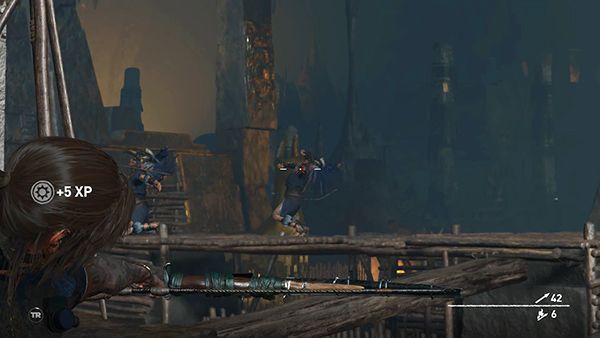
Release the Fire button to headshot both of them simultaneously.
Drop back down on the right, where you climbed up, and move behind the low wall between the mud puddle and the middle of the courtyard.
Watch the enemies' movements from here. There's one archer that moves back and forth, just ahead on the left. For most of his patrol, he's visible to other cultists (red in Survival Instinct), but at the point where he's closest to Lara...
...he's briefly isolated. Kill him with another headshot.
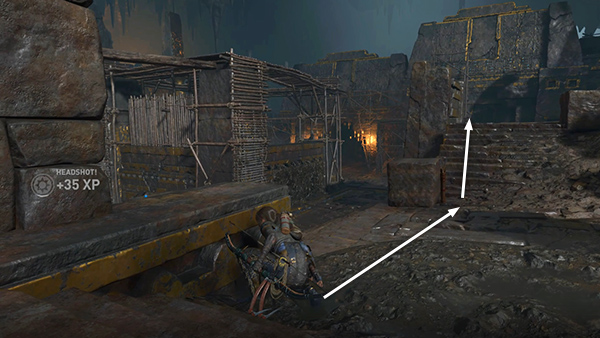
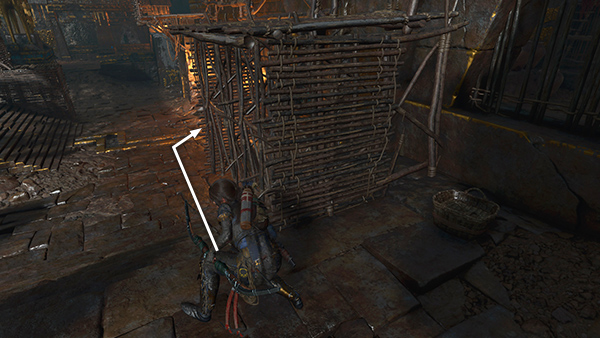
Now, before the others discover the body, move to the right (west), pick up the arrows leaning against the square stone block, and continue up the steps to hide behind the wall in the middle of the dais.
Peer around the corner to make sure the coast is clear. Then head down the stairs on the other side of the dais, hide behind another square block, then grab some health herbs from the basket to the right of the wooden scaffolding.
If you like, you can try to make your way over the scaffolding to get the drop on the other cultists, but this doesn't always work. If you've made it this far without being noticed, move down the steps, past the scaffolding, and into the alcove on the right (west) side of the courtyard.
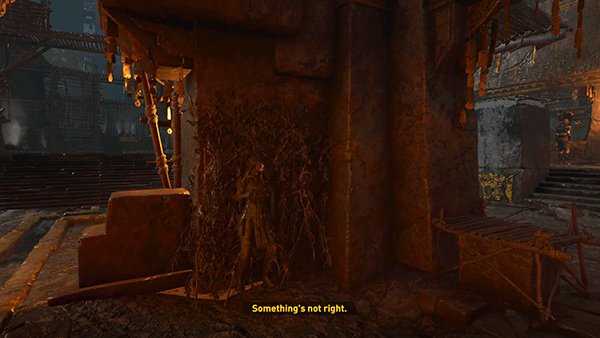
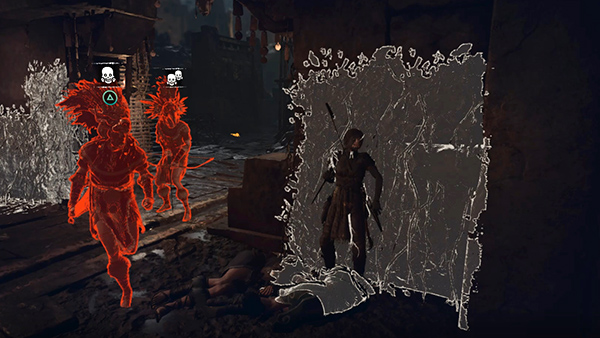
Since she covered herself in mud earlier, Lara can hide against either of the mud-and-vine-covered walls in the alcove. The one on the left as you enter the alcove gives you a good view of both entrances.
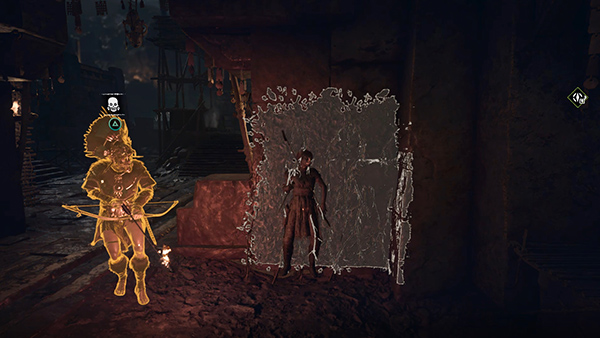
Soon the other enemies will discover the fallen archer's body and come looking for you. Wait in concealment for them to approach, usually one at a time. When one of them gets close enough to Lara's hiding spot, you'll see the Melee icon over his head. Make sure nobody else is watching (target is yellow in Survival Instinct). Then press Melee...
...for a stealth kill.
If 2 cultists arrive together, you may have to fight. But if you have the Serpent's Fury skill, you'll see separate Melee icons over each enemy, indicating you can press the button twice for a chained takedown. (This is covered in more detail in the Kuwaq Yaku walkthrough and again in the Mountain Temple.)
After each stealth kill, return to hiding and continue sneak-attacking enemies as they arrive. If Lara is discovered, either switch to guns and fight back, or try to run away. Once Lara is out of her enemies' sight, she will be able to hide again. There are several other vine-covered walls scattered around the courtyard and lots of low walls where you can take crouch and shoot.
[Mission Walkthrough| Hidden City Walkthrough]
Copyright © - Stellalune ( ). All rights reserved. Feel free to copy or print this walkthrough for personal use. By all means, share it with friends, but please include this credit line so people can send me their feedback. No part of this walkthrough may be reproduced on another site without permission. Follow this link for details about this site's advertising and privacy policy.