The Mountain Temple – Combat in the Temple Courtyard (part 1)
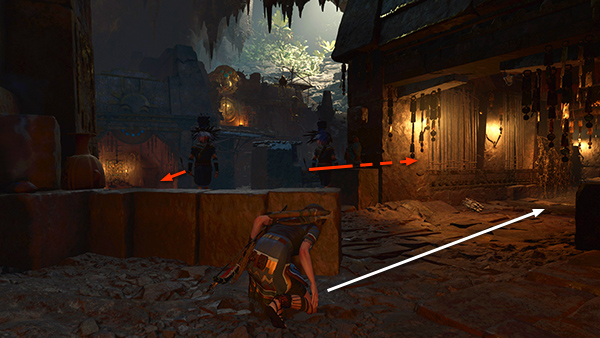
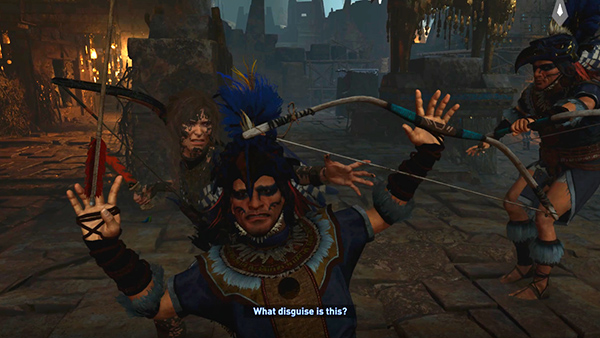
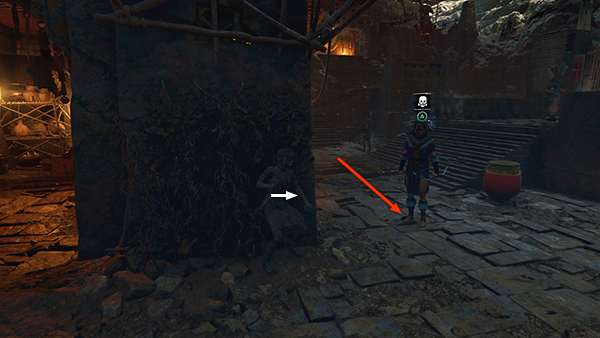
Here's one possible stealth sequence that worked fairly consistently for me: Wait behind the low wall near the entrance for a moment or two until the first 2 enemies head off in opposite directions. Then move into the building on the right.
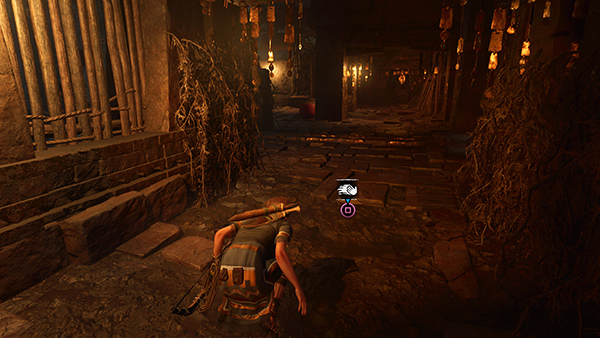
Stand in the mud puddle and press Interact to apply camouflage. Ignore the vine-covered walls on either side of the mud puddle.
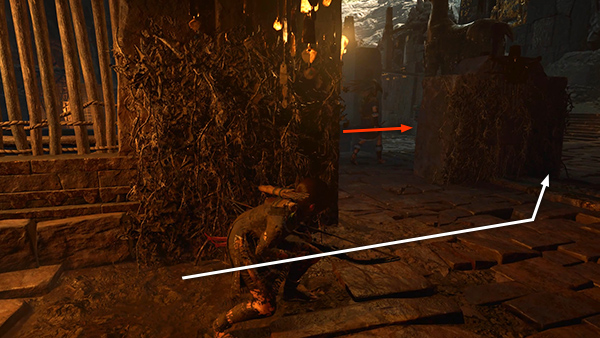
Instead follow one of the first two enemies as he moves farther to the right (east), taking care not to get ahead of him. He will pause near another enemy to criticize his archery skills. Move behind the freestanding section of vine-covered wall. You can hide among the vines or just lurk behind the wall.
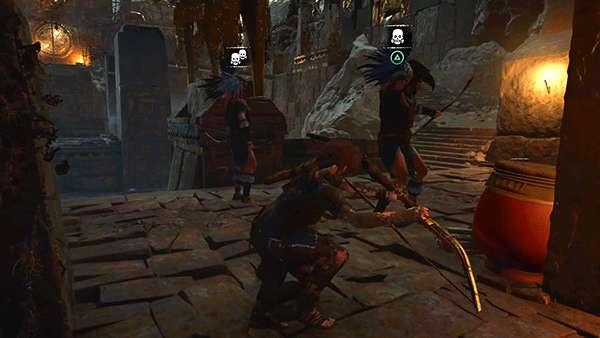
If you have unlocked the Scavenger Skill Serpent's Fury, you can use it now if you act quickly. While the 2 cultists are talking, creep out from behind the wall and approach the man on the right. You should see a Melee icon above his head, and a Chained Takedown icon (two skulls) above the second enemy.
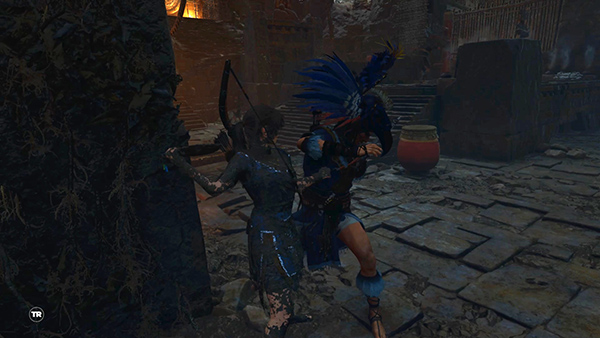
Press Melee to stealth kill the first man.
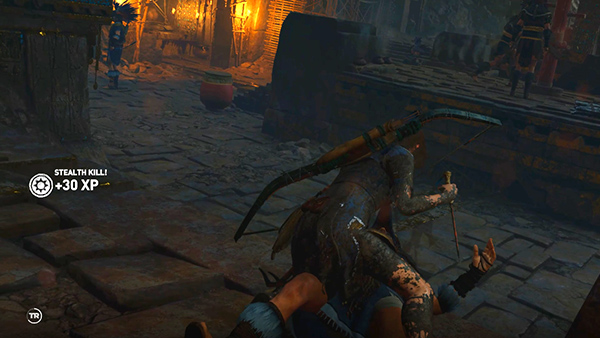
Then quickly press it again to take down the second before he can raise the alarm.
The Chain Gang Achievement/Trophy requires you to do 3 of these chained takedowns. If you like, you can reload the checkpoint and repeat this sequence until the achievement/trophy pops. You will have other opportunities later on, though.
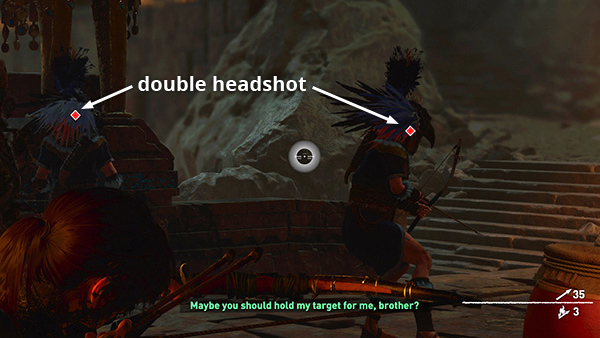 If you don't have the Serpent's Fury skill yet, but you do have the Warrior Skill Howler's Troop, you can instead target both men for a double headshot: Stand back a little so you can see both of them. Hold Aim and click the right stick or press Z to zoom in. Hold the Fire button to charge your shot and move the right stick or mouse to target one enemy's head. A red diamond icon indicates you're locked on. Move the right stick or mouse to target the second enemy's head. A second red diamond shows you're locked on to both of them (as shown above). Release the fire button for a double headshot.
If you don't have either of these skills yet, just wait behind the vine-covered wall and the first enemy will move on. Melee kill the first man, as shown above. You can then deal with the second man later.
After you've taken out one or both of these guys, move around the wall into the eastern corner so the rest of the cultists don't spot you.

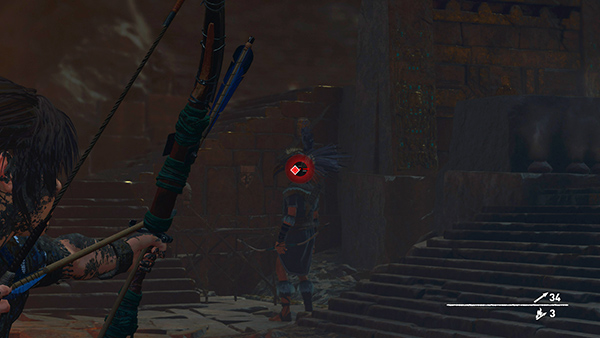
Peer out from behind the wall. If you killed 2 men with the chained takedown or double headshot, there should be only one enemy on the right side of the courtyard (the one marked in the screenshot above). If you've only killed one man so far, there will be a second enemy here as well. Wait until he moves away.
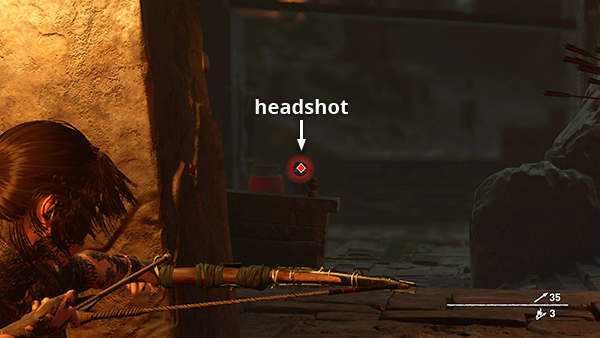
Then take out the man near the red jar with a headshot.
Just to review the headshot with the bow: Make sure the enemy isn't wearing a helmet. (This fancy, feathered headdress doesn't count.) Hold the Aim button, click the right stick or press Z to zoom in, target the enemy's head with the right stick or mouse, and hold the Fire button to charge your shot for more power. Then release the Fire button to shoot. (You'll only see the red diamond icon if you have the Howler's Troop skill unlocked, but you can still do a headshot without it.)

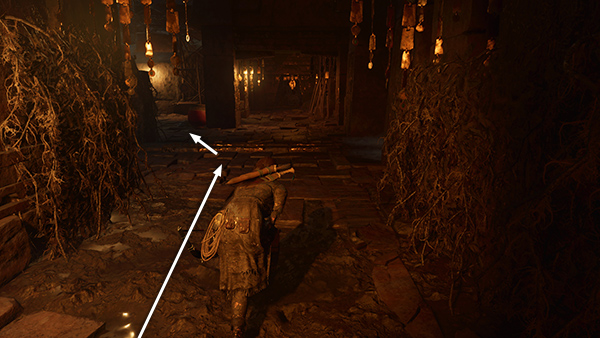
Now backtrack to the left (west) and deal with the two enemies there. If you move along the back (south) wall, nobody should notice you.
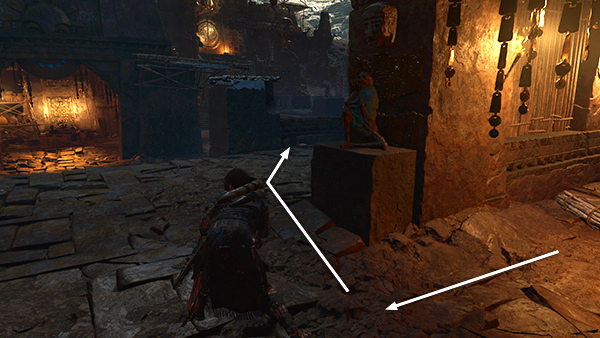
At the end of the wall, near where you entered this area, turn right and move forward toward the low wall between Lara and the cultists.
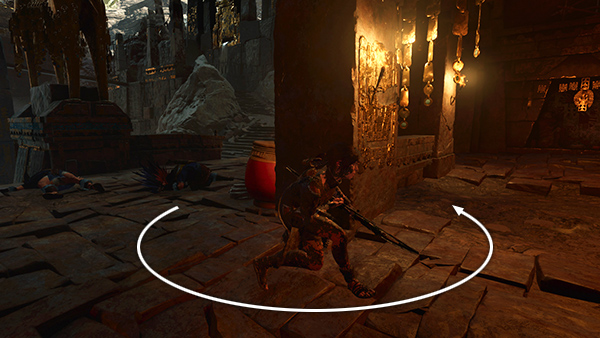
There's a pot of fat here, and you can watch the enemies on the other side of the wall without being seen. Wait until the nearest man turns around and walks away. Then move around to the left...
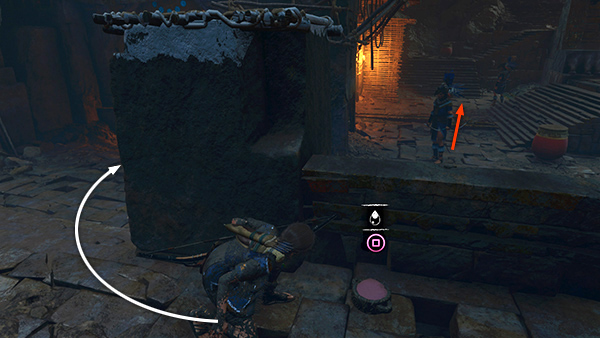
...down the steps, and up against the vine-covered wall.
When the man you were just watching moves back toward you, he should stop just to the right of your hiding place. Inch toward him until you see the Melee icon above his head.
 Then press Melee to drag him behind the wall and stab him.

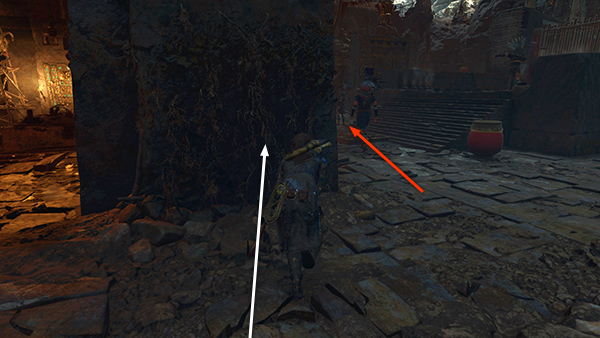
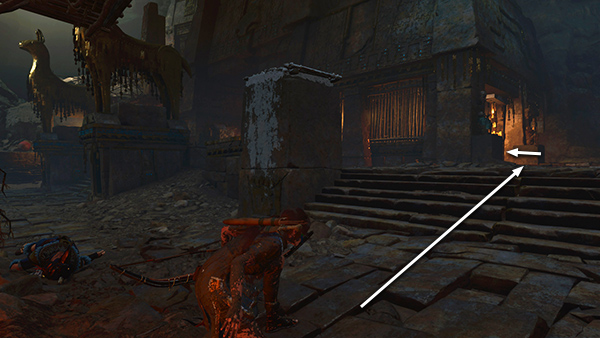
The 2 men on the platform should ignore you as long as you don't make noise. To deal with the man ahead on the right, wait until he's not being watched by any of the others (yellow in Survival Instinct).
Then use your bow to take him down with a silent headshot.
Leave the 2 sparring men for last. Return up the steps to the entrance, then left...
...along the south wall to the corner where you killed the guy practicing archery.
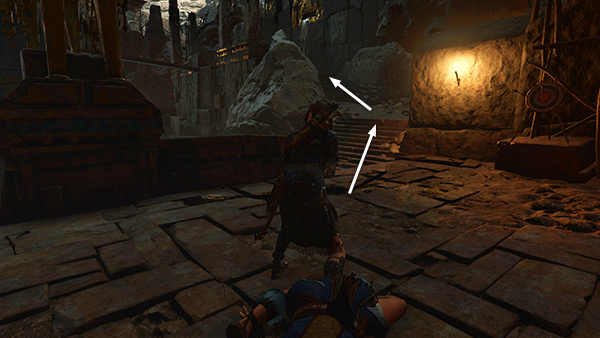
Make sure nobody's watching. Then continue up the steps and onto the ledge that runs along the east wall.
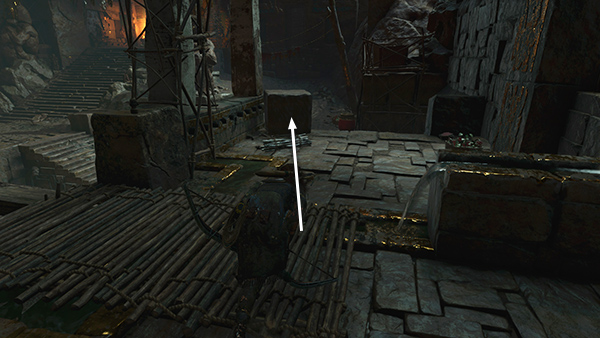
Follow the ledge to the end and take cover behind the stone block near the balcony railing. You'll find hardwood and some healing herbs here.
[Next | Mountain Temple Walkthrough]
Copyright © - Stellalune ( ). All rights reserved. Feel free to copy or print this walkthrough for personal use. By all means, share it with friends, but please include this credit line so people can send me their feedback. No part of this walkthrough may be reproduced on another site without permission. Follow this link for details about this site's advertising and privacy policy.