Hidden City – The Pillar DLC – The Age Makers Mission
Path of Huracan Challenge Tomb (part 2)
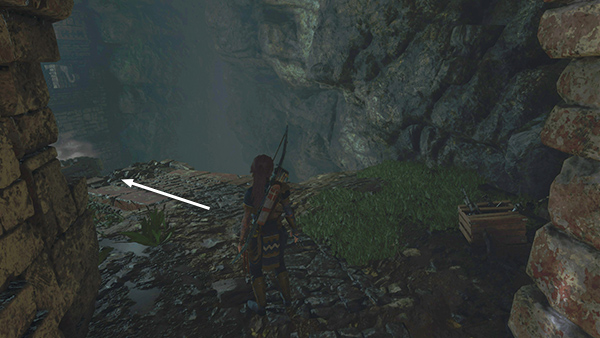
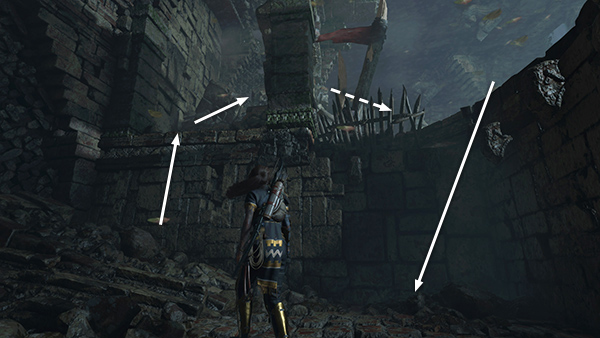
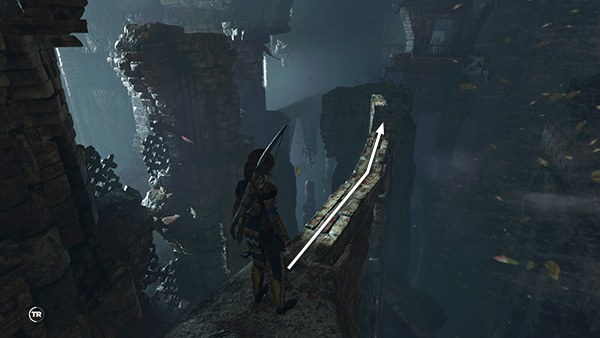
As you leave the area with the Conquistadors' cast-offs, crack open another salvage crate just around the corner on the right. Then move out onto the stone bridge...
...and jump across the first gap.
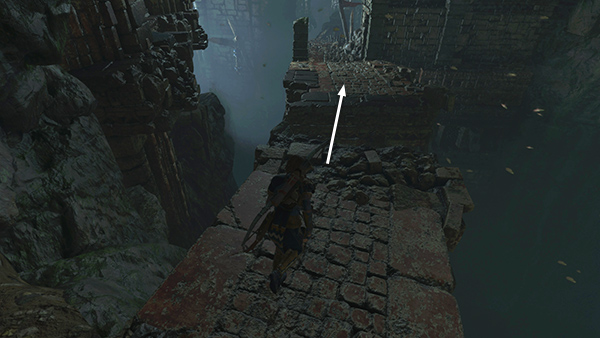
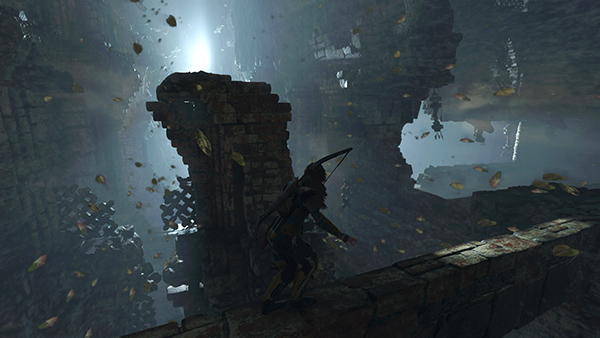
As you advance along the bridge, Lara braces herself against the gusty wind. Pause here and observe the pattern. The wind blows strongly for a few moments then abates for a bit before picking up again. Wait for it to die down then move out onto the narrow stone walkway.
If you go too soon, or take too long to cross, the wind sweeps Lara off the edge into a safe area below on the right. This is a cheap lesson; next time there will be no ledge to break your fall.
To get back onto the bridge, climb onto the ledge in the southwest corner and go around to the right.
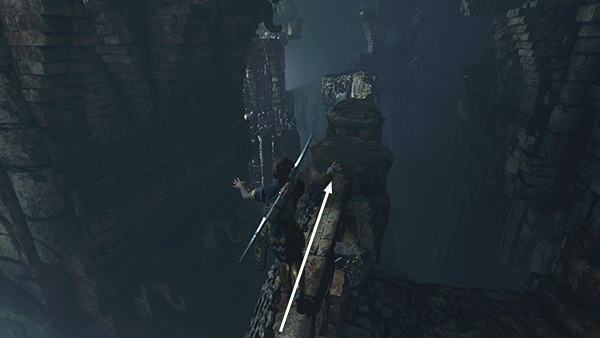
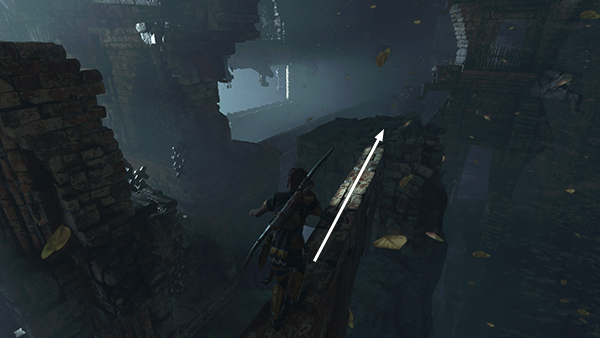
As long as you wait for the wind to die down, Lara can cross the first section of walkway safely.
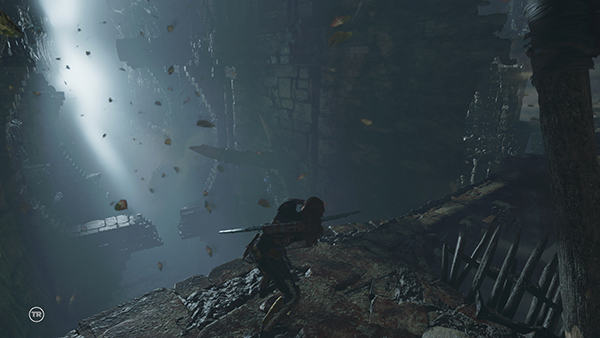
The wall on the left shields her from the wind as you jump across the gap between the two stone serpent heads.
But don't go any farther until the wind abates again; otherwise Lara will be swept into the abyss.
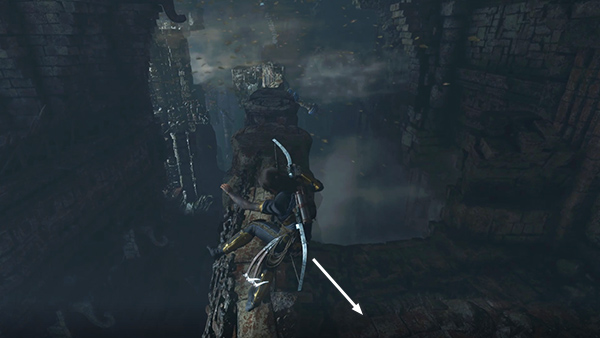
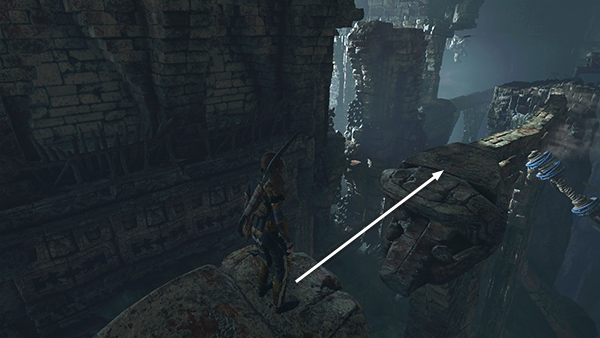
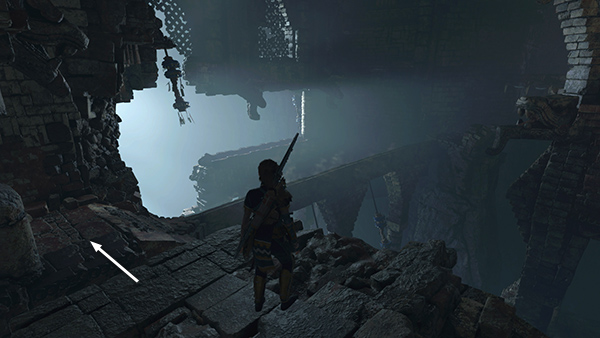
When it dies down, cross the narrow stone
walkway just as far as the shaded area.
Wait here behind the broken wall until the wind abates again.
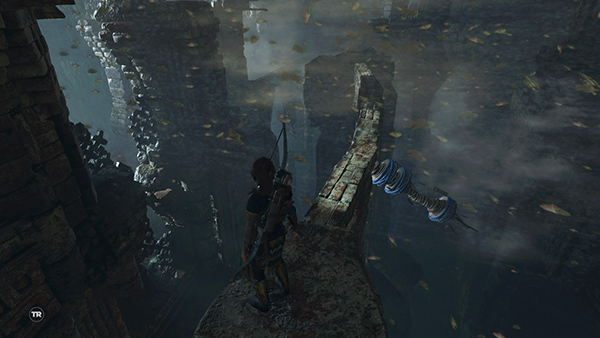
Then scurry forward through the sunlit (i.e., dangerous) area to the end of the walkway.
Turn left and jump down onto the corner ledge.
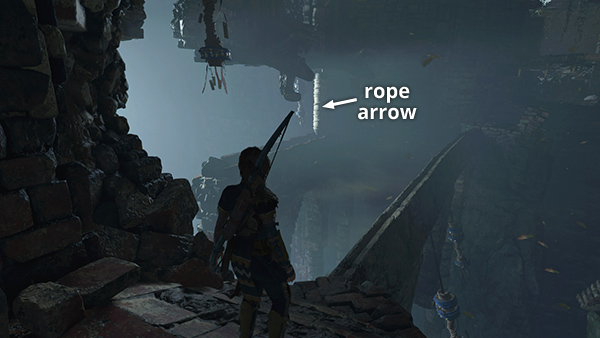
In order to cross the next narrow walkway, you'll need to create your own windbreak. Shoot a rope arrow into the rope coil off to the left of the bridge...

...to slide the wooden panel toward you.
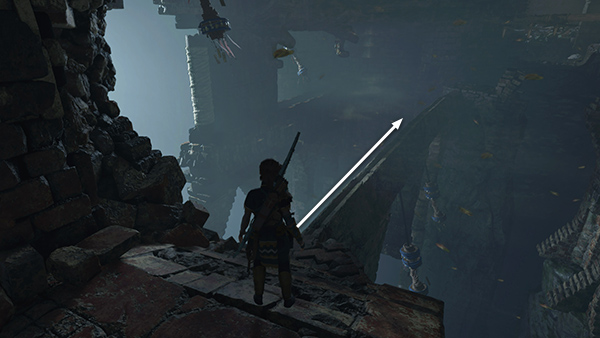
Wait for the wind to die down then scamper halfway across the walkway to the area in the middle that's shielded by the panel.
Wait here for the wind to blow and die back again before continuing to the end of the walkway.
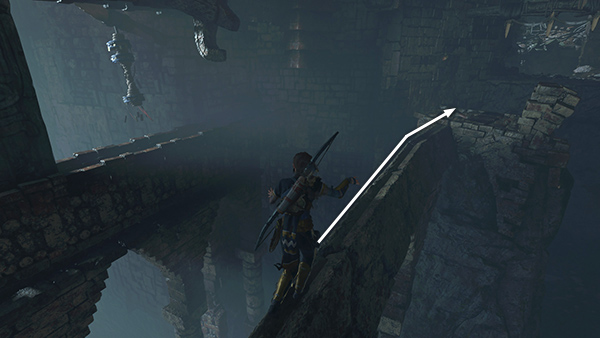
Grapple-swing across the next wide gap to a room with a large hole in the floor.
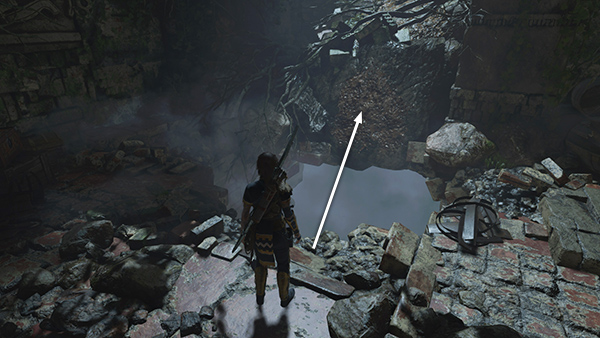
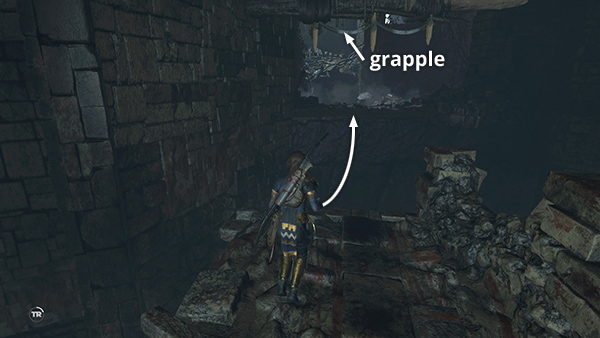
Jump across the hole to the climbable wall on the far side...
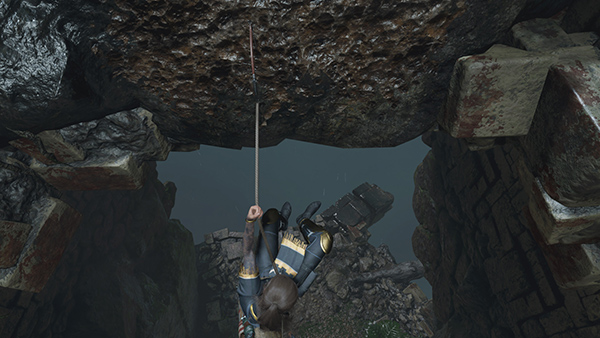
..and rappel down to the ground.
[Previous | Next | Tomb Walkthrough| Hidden City Walkthrough]
Copyright © - Stellalune ( ). All rights reserved. Feel free to copy or print this walkthrough for personal use. By all means, share it with friends, but please include this credit line so people can send me their feedback. No part of this walkthrough may be reproduced on another site without permission. Follow this link for details about this site's advertising and privacy policy.