Kuwaq Yaku – Howling Caves Challenge Tomb (part 3)
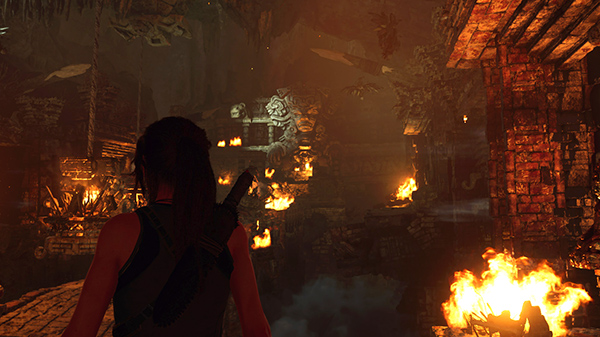
As you enter the tomb, Lara notes the carving of the Xolotl on the far side of the room and says that's where she needs to go. The problem is there are fires blocking the walkway and a pit full of hungry wolves below. The puzzle involves a series of levers that open and close the shutters, allowing the wind to gust through the room. This can be useful for extinguishing fires and moving the huge, spiky pendulums dangling from the ceiling. However, the wind is also strong enough to knock Lara off the edge, so you'll need to work carefully.
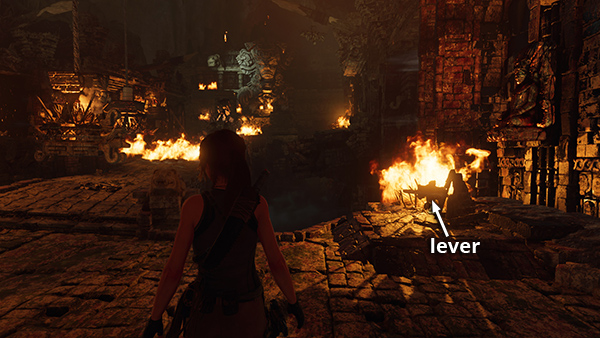
Start by grabbing the first lever, just ahead on the right...
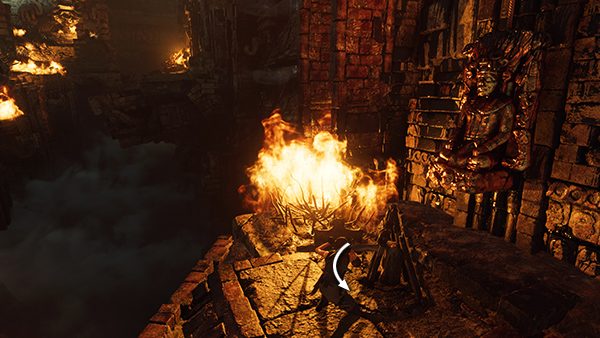
...and pulling toward you.
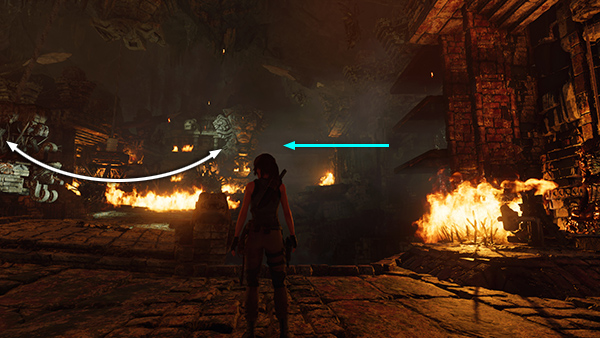
This opens the first set of shutters, just beyond the lever on the right wall. The wind blows through, gusting then dying down at intervals, causing the first spiky pendulum to swing back and forth.
Move out onto the walkway, and when the pendulum approaches, jump up and grab onto it.

As it swings to the left, climb in that direction, until Lara is hanging from the stone carving protruding from the left side of the pendulum.

When the pendulum swings all the way to the left, jump to grab the ledge on the left.
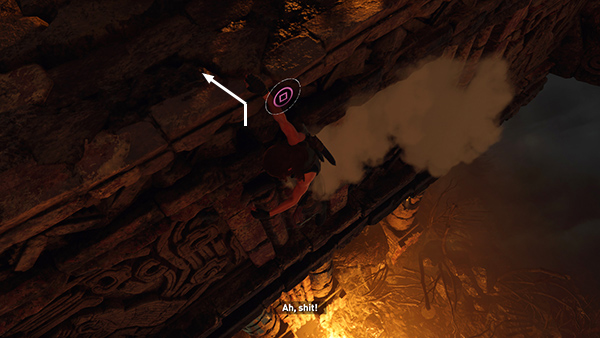
Lara will lose her grip, and you'll need to press Interact for a saving grab, otherwise she'll fall into the wolf pit below. Then pull up.
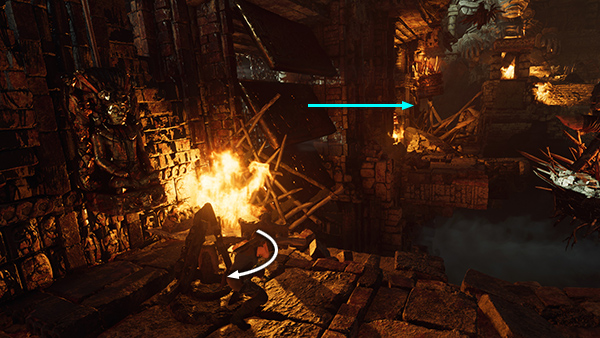
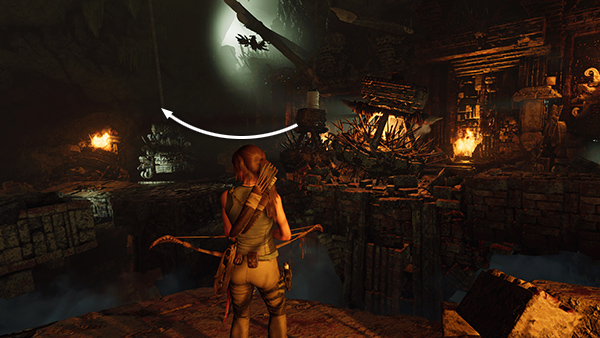
Loot the supply canister. Then use the second lever to open the second set of shutters, , just ahead on the left wall.
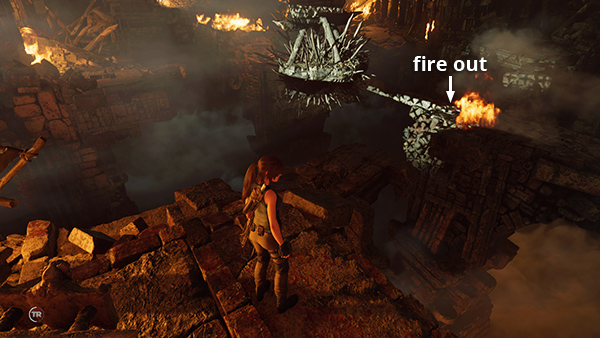
The wind blows through and starts moving the second spiky pendulum, but more importantly, it extinguishes the fire on the middle walkway that had been preventing you from moving forward.
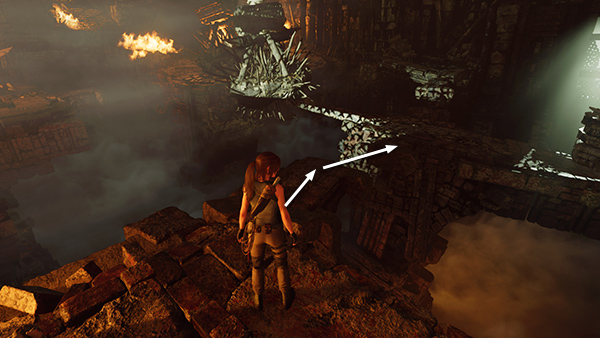
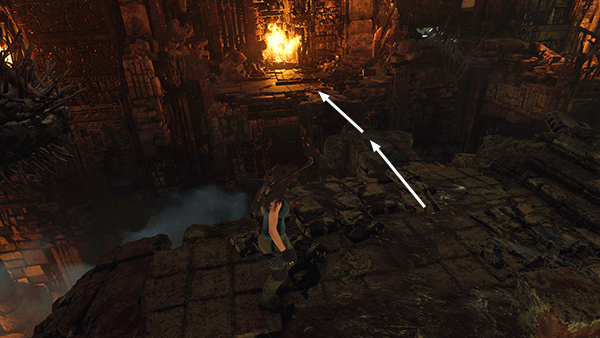
Jump across the gap to to the middle walkway...
...and form there to the ledge on the far side of the room, to the right of the first set of shutters. Turn left and move to the end of this ledge.
Then jump across to the next ledge on the same side of the room.
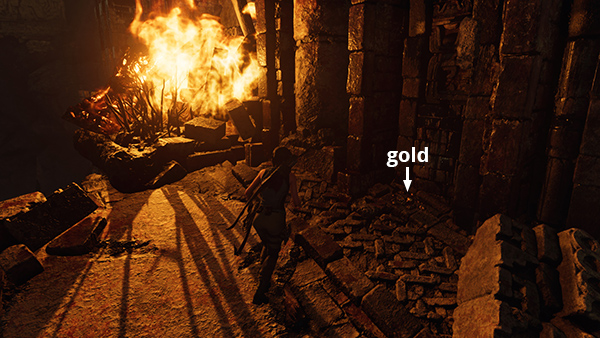
There's some gold ore sitting in a little pile near the wall. Grab it.
Then turn around to face the second pendulum. Wait for the wind to blow it toward this side of the room.
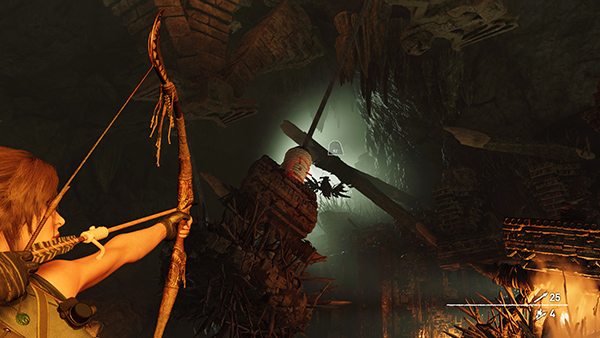
Then shoot a rope arrow into the coil at the top of the pendulum...
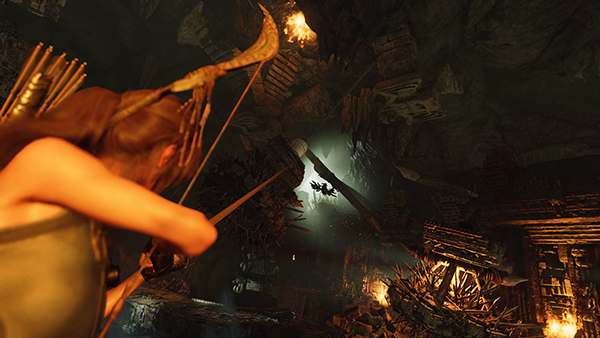
...to pull it toward you.

This should cause the pendulum to swing into the pile of debris on the middle walkway, knocking it off the edge.
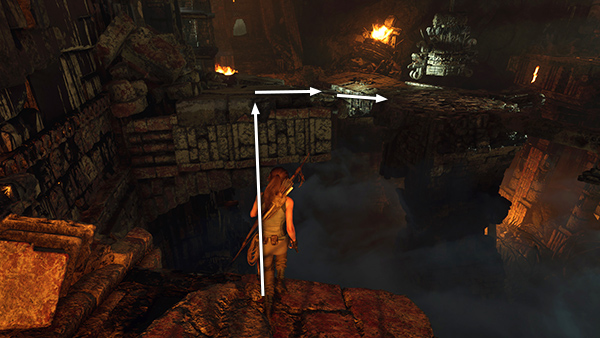
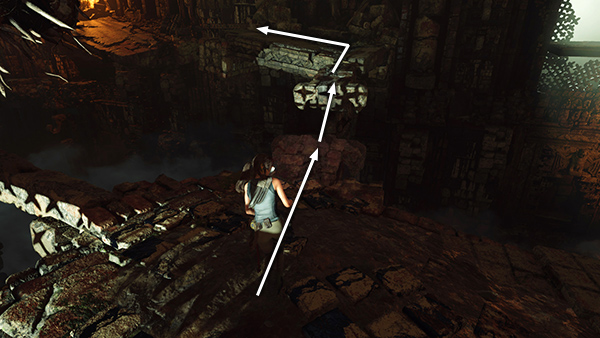
Jump back to the previous ledge along this same wall. Then jump from there to the middle walkway...
...and from there to the ledge with the second lever.
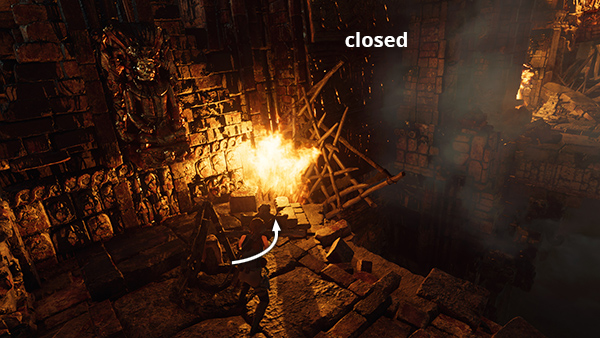
Use the second lever again to close the shutters.
NOTE: If you're playing with keyboard and mouse and are having trouble operating any of the levers, try using a combination of controls (e.g. W+D, W+S, etc.) to pull or push the lever on a slight diagonal. That should help.
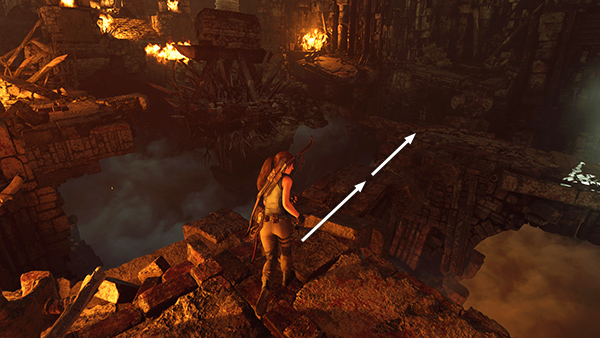
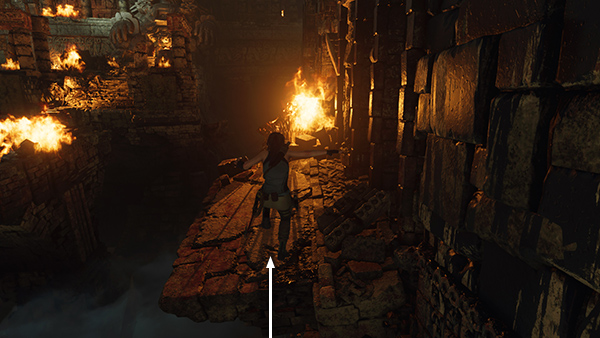
Jump back over to the center walkway.
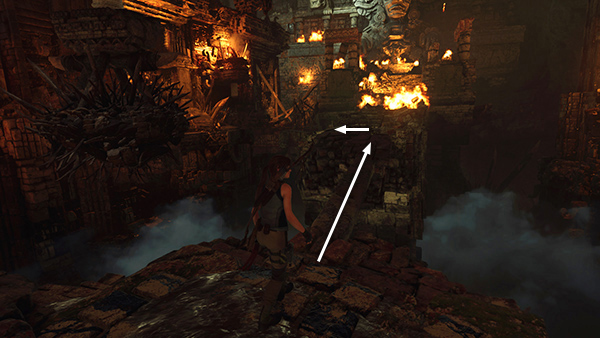
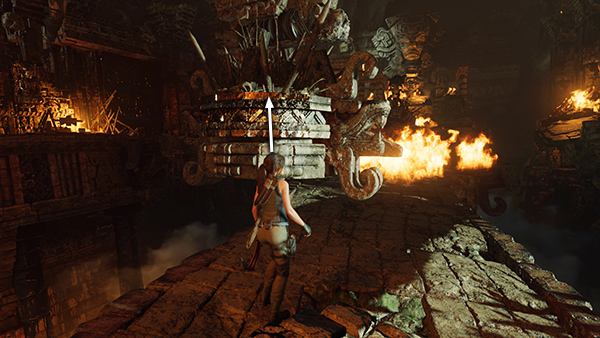
Turn left and walk across the narrow stone beam to the part of the center walkway where the pile of debris used to be. (If you try to do this without first closing the shutters, the wind will blow Lara off the edge.) Another fire prevents you from getting any closer to the altar. So turn left...
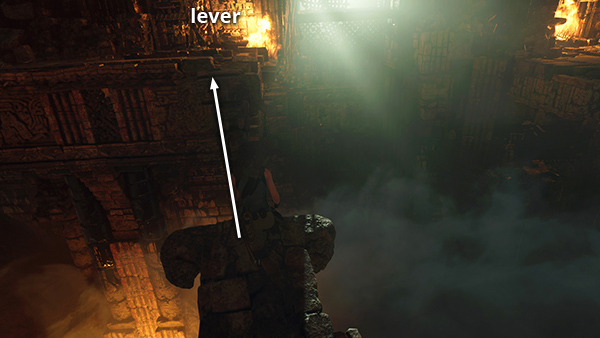
...and jump over to the ledge with the third lever.
[Previous | Next | Howling Caves Walkthrough]
Copyright © - Stellalune ( ). All rights reserved. Feel free to copy or print this walkthrough for personal use. By all means, share it with friends, but please include this credit line so people can send me their feedback. No part of this walkthrough may be reproduced on another site without permission. Follow this link for details about this site's advertising and privacy policy.