Rise of the Tomb Raider - Soviet Installation Missions
Updated: 4/24/16(†)
There are 5 missions in the Soviet Installation. This guide should help you complete them all. If you are playing through for the first time, you may want to follow the main walkthrough instead.
To check your progress on any mission, open the map screen in game. Then press Y on the controller or click the Missions/Challenges button at the bottom of the map screen. This sub-menu shows active and completed missions and challenges, and lets you toggle between them if you have more than one active at a time. Objectives for the active challenge are then highlighted in green on your in-game map and in Survival Instinct view.
Communications Breakdown · The Unlucky Ones · Dangerous Territory · Misguided Intelligence · Gulag Recon
COMMUNICATIONS BREAKDOWN
MISSION GIVER
This mission is offered by the Remnant General who approaches Lara when she first arrives at the Logging Camp Base Camp. He asks you to destroy 5 communication towers, all of which are located in the same general area. The towers are marked with yellow dots on the annotated level map. The walkthrough includes additional details and screenshots. (Click screenshot to enlarge.)
TOWER 1
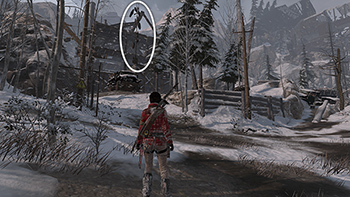
The first tower is at the south end of the sawmill building, just up the hill from the Logging Camp Base Camp. Depending on when you complete the challenge, there may be wolves off to the east or Trinity soldiers lurking nearby, so stay sharp. (Click screenshot to enlarge.)
TOWER 2
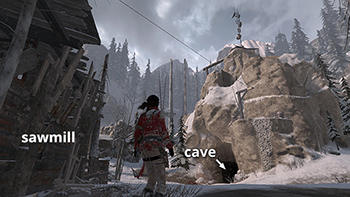
The next tower is on top of the tall rock formation east of the sawmill. This is the same formation with the wolves' den beneath it. If you head up the hill from the Logging Camp Base Camp and around the right (east) side of the sawmill, the tower is directly ahead. The walkthrough details the path to the top of the rocks. (Click screenshot to enlarge.)
TOWER 3
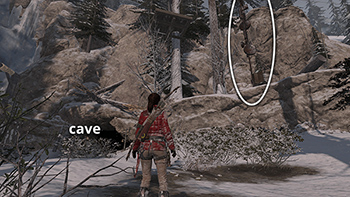
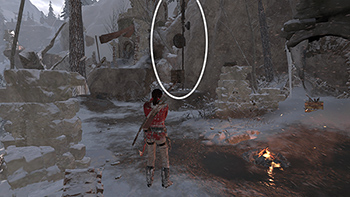
If you're coming from the south, you'll see the third tower on a rock ledge to the right of the cave leading to the Voice of God Challenge Tomb, as shown here. If you've just destroyed the second tower, on top of the tall rock formation, the third is near the end of the zip line you'll ride down from there. See the walkthrough for details. (Click screenshot to enlarge.)
TOWER 4
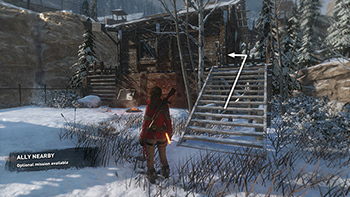
This tower is right next to the Sheltered Ridge Base Camp. If you fast travel back here, you'll find it immediately. If you haven't discovered this camp yet and are climbing up from below, check the walkthrough for details. (Click screenshot to enlarge.)
TOWER 5
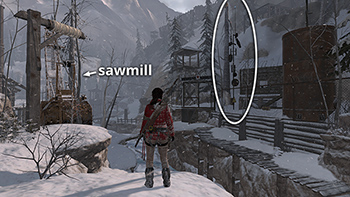
This tower is in front of the shack near the rusted water tank and wooden guard tower on the other side of the frozen stream from the sawmill. In this screenshot Lara is looking west from the area just below the Sheltered Ridge Base Camp. (Click screenshot to enlarge.)
COMPLETING THE MISSION: When you finish destroying all 5 towers, return to the Remnant General near the Logging Camp Base Camp. Talk to him and he'll give you the LOCKPICK.
THE UNLUCKY ONES
MISSION GIVER
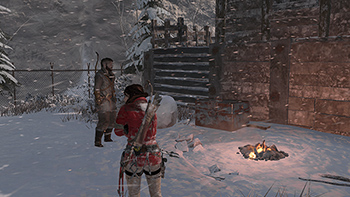
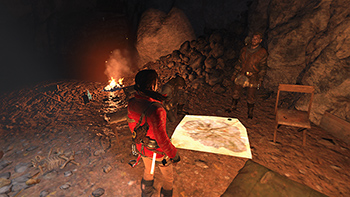
When you return from the Gulag, stop by the Logging Camp Base Camp and talk to the Remnant General who gave you the first mission (above). He can now be found inside the cabin next to the campfire. He'll then ask you to do another job for him. (Click screenshot to enlarge.)
QUEST
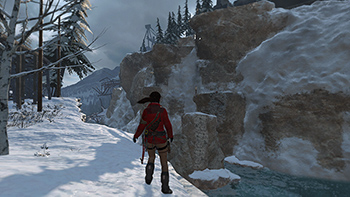
This mission involves returning to the Train Yard to rescue a pair of captured Remnant warriors. Rather than fast traveling to the Train Yard Base Camp, you'll need to cross the river, climb the cliffs, and sneak in the back way. See the walkthrough for details and screenshots. (Click screenshot to enlarge.)
COMPLETING THE MISSION: When you have freed the prisoners, return to the Logging Camp Base Camp, go into the cabin, and speak to the general again. He'll reward you with an Outfit: The Infiltrator.
DANGEROUS TERRITORY
MISSION GIVER
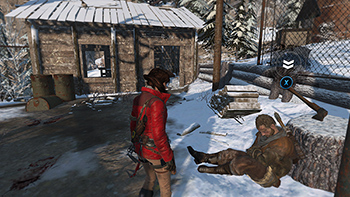
When you return to the main area from the Gulag, there's an injured Remnant scout sitting outside the shack just up the hill from the Logging Camp Base Camp. (Near Document 6 on the map.) He'll ask you to clear out a nearby wolf den so he and his comrades can shelter there. You can do his mission before or after the Remnant General's. (Click screenshot to enlarge.)
QUEST
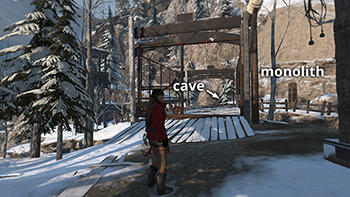
The cave the scout mentioned is located to the northeast, on the other side of the frozen stream. It is directly across the bridge from the sawmill building and is marked C6 on the map. Go inside and kill all the wolves you find there. The walkthrough includes details and wolf-fighting tips. (Click screenshot to enlarge.)
COMPLETING THE MISSION: When you've cleared out the den, return across the frozen stream and down the hill to the Remnant scout to give him the good news. He'll reward you with a PISTOL SIGHT. You can equip it by visiting any base camp.
MISGUIDED INTELLIGENCE
MISSION GIVER
After you do the Dangerous Territory Mission for the other NPC, revisit the Remnant General in the cabin near the Logging Camp Base Camp. He'll offer you a third task: intercept and shoot down a missing carrier bird. (Click screenshot to enlarge.)
THE QUEST
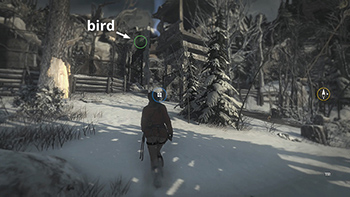
When you accept the mission, the current location of the bird is marked in green on your map and in Survival Instinct. Track it down and kill it. The walkthrough includes specifics. You don't need to actually search the dead bird for the message but doing so will yield feathers, as usual. (Click screenshot to enlarge.)
COMPLETING THE MISSION: As soon as you kill the bird, the mission is complete and you can return to the general in the cabin near the Logging Camp Base Camp for your reward: a SHOTGUN SPREADER CHOKE. If you don't yet have a shotgun, this upgrade will be applied later when you get one.
GULAG RECON
MISSION GIVER
Return to the cave where you killed the wolves for the Dangerous Territory Mission (above). Again, it's the cave marked C6 on the map, located just across the bridge northeast of the sawmill. Talk to the same Remnant scout who gave you that mission, and he'll ask you to return to the Gulag to retrieve some crucial intel. (Click screenshot to enlarge.)
THE QUEST
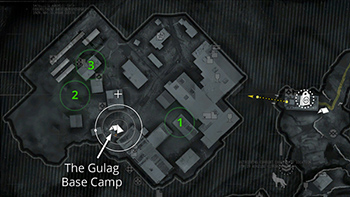
Fast travel from any base camp to The Gulag and use your in-game map and/or Survival Instinct to locate the 3 intel items, which will be highlighted in green. The the walkthrough details the entire mission. (Click screenshot to enlarge.)
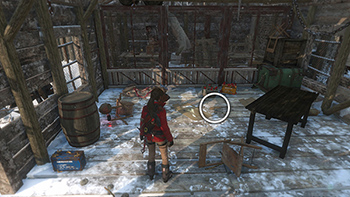
From the Gulag Base Camp head up the hill to the south, make a U-turn to the left, wade through the tunnel, and climb the ladder into the building above. Watch out for possible enemies here as you follow the path through the shacks and trenches. The enemy troop movement plans are on the floor in the third shack along. When you have it, backtrack to the base camp. (Click screenshot to enlarge.)
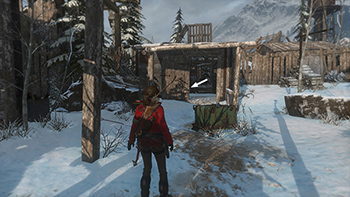
Now squeeze through the partially open gate to the north. The The guard schedule is lying on the floor of the shed at the bend in the path halfway up the hill. (Click screenshot to enlarge.)
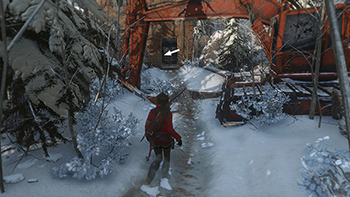
From the shack where you found the last item, continue up the hill, go through the next building and out the other side. Head down the hill, cross a little stream with an abandoned trackhoe, and enter the building ahead. The archaeological evidence you're looking for is a film canister sitting on the table just inside the door on the left. (Click screenshot to enlarge.)
COMPLETING THE MISSION: When you've found all 3 items, return to The Gulag Base Camp, fast travel back to the Logging Camp, and return to the Remnant scout in the cave. He'll give you a RIFLE SUPPRESSOR.
Top of Page | Collectible Guides | Main ROTTR Page
†UPDATE HISTORY: 4/24/16 - Page first posted online.
WAS THIS WALKTHROUGH HELPFUL? If not, I apologize and invite you to contact me with any questions. If you need help right away, I recommend the r/TombRaider subreddit. Other fan-run forums are listed at tombraiders.net/stella/community.html. If this site was useful, please consider supporting it financially or in other ways. For details, visit tombraiders.net/stella/support.html. As always, I welcome your corrections/suggestions. Thank you!
Copyright © 2015 - Stellalune (). All rights reserved. Feel free to copy or print this walkthrough for personal use. By all means, share it with friends, but please include this credit line so people can send me their feedback. No part of this walkthrough may be reproduced on another site without permission. Follow this link for details about this site's advertising and privacy policy.
Stella's Tomb Raider Site: tombraiders.net.
