Return to Egypt - Sandy Cave with Cat Statue - "Alone In The Dark" Achievement/Trophy
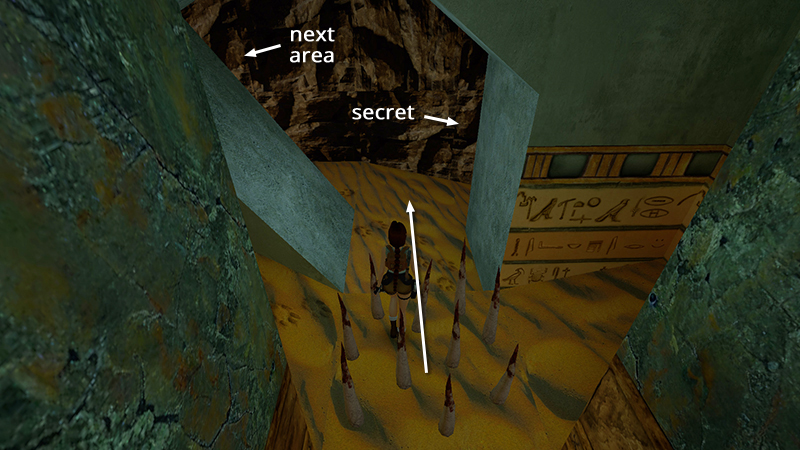
After obtaining secret #2, as shown in the previous section, exit the spike room as you did before, but this time follow the dark passage to the left.
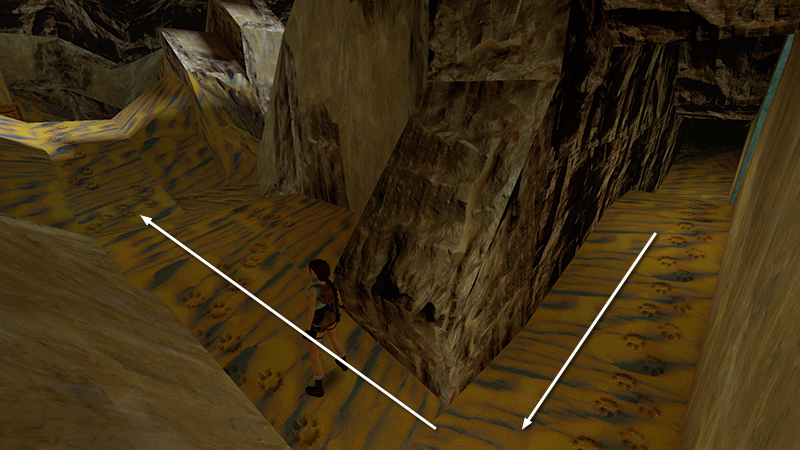
As you enter the wide, sandy cavern ahead...
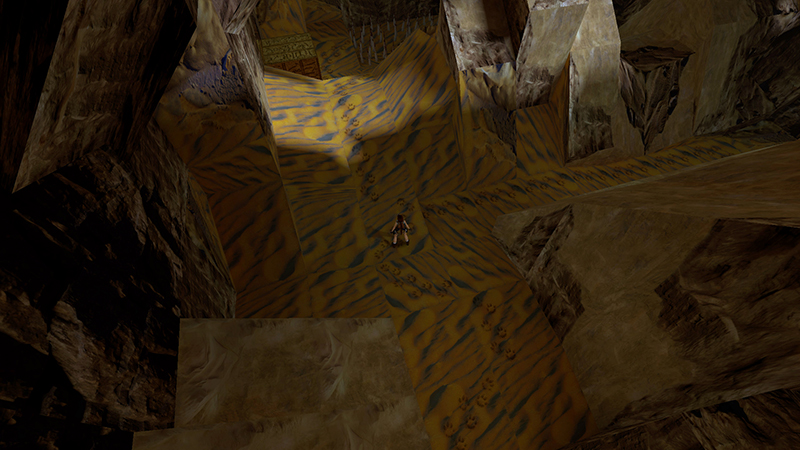
...the camera shifts to give you a bird's eye view. Note the movable block and spikes ahead, but ignore that area for now.
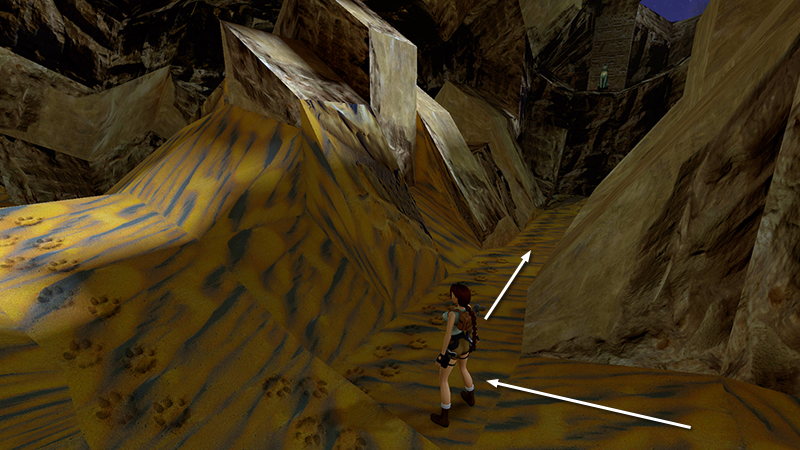
Instead turn right and follow the path between the rocks toward the cat statue on the high ledge.
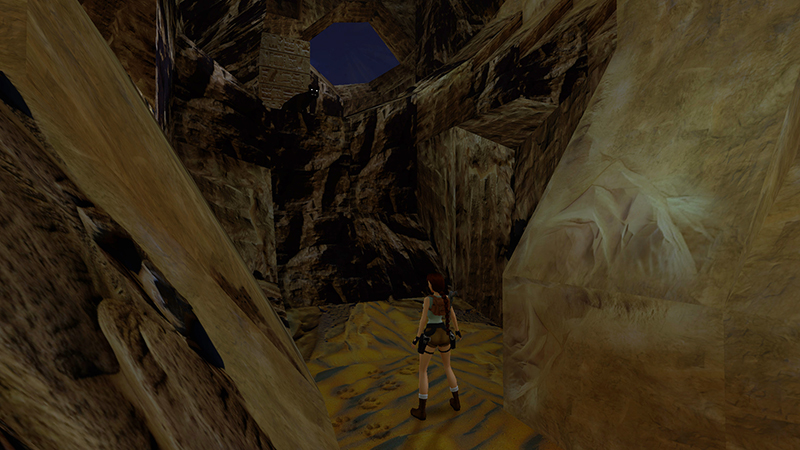
The statue transforms into a live panther (12 or 7)*, but it can't reach Lara from above.
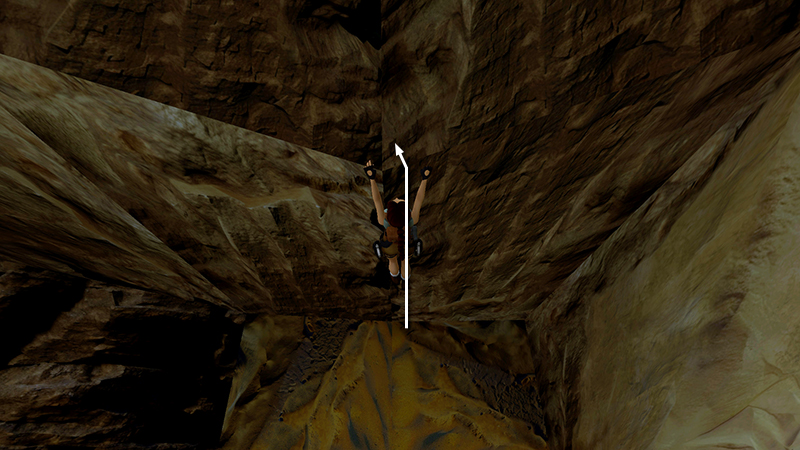
Pull up onto the rock ledge on the right where it dips down in a V.
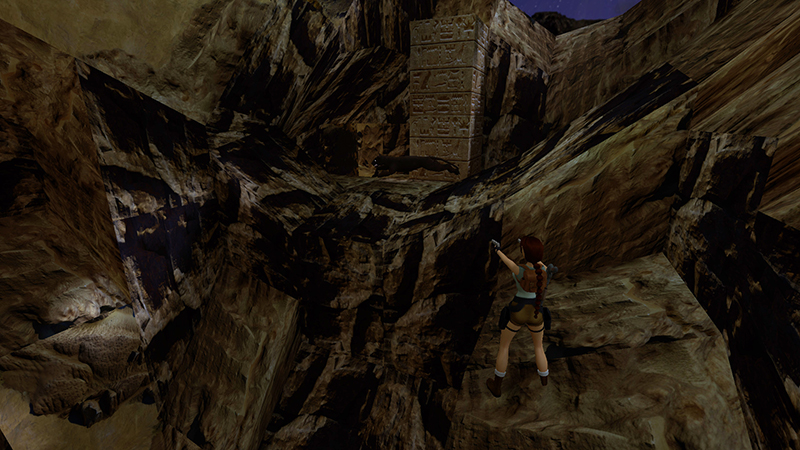
Kill the panther then jump across to the ledge with the carved square pillar.
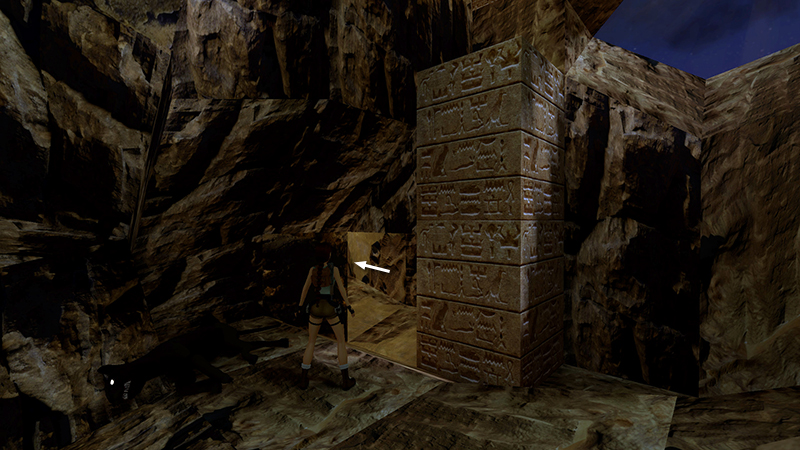
Follow the tunnel to the left of the pillar.
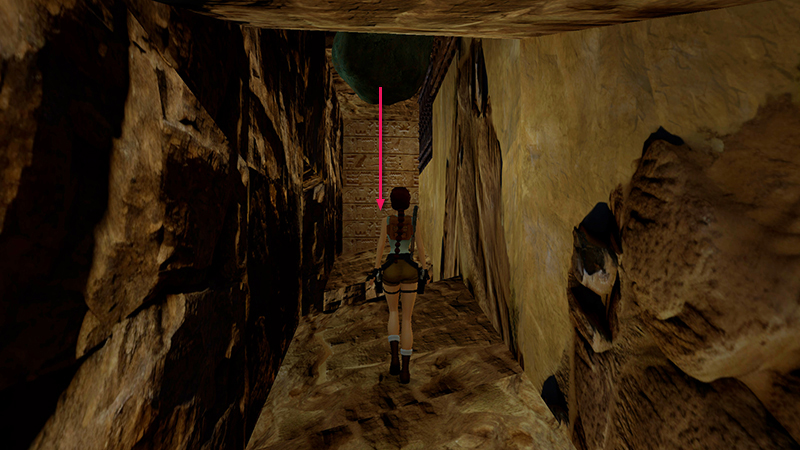
Proceed slowly to avoid a boulder (1/10) that drops from the ceiling directly in front of Lara. (This is one of the boulders you'll need to trigger for the "Roll, Action!" achievement/trophy. There are 10 in this level, 47 across all 4 Unfinished Business levels.)
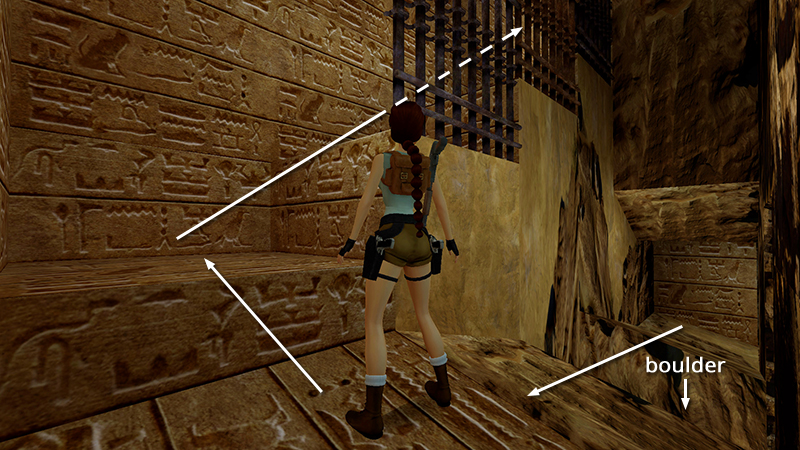
Jump across the gap where the boulder dropped. Then climb the stairs on the right to emerge above the carved pillar.
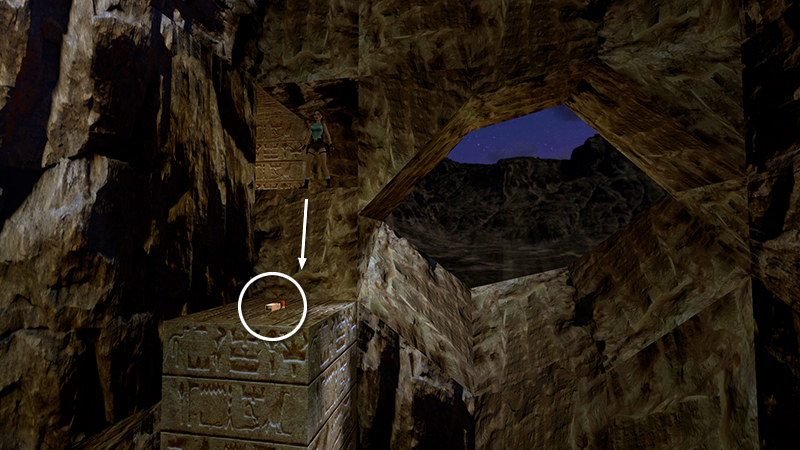
Drop down onto the pillar and collect the shotgun shells (21).
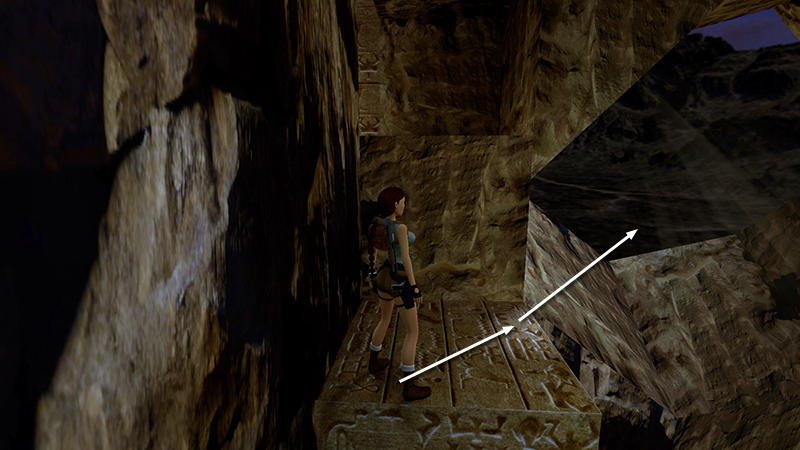
For a quick and easy achievement/trophy, save the game and turn to face the roughly hexagonal opening in the west cavern wall, through which you can see the mountains and sky beyond. Take a running jump through this opening...
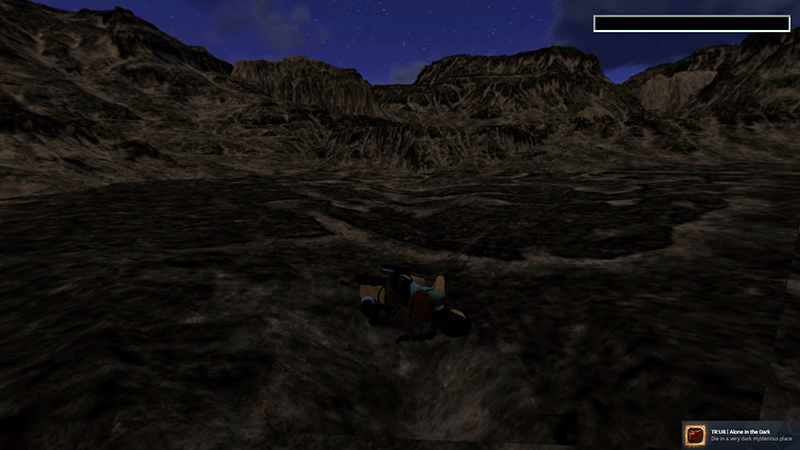
...to fall into the rocky area beyond. Lara will die, and the "Alone in the Dark" achievement/trophy should pop. Reload and climb back into the doorway above the carved pillar.
*NOTE: The running kill counts track the total with or without crocodiles. You'll need to avoid harming any crocs for the "Crocodile Rock" achievement/trophy.
DARK MODE: I plan to add optional dark mode for these pages, but my current priority is updating the walkthroughs. Meanwhile, may I suggest a reputable dark mode browser extension, such as Dark Reader? (Download only from trusted sites, like darkreader.org or your browser's official add-on/extension site.)
Walkthrough text and diagrams copyright © Stellalune (email ). Feel free to copy or print this walkthrough for personal use. By all means, share it with friends, but please include this credit line so people can send me their feedback. No part of this walkthrough may be reproduced on another site without permission.