Return to Egypt - Dark Passage and Secret #2
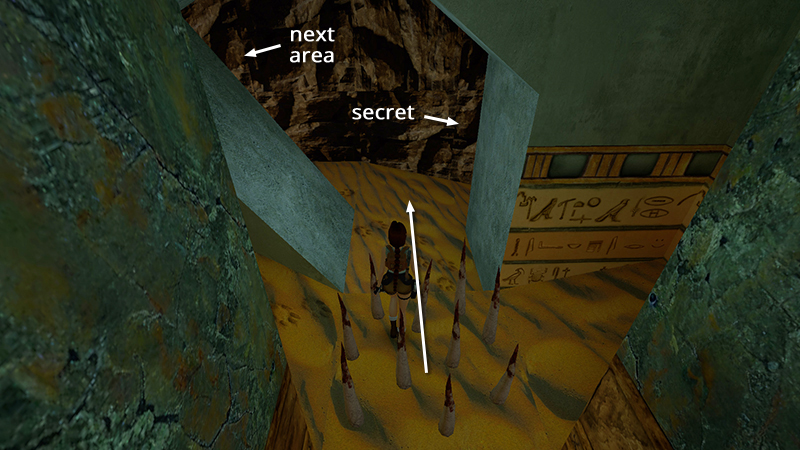
After exiting the spike room, as shown in the previous section, follow the dark passage to the right. (Or, if you don't care about all items/secrets, instead turn left and skip to the next section.)
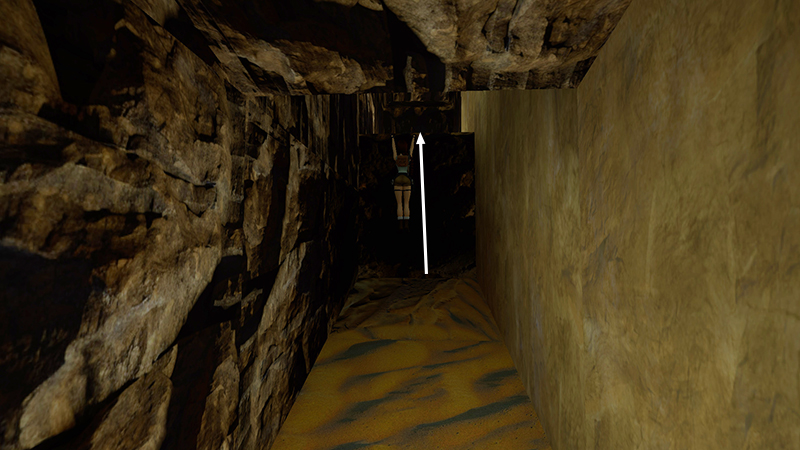
Climb up onto the block ahead.
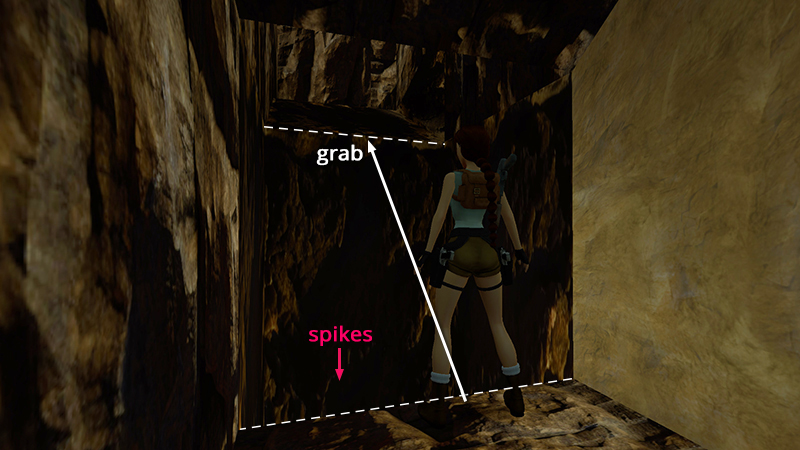
Walk to the opposite edge of the block above more spikes. Take a standing jump to grab the next ledge; pull up.
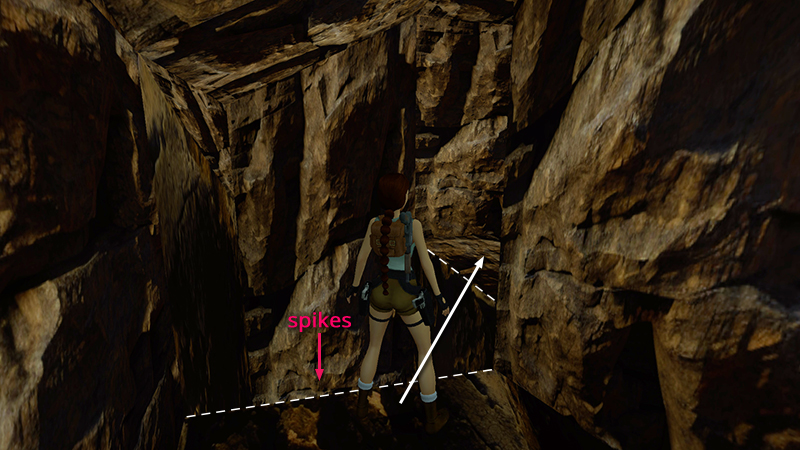
Again walk to the edge, turn Lara a little to the right and jump over another more spikes onto the next ledge.
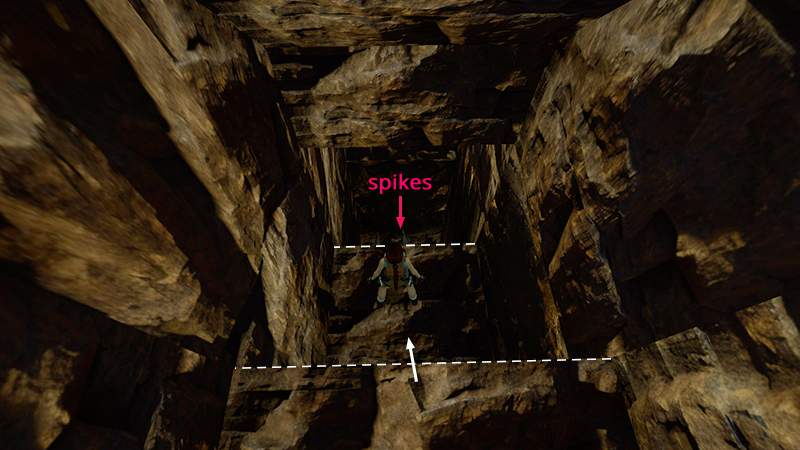
Carefully step off the far edge to land on the ledge below, taking care not to run on into the next spike pit.
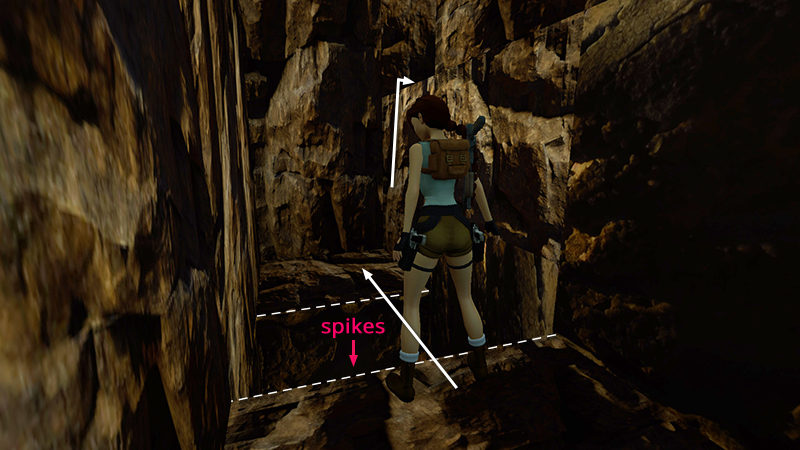
Jump across that pit to the next ledge. Then climb into the doorway above on the right.
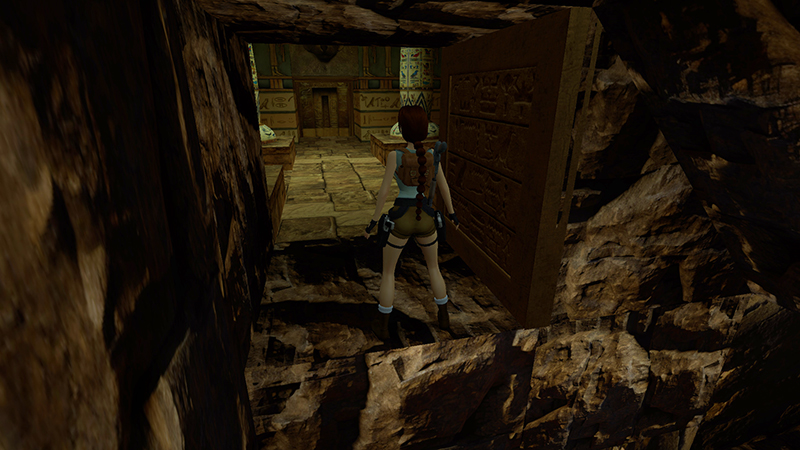
The carved door opens automatically.
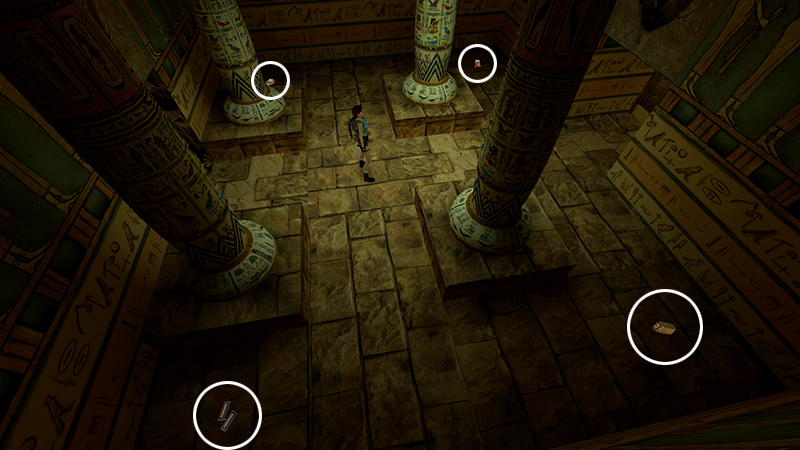
Inside is SECRET #2—a large medi pack, magnum clips, and 2 boxes of shotgun shells (17-20).
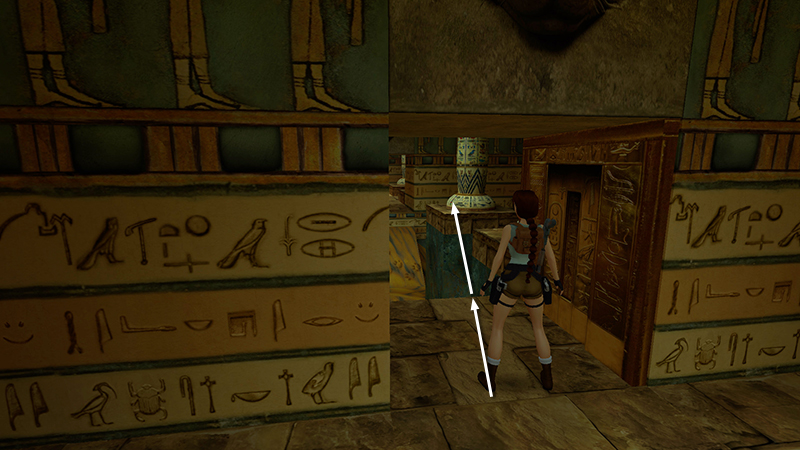
The exit also opens when you approach, and you emerge back at the CORRIDOR WITH PAINTED COLUMNS AND SPIKES. Take a running jump from the doorway to the base of the second pillar on the right.
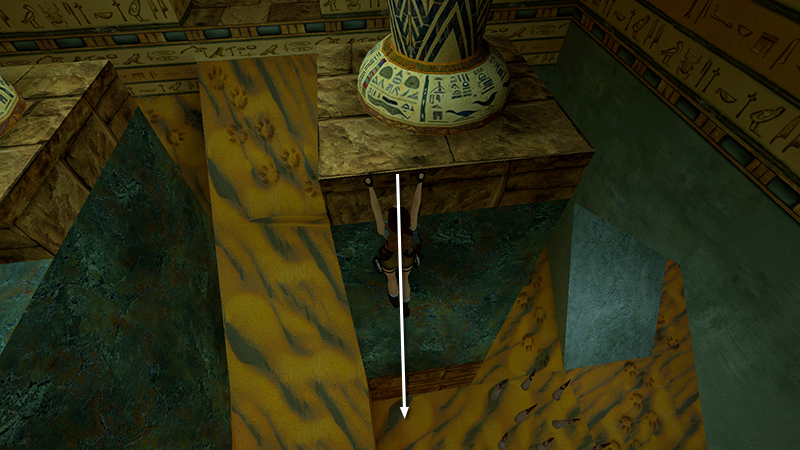
Drop to the floor...

...and once again, walk through the spikes into the dimly lit passageway. This time, turn left.
DARK MODE: I plan to add optional dark mode for these pages, but my current priority is updating the walkthroughs. Meanwhile, may I suggest a reputable dark mode browser extension, such as Dark Reader? (Download only from trusted sites, like darkreader.org or your browser's official add-on/extension site.)
Walkthrough text and diagrams copyright © Stellalune (email ). Feel free to copy or print this walkthrough for personal use. By all means, share it with friends, but please include this credit line so people can send me their feedback. No part of this walkthrough may be reproduced on another site without permission.