Return to Egypt - Low-Ceilinged Room with Crocodile
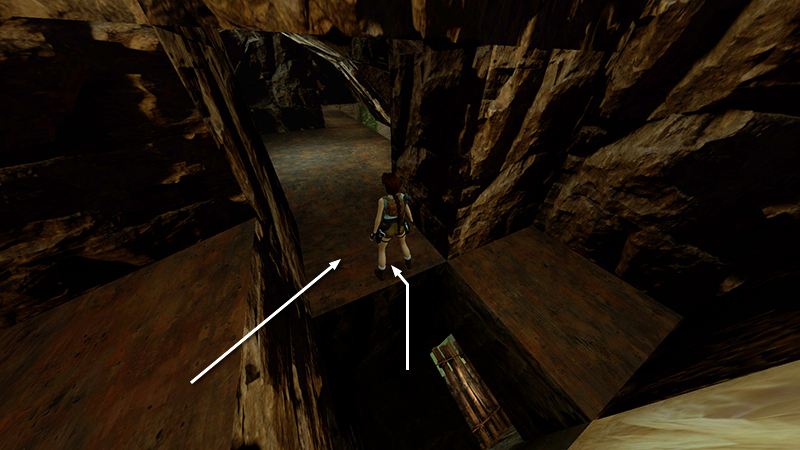 Enter the low-ceilinged room to the south. (If you've come from the cavern with the wooden bridges, you'll pull up into the doorway. If you just got the large medipack [31], you'll hop down from the ledge above.)
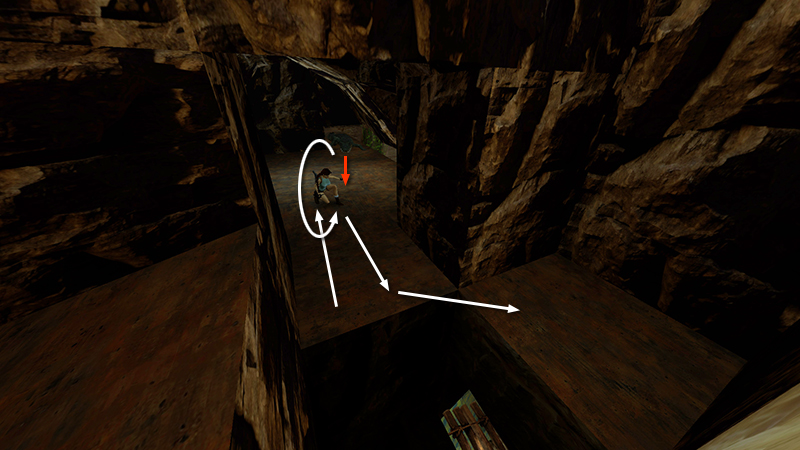
As you step forward, a crocodile (25 or 10)* scurries out of the low opening ahead. If you want to kill it and also conserve shotgun ammo, you can you can roll and jump over to the ledge above the bridge (where you climbed up before).
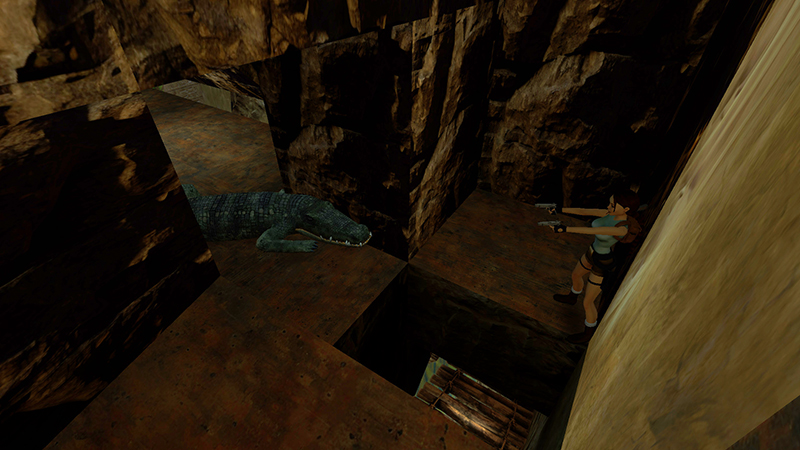
Then shoot the croc from there with pistols.
- OR -
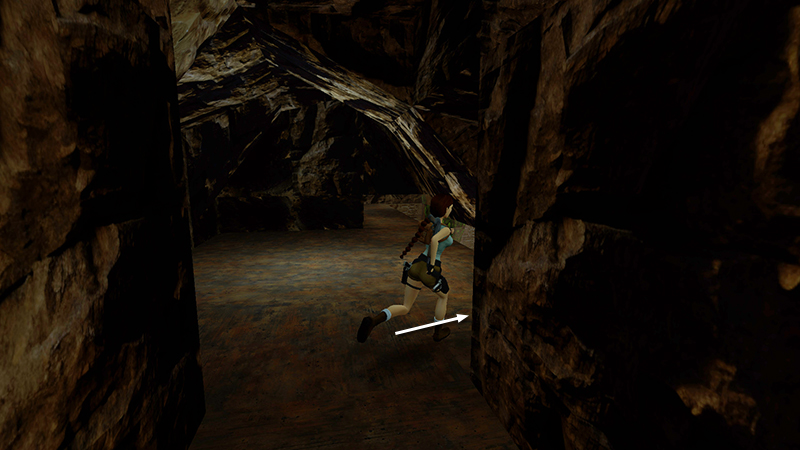
To avoid the croc, run to the right...
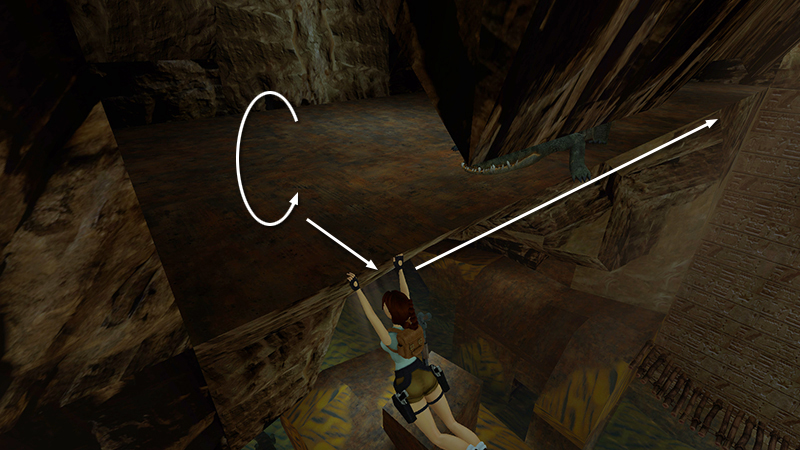
...roll, hop back, and grab the edge of the floor. Traverse to the right, high above the pool...
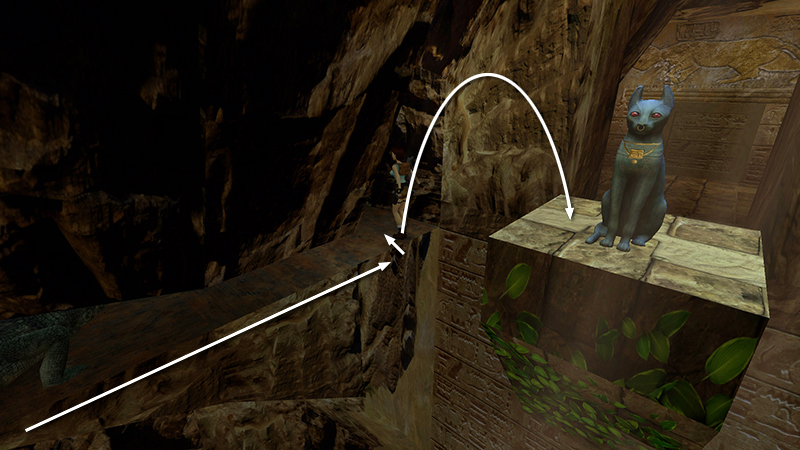
...until you can pull up. Then immediately back flip onto the ledge with the cat statue.
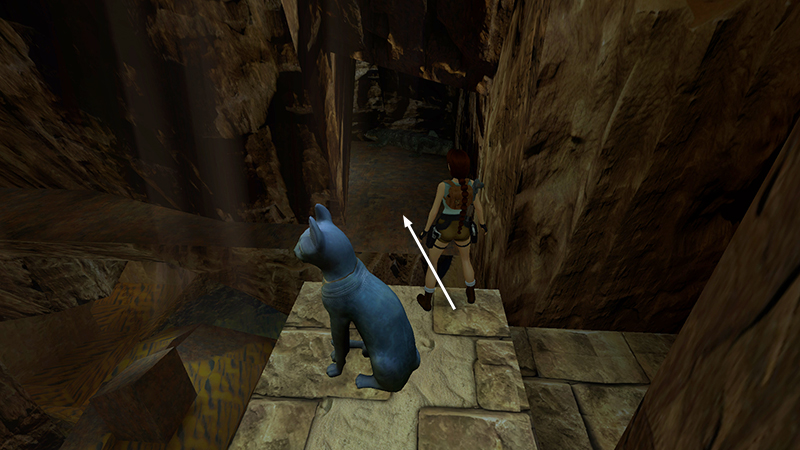
If you want every pickup, save the game.† Then jump back across the gap...
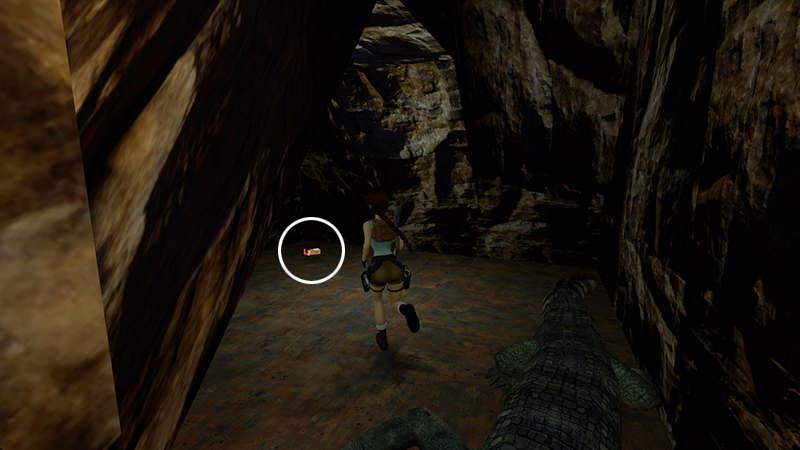
...and run forward to the far left corner of the little room to find some shotgun shells (32). Easy enough if you killed the crocodile. If it's still alive, you'll need to run/jump past it, grab the shells...
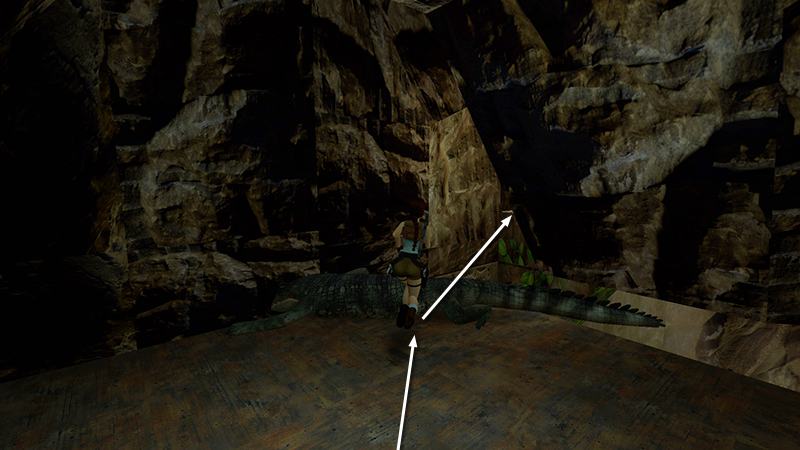
...then turn and run/jump back to the ledge with the cat statue as quickly as possible.
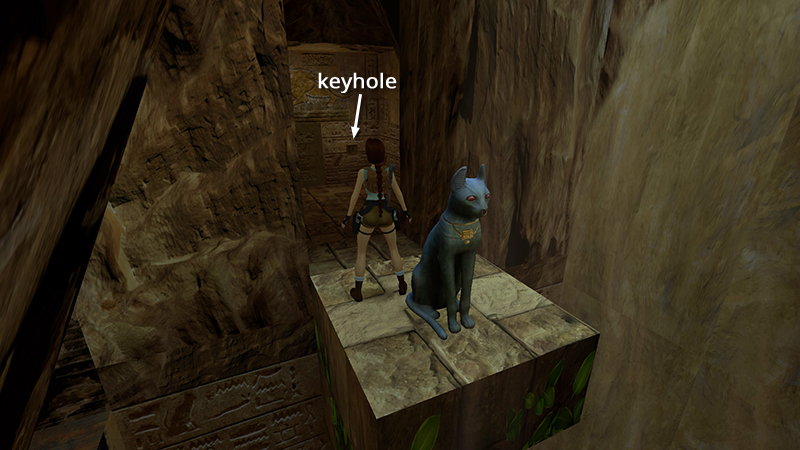
Behind the cat statue is a small room with a locked door. Use the GOLD KEY to open it.
*NOTE: The running kill counts track the total with or without crocodiles. You'll need to avoid harming any crocs for the "Crocodile Rock" achievement/trophy.
†NOTE: If the crocodile is still alive, I strongly recommend saving the game before going for the shotgun ammo. A minor glitch can allow the crocodile to pin Lara in the corner. I was able to get free by repeatedly rolling/side flipping, but Lara took a lot of damage in the process. I found it helped to grab the shells then turn in place, rather than rolling, before running back to the doorway.
DARK MODE: I plan to add optional dark mode for these pages, but my current priority is updating the walkthroughs. Meanwhile, may I suggest a reputable dark mode browser extension, such as Dark Reader? (Download only from trusted sites, like darkreader.org or your browser's official add-on/extension site.)
Walkthrough text and diagrams copyright © Stellalune (email ). Feel free to copy or print this walkthrough for personal use. By all means, share it with friends, but please include this credit line so people can send me their feedback. No part of this walkthrough may be reproduced on another site without permission.