Kingdom - Network of Cages with Switches (Continued)
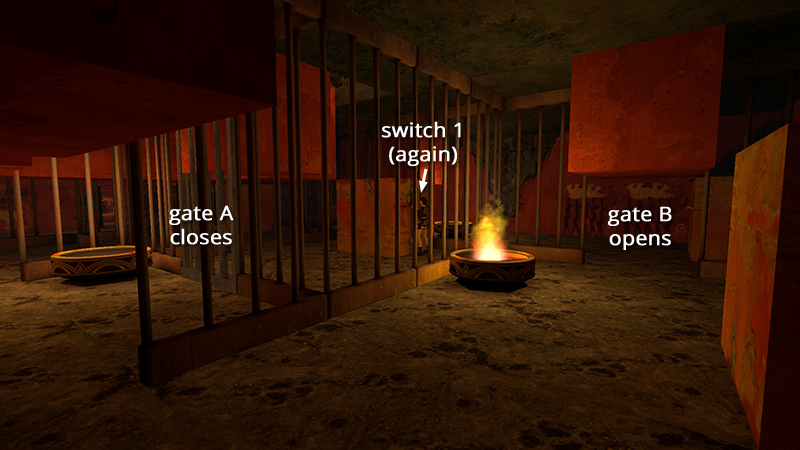
In the last section, you dropped into the area with the cages, used the first 5 switches, then returned to the cage where you started. Pull switch #1 again to return it to the 'up' position and open gate B. (It also closes A, but you can exit through G.)
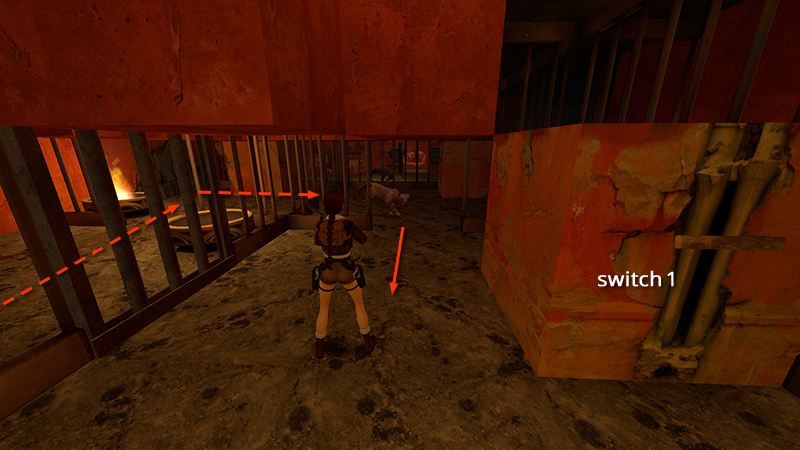
If you didn't kill the first leopard (5) earlier because it remained trapped in its original cage, it will now be able to reach you. Shoot it as it approaches.
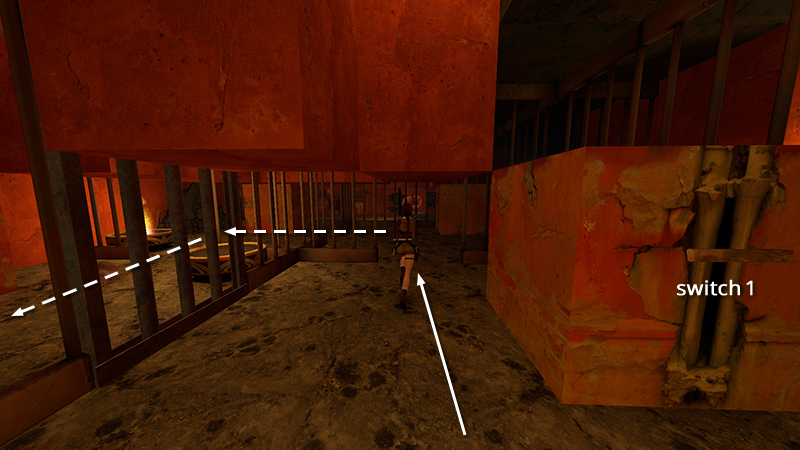
Exit the starting cage through gate G. Go left through gate D, left again through gate C, and straight on...
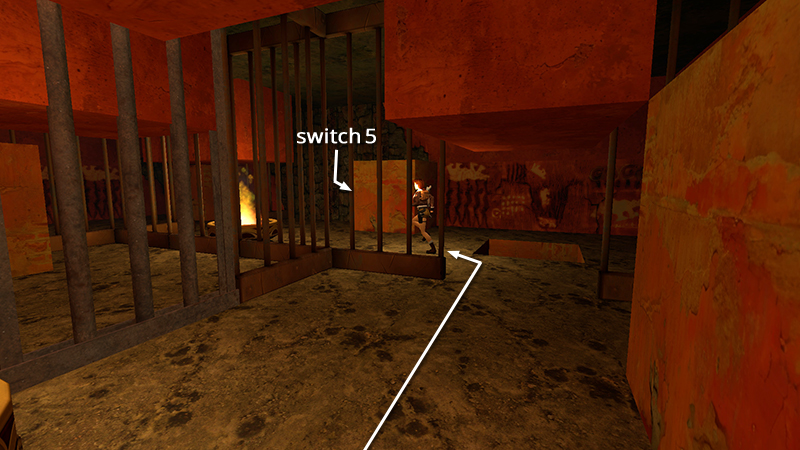
...through gate E into the cage with the pool.
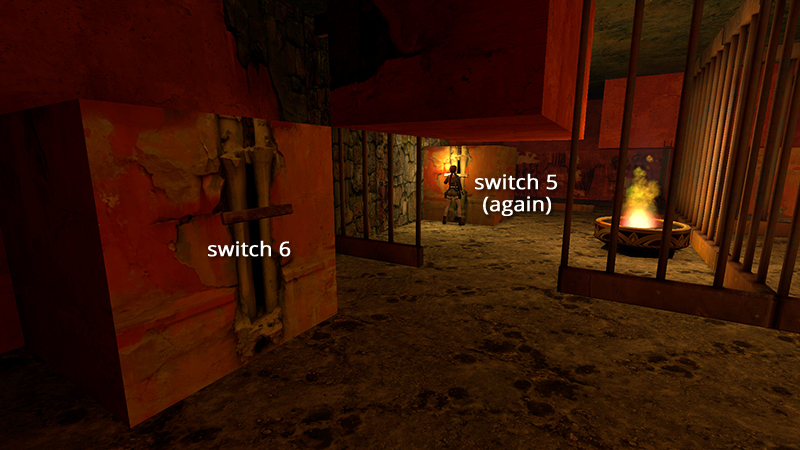
Pull switch #5 again. This puts it in the 'up' position...
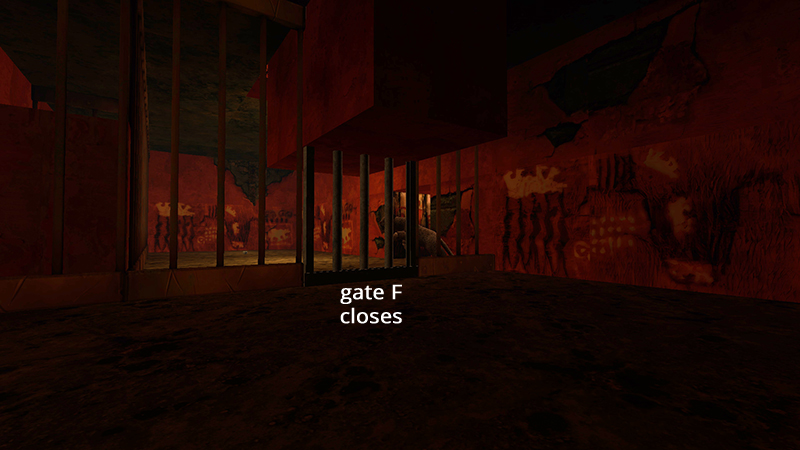
...and closes gate F, near the exit.
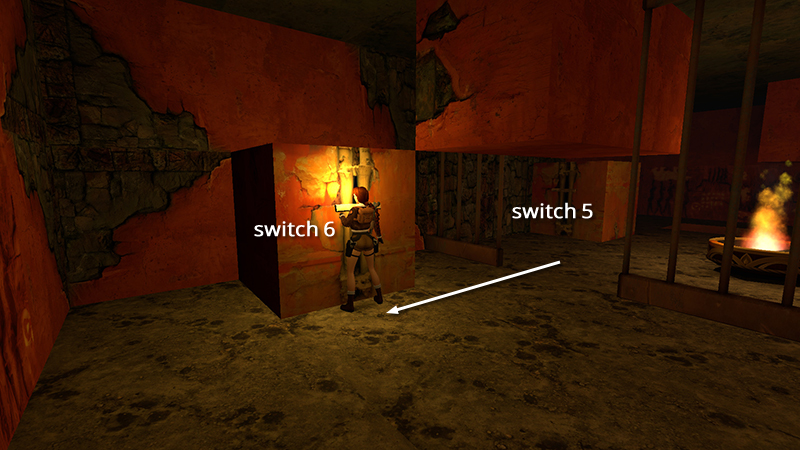
Turn around and go through gate B into the cage with switch #6.
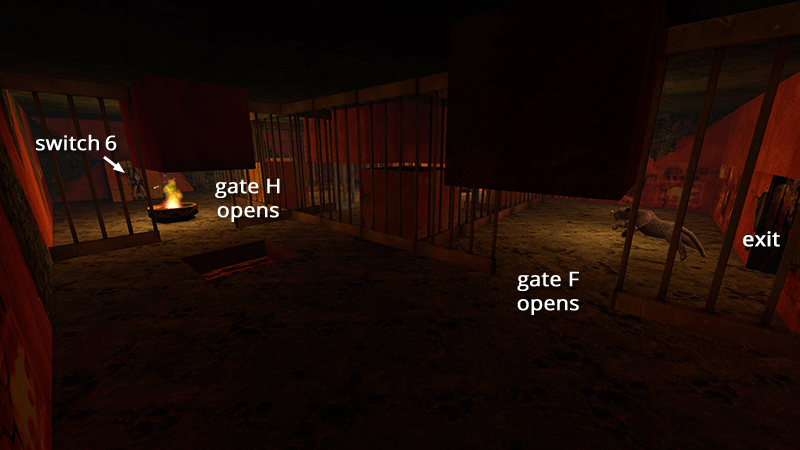
Use it to open both gate F (near the exit) and H (directly behind you if you're facing the switch).
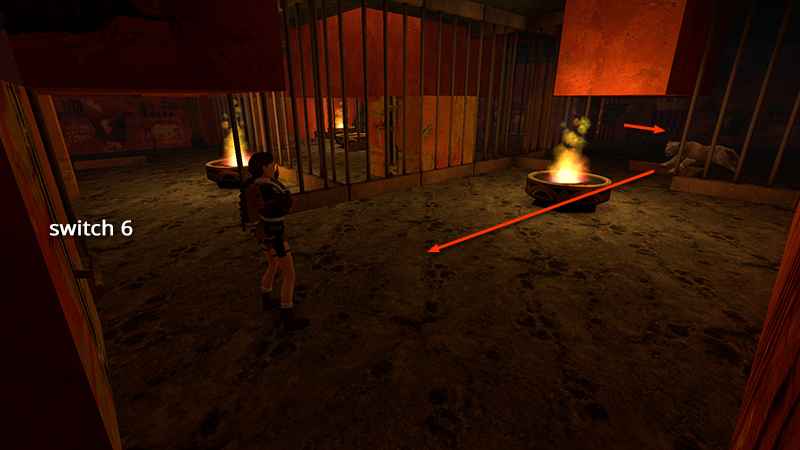
Immediately roll, draw weapons, and shoot the second leopard (6) as it charges toward you. (Or hop up onto the switch block and shoot it from there.)
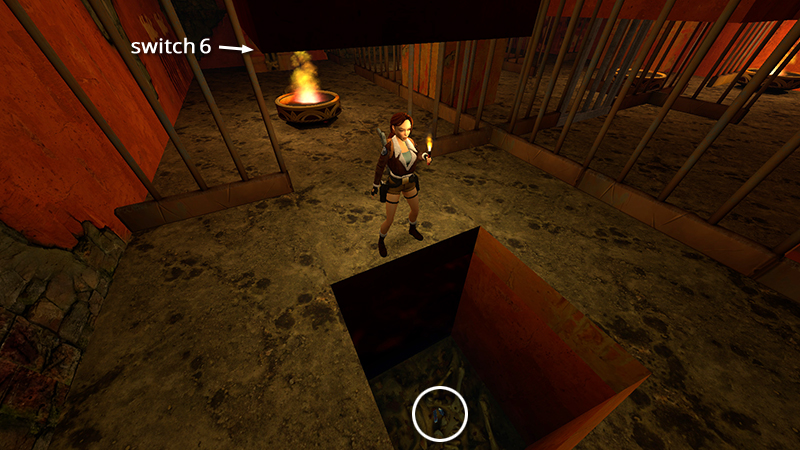
When the coast is clear, go around the burner, which ignited when you pulled that last switch, and through gate H. Hop into the small pool to retrieve some automatic pistol clips (8).
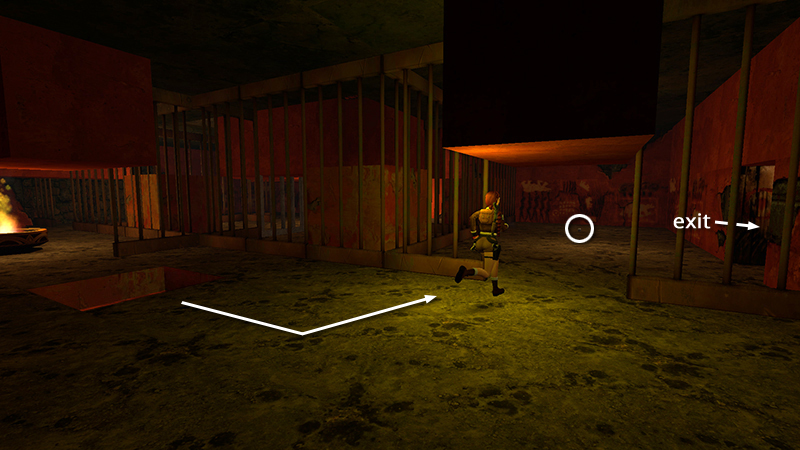
Then continue forward and left through gate F. Pick up the small medi pack (9) on the floor ahead and then go through the wooden door, which you opened earlier using switch #4.
[Previous | Next | Kingdom Walkthrough]
DARK MODE: I plan to add optional dark mode for these pages, but my current priority is updating the walkthroughs. Meanwhile, may I suggest a reputable dark mode browser extension, such as Dark Reader? (Download only from trusted sites, like darkreader.org or your browser's official add-on/extension site.)
Walkthrough text and diagrams copyright © Stellalune (email ). Feel free to copy or print this walkthrough for personal use. By all means, share it with friends, but please include this credit line so people can send me their feedback. No part of this walkthrough may be reproduced on another site without permission.