The Cold War - Leopard/Snowball Cave
NOTE: I want you to be able to see what's going on, so I tend to increase the brightness in these screenshots and use more flares than you'll probably need. For tips on conserving flares, see the note in the main walkthrough.
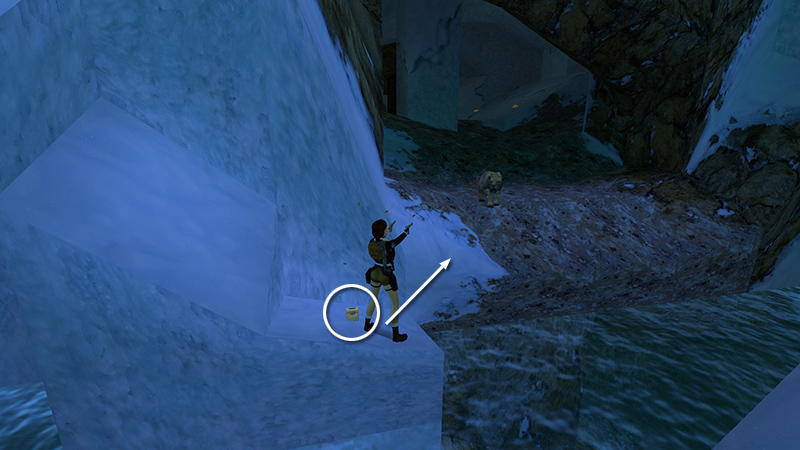
After collecting secret #1, detailed in the last section, return to the surface and climb out of the pool on the small, snowy ledge on the left side of the cave opening. Get the flares (1) and shoot the leopard (2) in the cave if you didn't do so earlier. Then hop over to the area where the leopard fell.
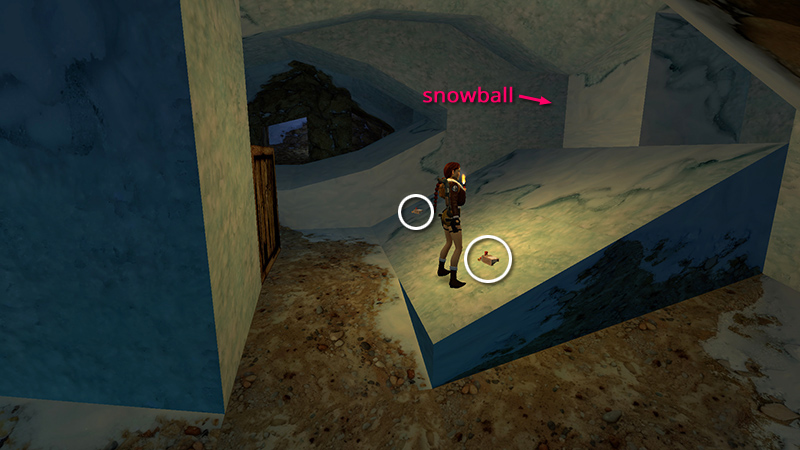
Just inside the cave is a slope with 2 boxes of shotgun shells (9-10). You can pick up the first box without any trouble. But when you take the second box, a huge snowball rolls down from the right.
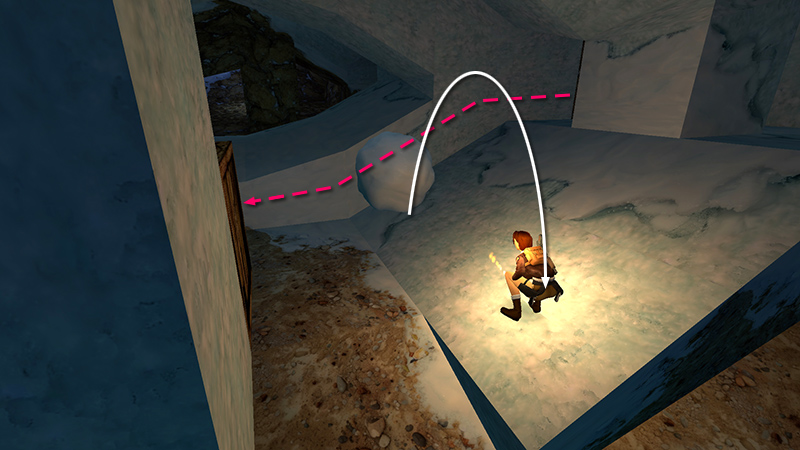
Backflip out of the way to avoid it.
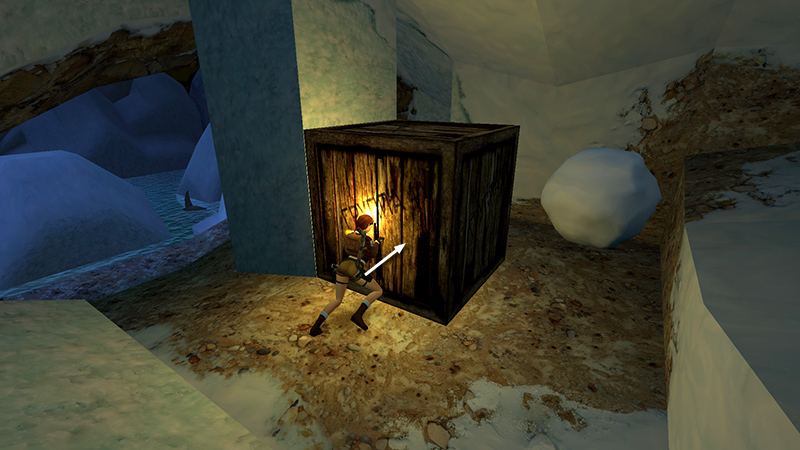
On the left is a movable crate. Push it once...
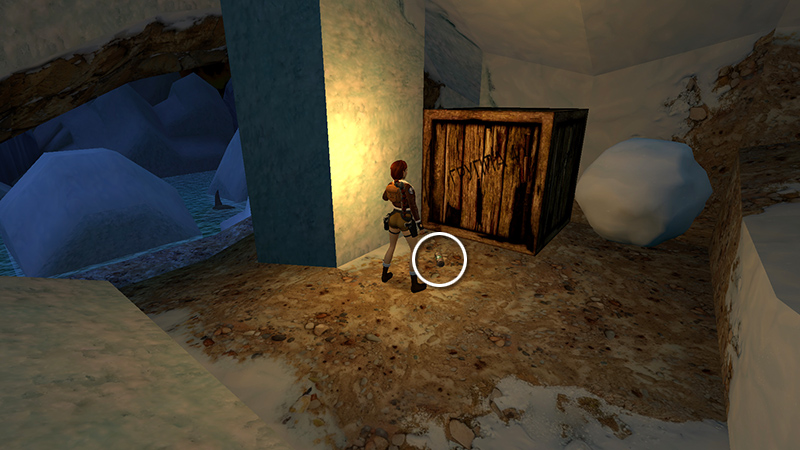
...to find a small medi pack (11) underneath.
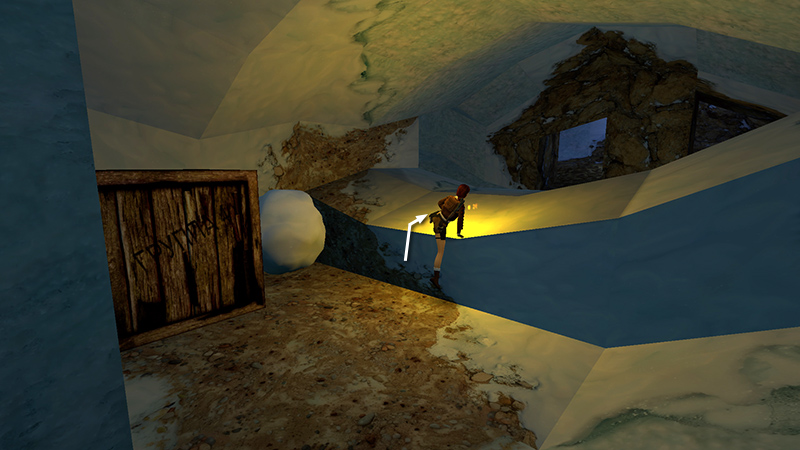
Vault up onto the low ledge separating the two sides of the cave, but don't hop down on the other side yet, or you'll trigger another avalanche.
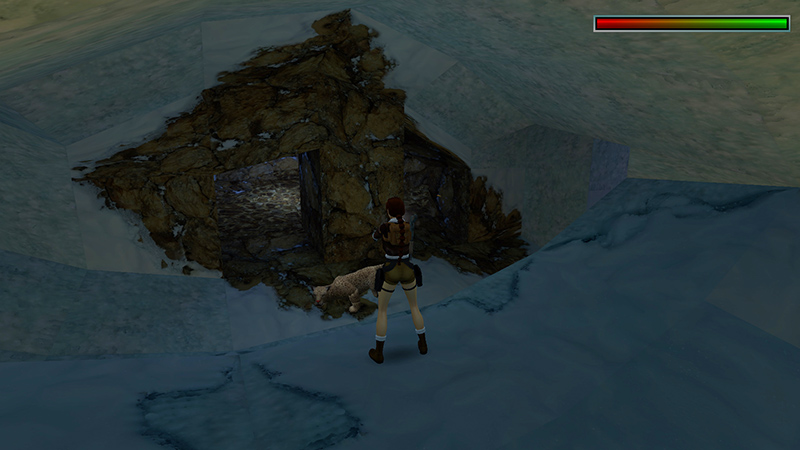
Two more leopards (3-4) emerge from the connecting passageways on the right. One cat prances around ahead, near the two stone doorways.
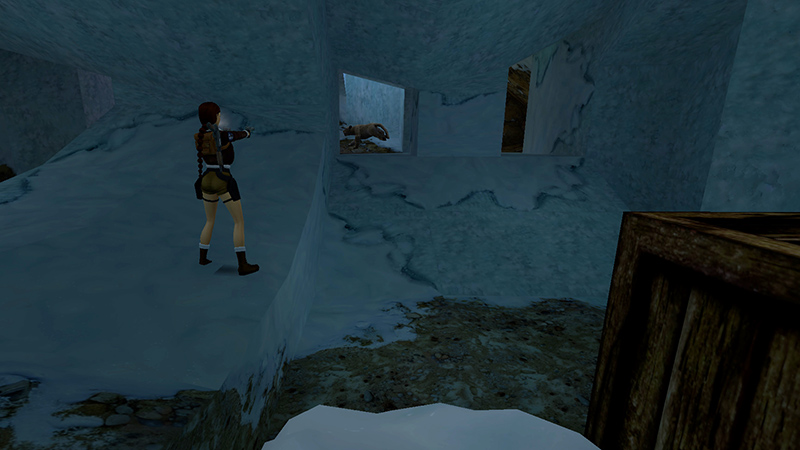
The other appears in the area where the first snowball originated. You can shoot both from this safe ledge.
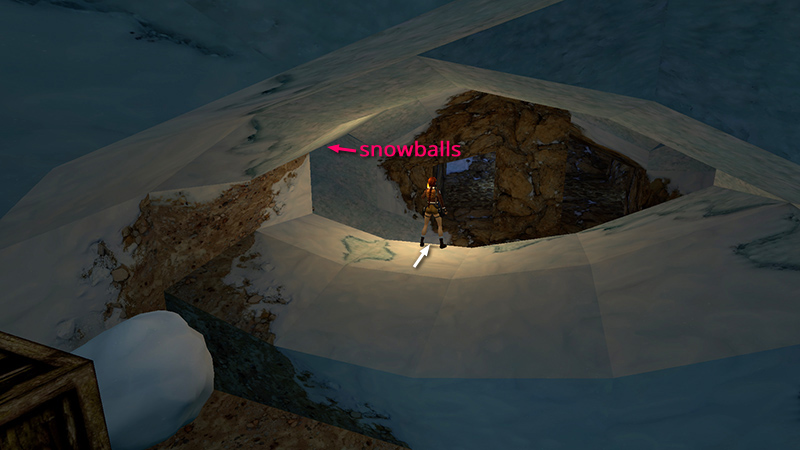
To trip the next 2 rolling snowballs, walk to the edge of the low ledge facing the two stone doorways.
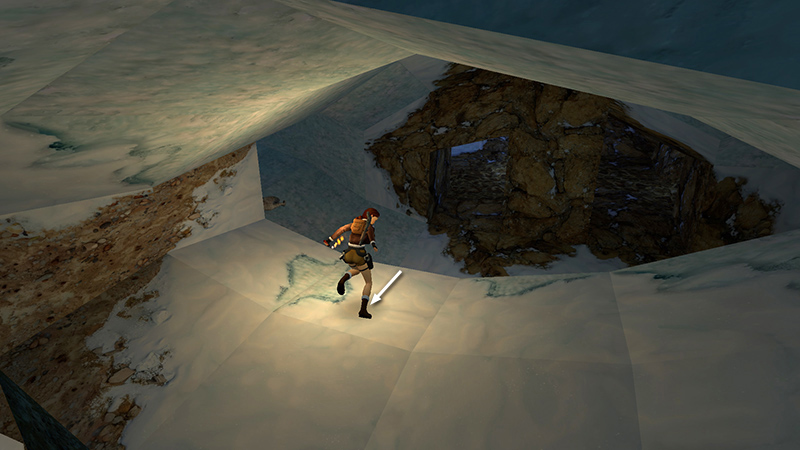
Hop back.
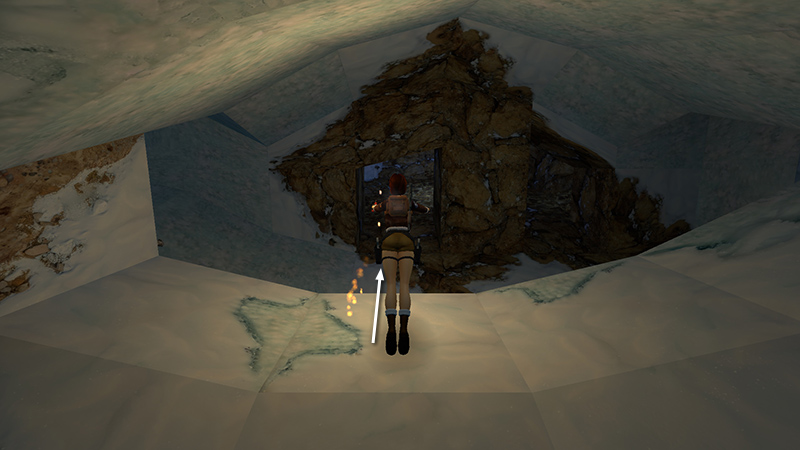
Then take a standing jump forward...
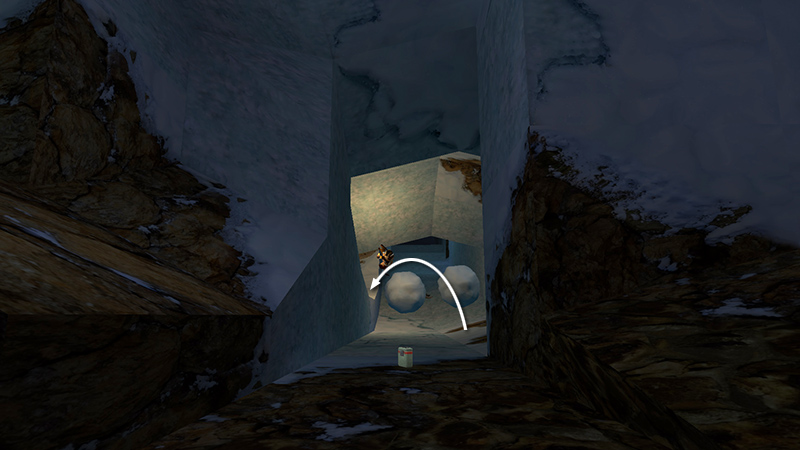
...and immediately backflip onto the ledge as the snowballs roll down from the left.
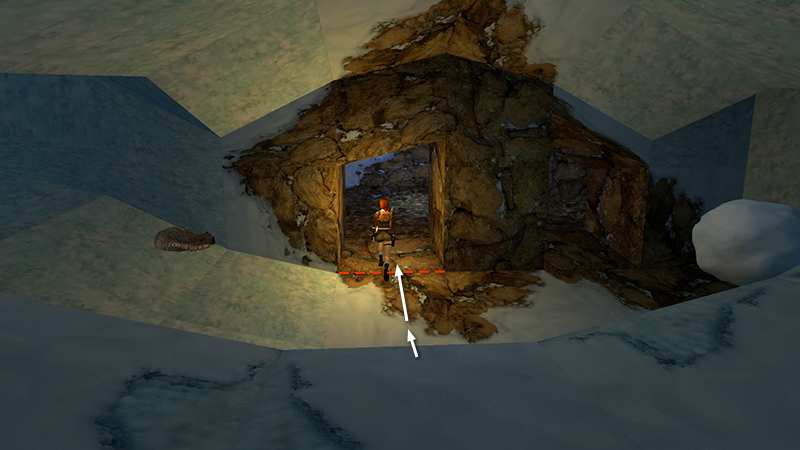
Once they've settled, step down off the ledge and approach the left doorway. Take just one step into the doorway to spawn another leopard (5) in the next cave.
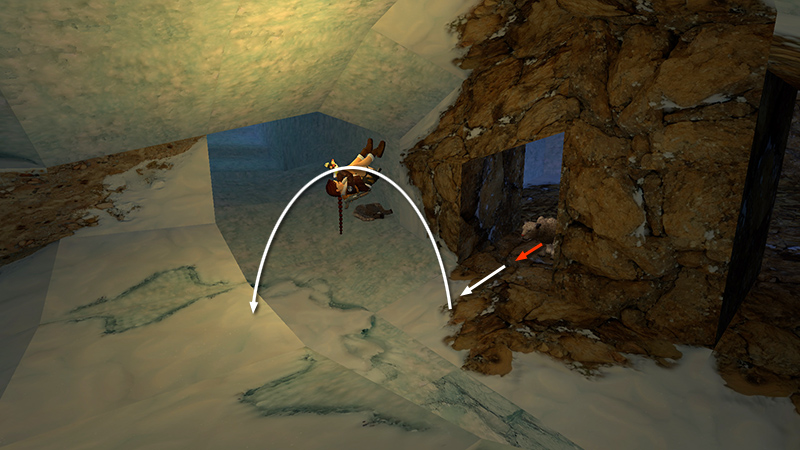
Hop back once, backflip onto the ledge where you started...
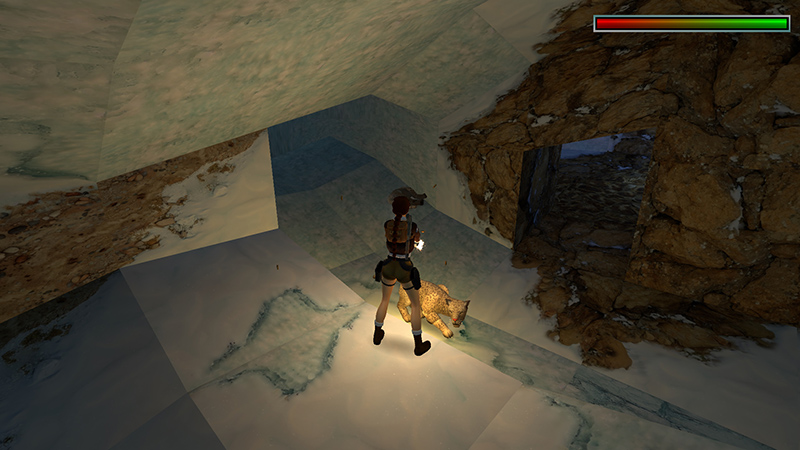
...and shoot the leopard. Now you can explore the caves at your leisure.
[Previous | Next | Cold War Walkthrough]
DARK MODE: I plan to add optional dark mode for these pages, but my current priority is updating the walkthroughs. Meanwhile, may I suggest a reputable dark mode browser extension, such as Dark Reader? (Download only from trusted sites, like darkreader.org or your browser's official add-on/extension site.)
Walkthrough text and diagrams copyright © Stellalune (email ). Feel free to copy or print this walkthrough for personal use. By all means, share it with friends, but please include this credit line so people can send me their feedback. No part of this walkthrough may be reproduced on another site without permission.