Shantytown - Exploring the Windmill Building - Part 3
After picking up the 12th GPS Cache behind the shotgun barrier (as shown in the previous screenshots), go back through the doorway, turn left and step out onto the wooden ledge overlooking a fenced-in area. There's an alarm (5/4) on the ledge that you can wreck for the Silencer challenge. You only need 4 of them for the bonus XP, but this one will be handy if you missed any of the others.
Down below, in the far right corner is the GPS cache (13/15) you may have seen earlier from the other side of the fence. Drop down and pick it up.
Then shoot out the plank barrier, enter, turn right, shoot out another barrier and pilfer the food cache at the end of the passageway.
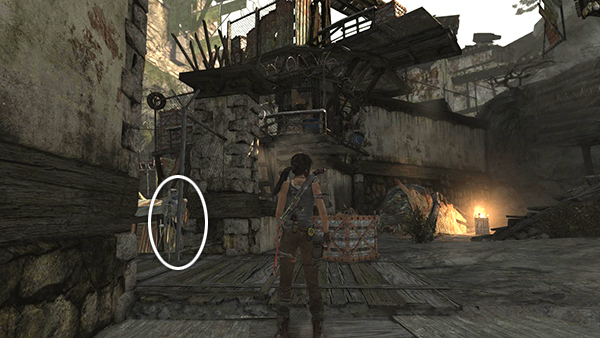
Return to the enclosure where you found the last GPS Cache and scramble up the painted wall on the right to return to the ground level of the windmill building.
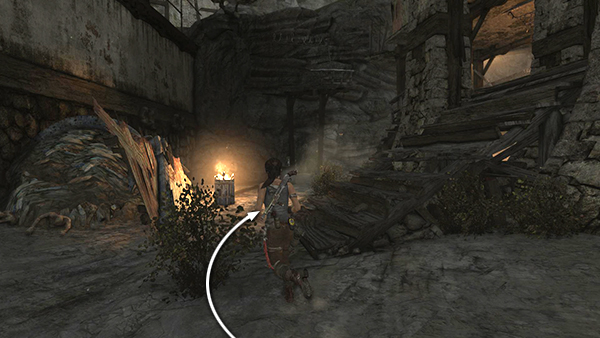
Go forward between the heap of junk where you found the 11th GPS cache and the wooden stairs.
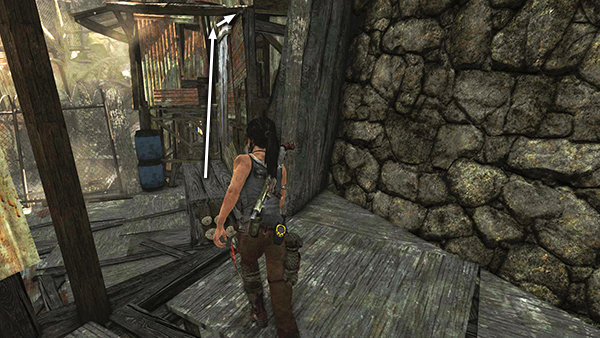
Continue forward (northeast) through the rough opening in the stone wall.
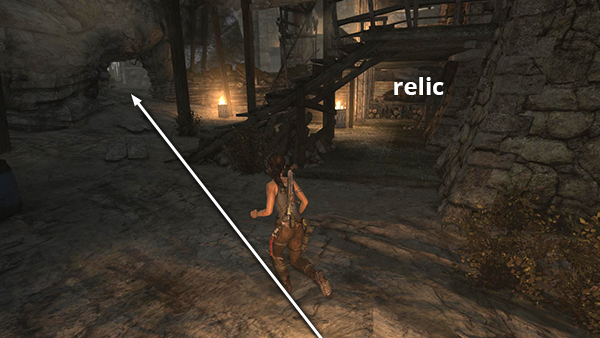
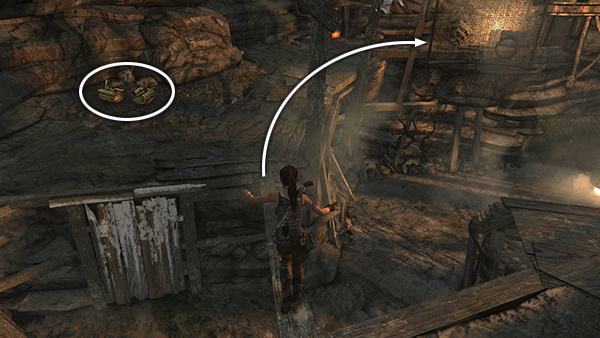
Scramble up the painted wall onto a ledge made of packed earth.
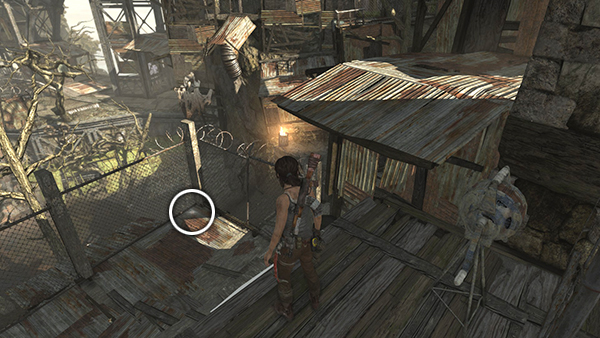
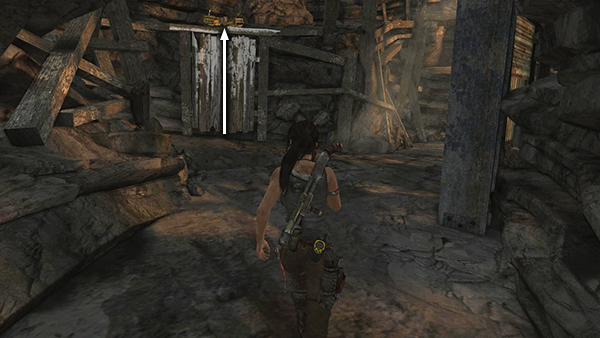
Turn around and walk across the wooden beam to find a GPS cache (14/15) lying on the ground to the right.
NOTE: You can also reach this GPS cache from the other side. This tunnel opens into the area where the cargo cages change direction.
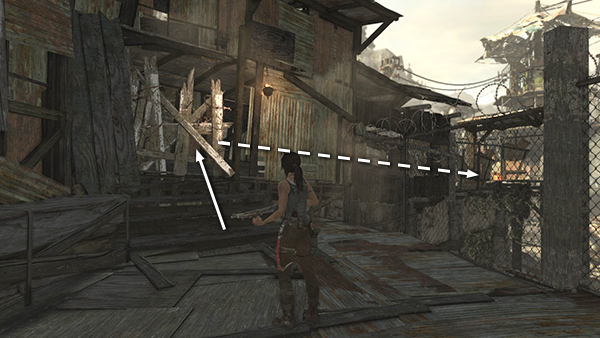
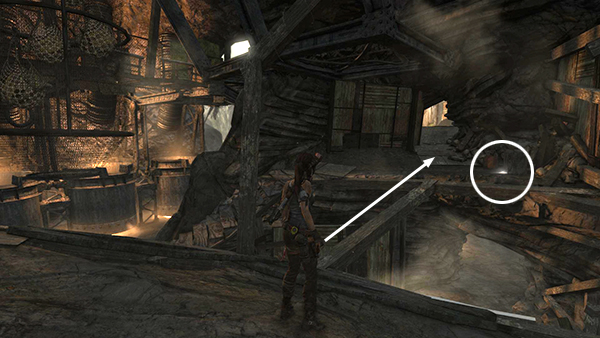
Return across the narrow beam, crack open the 2 salvage crates and continue up the rough earthen ledge overlooking THREE HUGE SMELTING POTS. There's a food cache about halfway along on the left, plus arrows and a salvage trunk at the top.
[Part 2 | Part 4 | Return to the Shantytown Walkthrough]
Copyright © 2013- - Stellalune (). All rights reserved. The screenshots and videos included here were made using Fraps. Feel free to copy or print this walkthrough for personal use. By all means, share it with friends, but please include this credit line so people can send me their feedback. No part of this walkthrough may be reproduced on another site without permission. Follow this link for details about this site's advertising and privacy policy.