Shantytown - Exploring the Windmill Building - Part 2
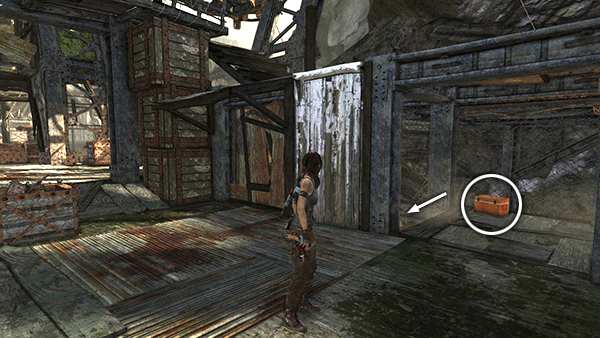
Go through the doorway to the right of the scrambling wall in the northeast corner. Crack open the food cache. Then head down the broken stairs to the GROUND LEVEL.
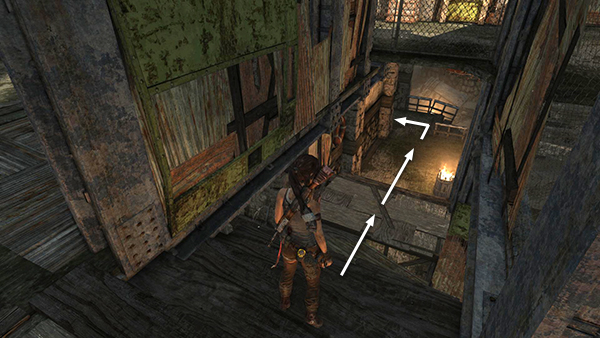
Jump the gap and continue forward to the edge of the landing. Go around to the left...
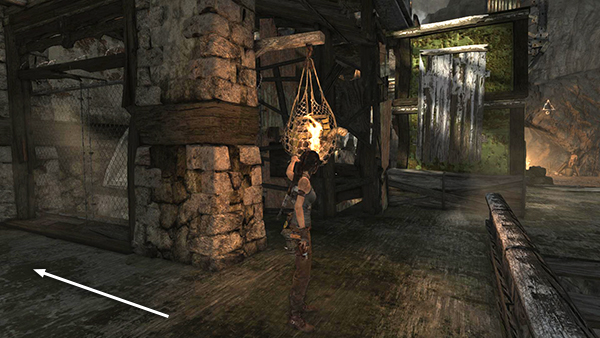
...to find a salvage net. Burn it to get the salvage inside. Then return to the landing at the bottom of the stairs.
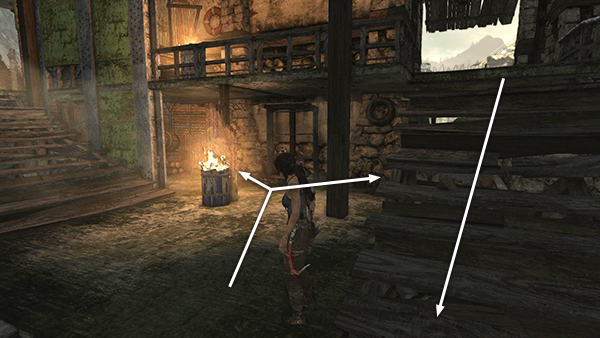
Go down the next short flight of steps and turn around to face them. Enter the low space beneath the landing.
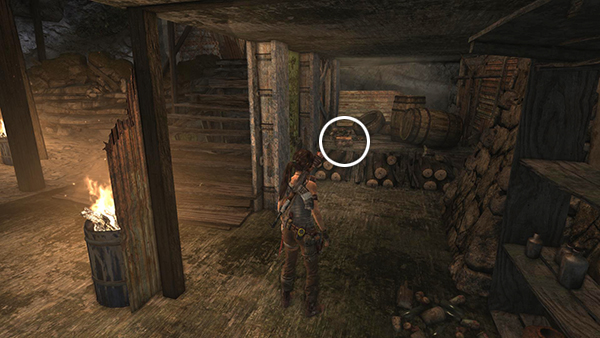 On the left is the last relic (7/7), a Jade Drinking Vessel.
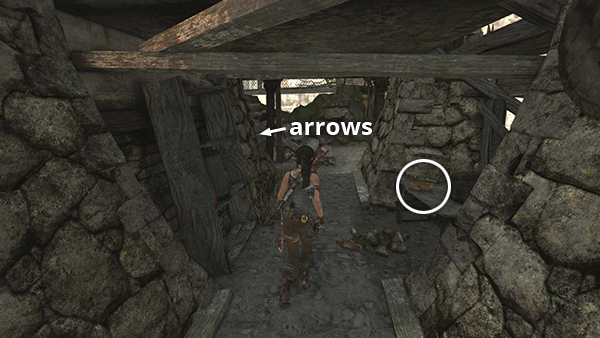
On the right is a document (5/5), part the Journals of a Madman. Just beyond the table with the document, around the corner to the left, there's another bundle of arrows.
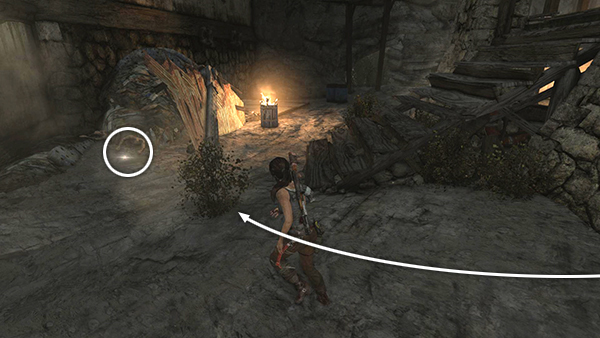
Turn so the alcove with the arrows is behind Lara and move out into the open area at the foot of the wooden stairs. Ahead on the right is a mound of trash with a few corpses mixed in. On the ground near it is another GPS cache (11/15).
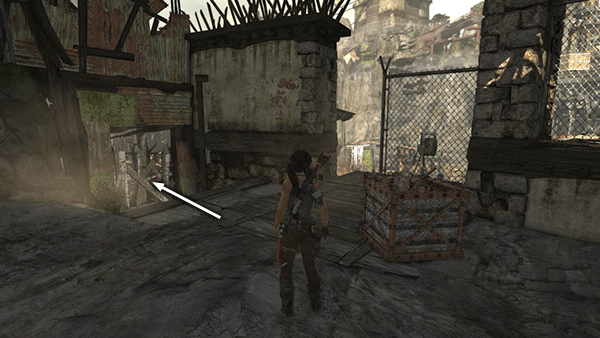
After retrieving the cache, turn around and you'll see a plank barrier you can destroy with your shotgun.
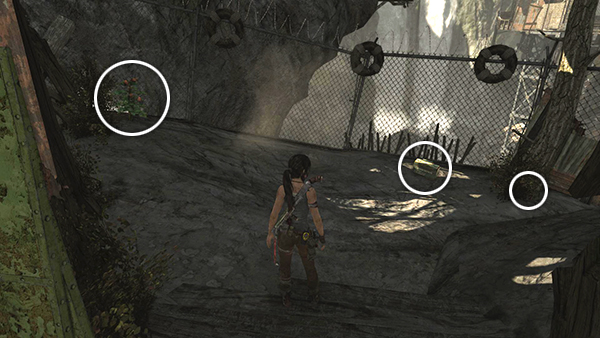
In the fenced-in area beyond, there's another GPS cache (12/15), shotgun shells and an edible plant. Get all three and exit the way you came.
[Part 1 | Part 3 | Return to the Shantytown Walkthrough]
Copyright © 2013- - Stellalune (). All rights reserved. The screenshots and videos included here were made using Fraps. Feel free to copy or print this walkthrough for personal use. By all means, share it with friends, but please include this credit line so people can send me their feedback. No part of this walkthrough may be reproduced on another site without permission. Follow this link for details about this site's advertising and privacy policy.