Shantytown - Exploring the Windmill Building - Part 4
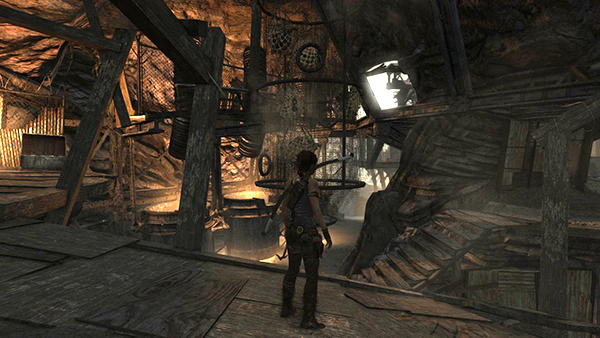
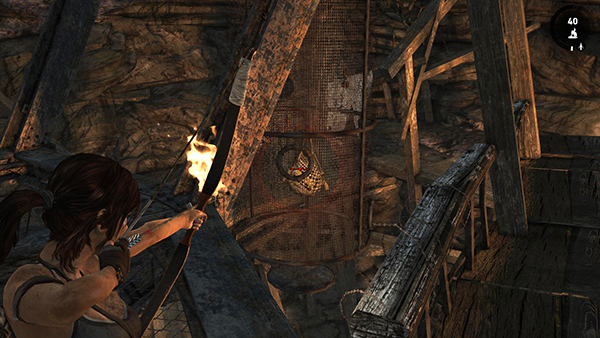
Hanging from the ceiling in the middle of the open area near the smelting pots is a cage with several round holes in it. Inside this cage are 5 salvage nets. Move around the cage until you're able to get a clear shot with a fire arrow at each of the nets. These screenshots show some of the possible vantage points.
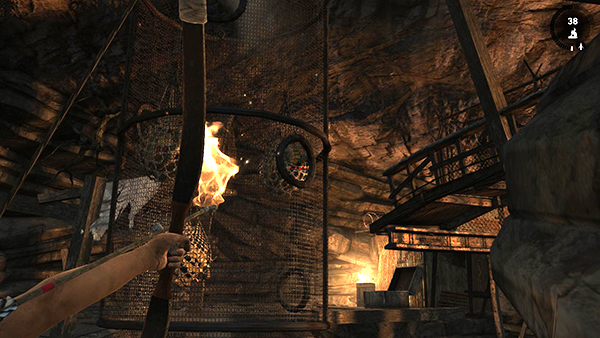
First, stand here, about halfway down the ledge running along the cave wall. Notice how you can see the salvage net through the round opening in the cage.
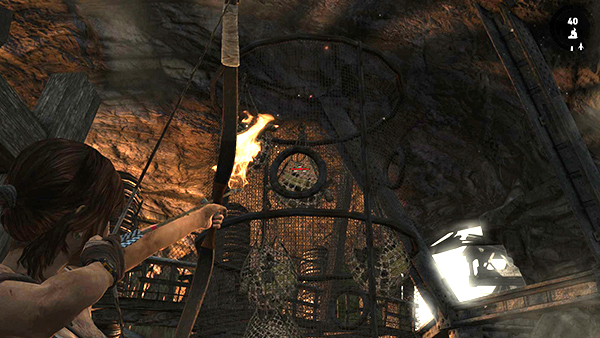
Shoot a fire arrow through the hole at one of the salvage nets.
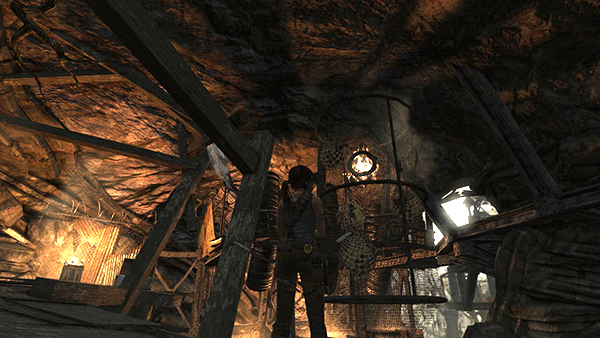
Then watch as the net burns and the crate falls onto the floor below.
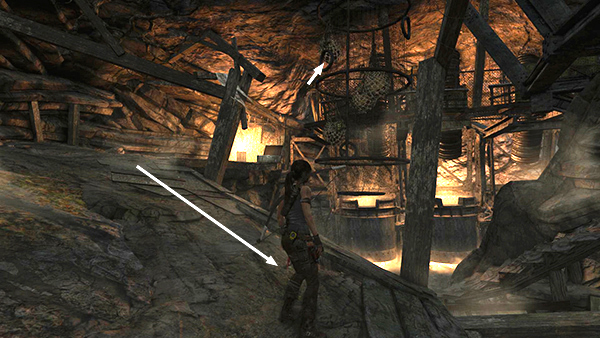
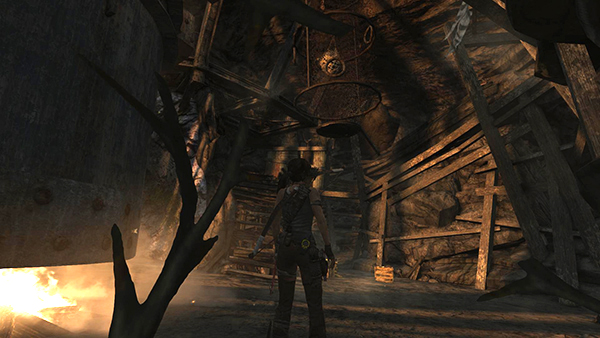
Move down the ledge to the bottom, near the narrow beam to aim at a second net.
Cross the beam and follow the ledge to the left.
Aim from here to burn a third net.
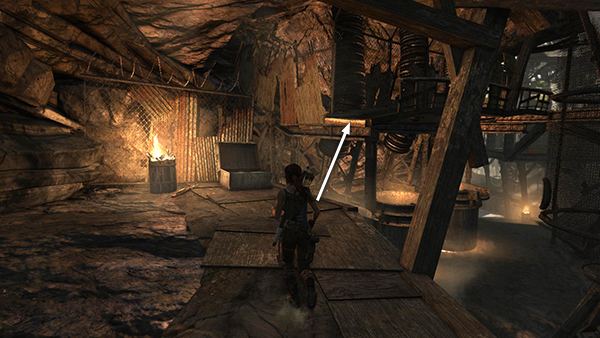
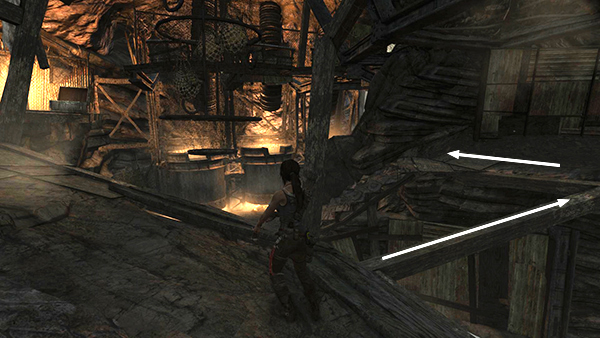
Return to the top of the ledge near the salvage trunk you opened earlier. Jump onto the ledge above.
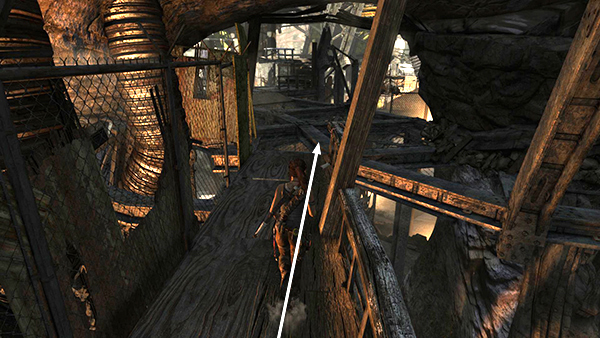
Go forward to where the wooden ledge meets a platform made of metal beams and grating.
Turn around and shoot a fourth net through another hole in the cage.
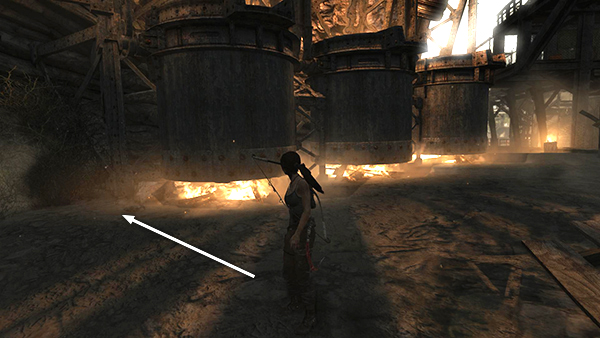
Drop down and move into the corner next to the rightmost smelting pot.
Turn around and look up at the cage. From here, you can shoot the fifth net.
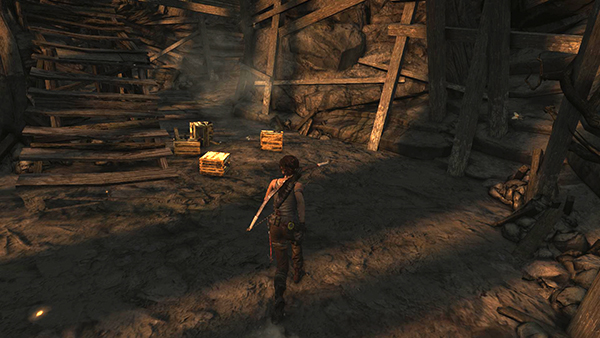
When you've burned all of the nets, crack open the 5 crates for a whopping 150 salvage points.
[Part 3 | Part 5 | Return to the Shantytown Walkthrough]
Copyright © 2013- - Stellalune (). All rights reserved. The screenshots and videos included here were made using Fraps. Feel free to copy or print this walkthrough for personal use. By all means, share it with friends, but please include this credit line so people can send me their feedback. No part of this walkthrough may be reproduced on another site without permission. Follow this link for details about this site's advertising and privacy policy.