Shantytown - First Area West Side - Part 2
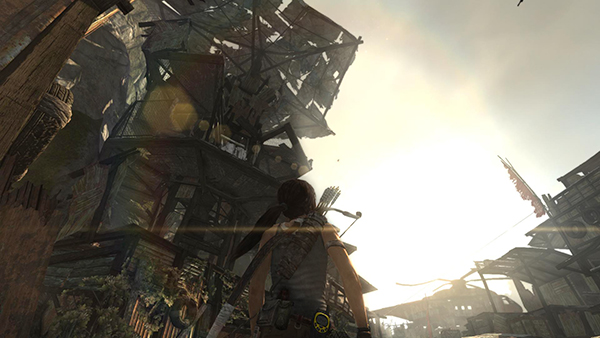
There's no need to go back through the tunnel now. Instead we're headed up the headed up the TOWER WITH THE TATTERED CANOPY on top (pictured above).
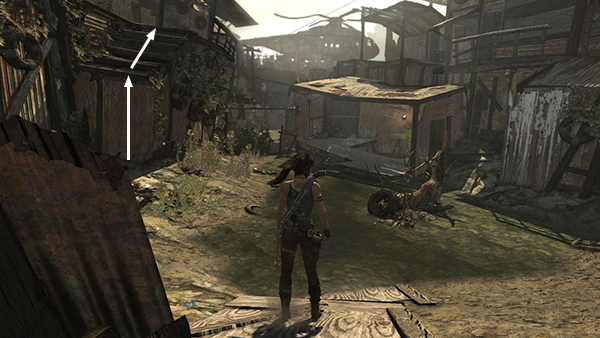
Now that Lara is feeling well enough to climb, you can scramble up the wooden ledge onto the lowest level of the tower.
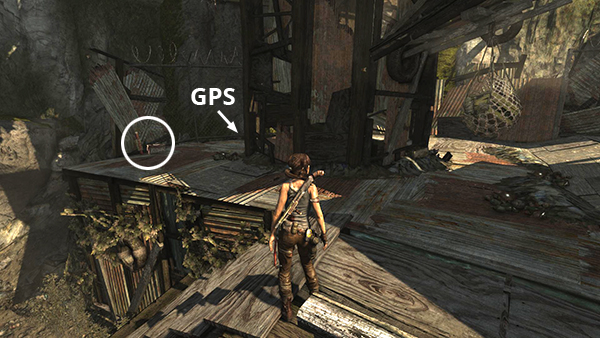
Circle the central support column, picking up arrows, rifle/SMG ammo and a GPS cache (3/15), and burning the salvage net as you go.
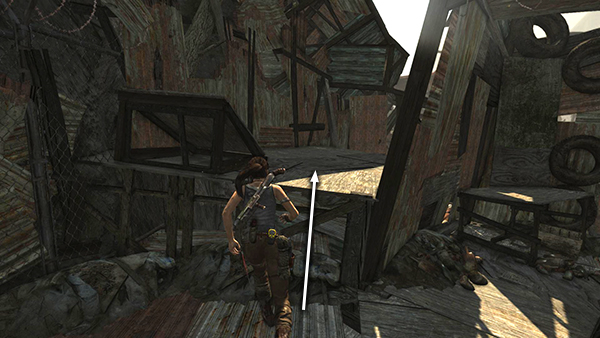
Climb onto the ledge in the northwest corner.
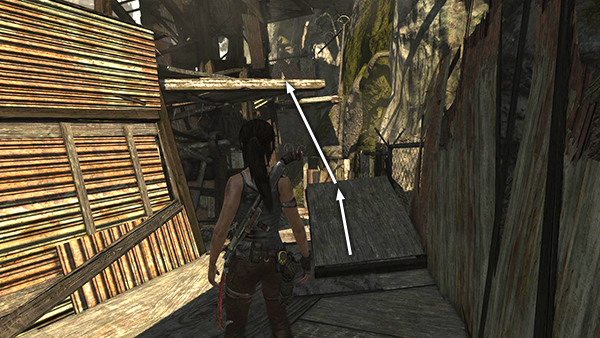
Turn around, run up the short ramp and jump to grab the ledge above. Pull up onto the second level of the tower.
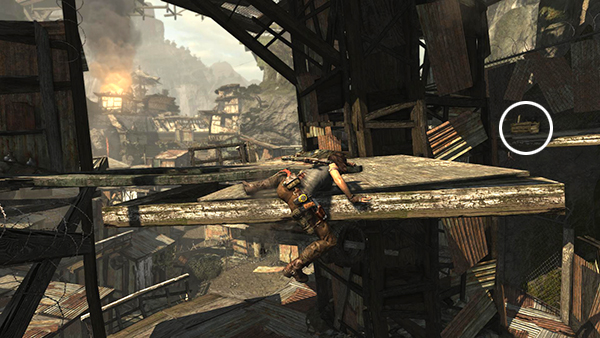
Go around to the other side of the central column to find another salvage crate.
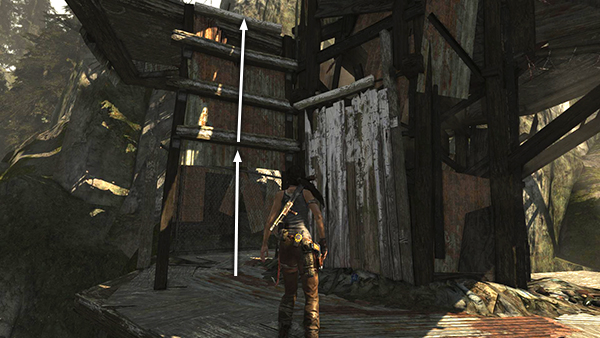
Then climb the ladder made of planks nailed to a board to reach the third level.
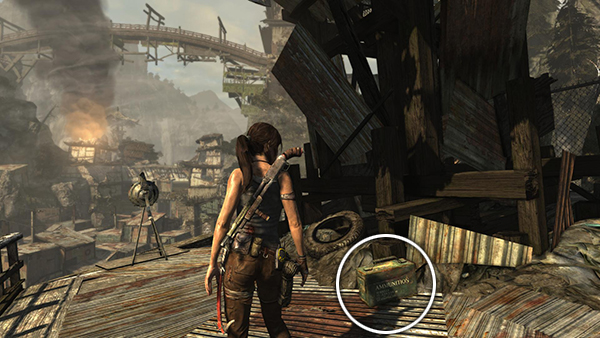
Circle around the central structure to the other side. Pick up some shotgun shells.
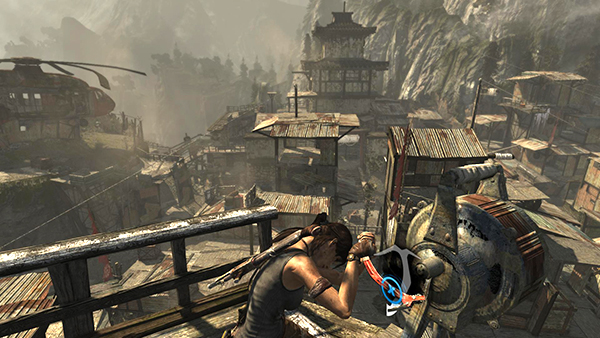
Then use your climbing axe to destroy the alarm (1/4) and start the Silencer Challenge.
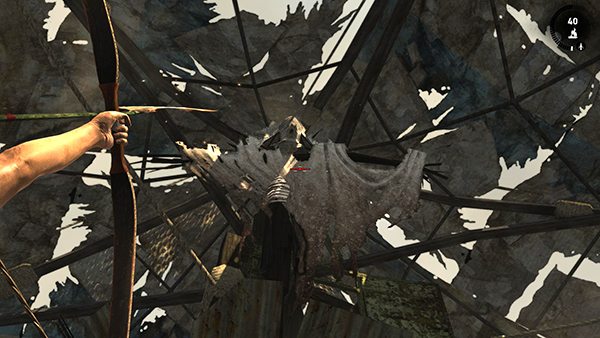
Move close to the outer railing and look up to spot another effigy (4/5) mounted to the side of the tower beneath the big umbrella. Use fire and rope arrows to burn it and pull it down for the Laid to Rest Challenge.
[Part 1 | Return to the Shantytown Walkthrough]
Copyright © 2013- - Stellalune (). All rights reserved. The screenshots and videos included here were made using Fraps. Feel free to copy or print this walkthrough for personal use. By all means, share it with friends, but please include this credit line so people can send me their feedback. No part of this walkthrough may be reproduced on another site without permission. Follow this link for details about this site's advertising and privacy policy.