Shantytown - First Area West Side - Part 1
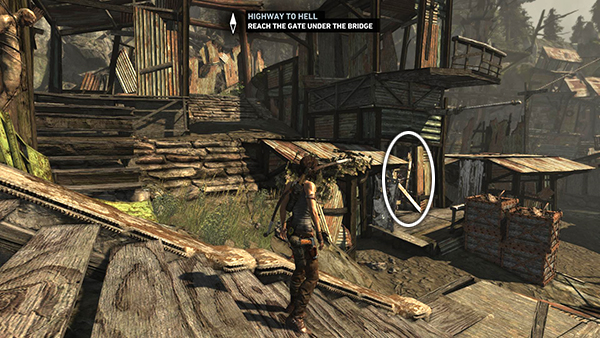
Stand with Lara's back to the doorway and this time look to your left. There are several pickups in this building. Shoot out the planks and barbed wire in the doorway at ground level.
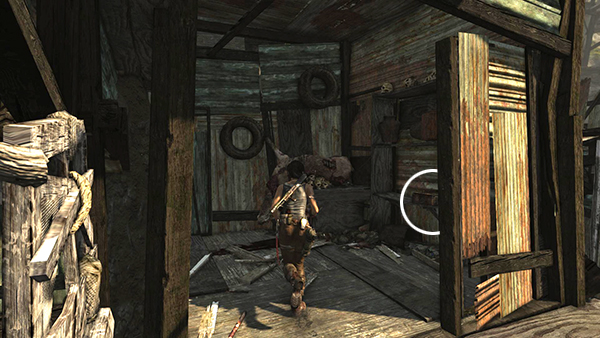
Inside is a relic (2/7), a Jade Horse. Examine the bottom of the statuette for more info and XP.
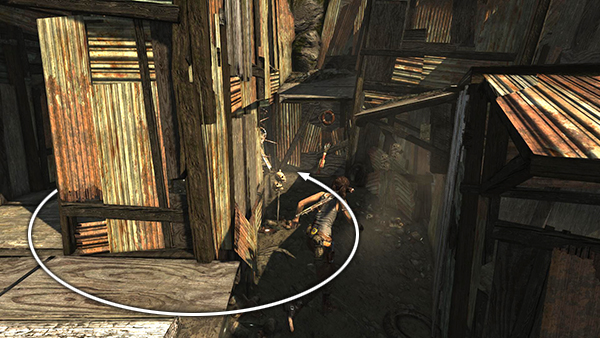
Exit this room and go around to the left. In the narrow alley between this building and the next, there's a bundle of arrows and another boarded-up doorway with a salvage crate behind it.
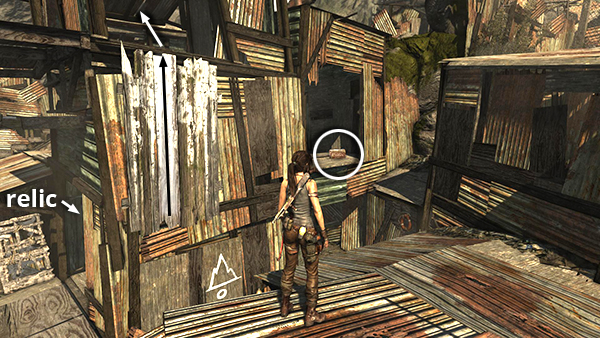
Climb onto the roof of the lower of these two buildings and turn to face the one where you found the relic. There are two openings on the upper levels: the one on the right has rifle/SMG ammo. The other requires you to scramble up a section of painted wall to reach it..
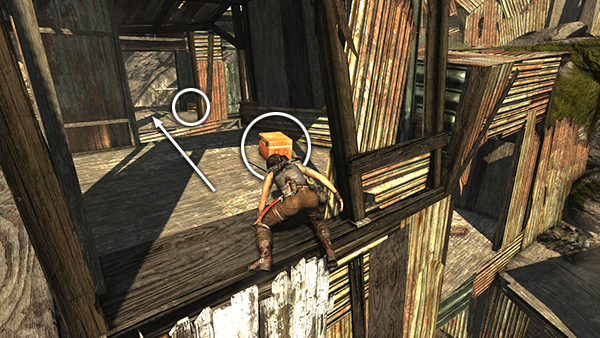
Loot the food cache here and then exit through the other side of the building. In the next little enclosure, located at the southwest corner of this part of Shantytown, you'll find another salvage crate and more arrows
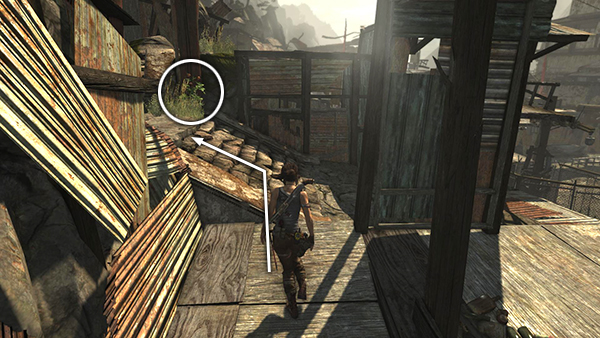
Turn around and exit this building on the north side. (You can see Helicopter Hill in the distance). Climb the stone steps to the left and pick the edible plant for XP.
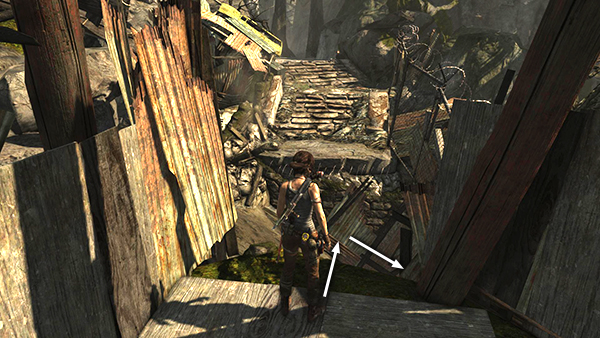
Just beyond the top of the steps, the path dead ends at a muddy slope. This is where you entered Shantytown after your perilous trip down the mountain. Step off the edge and slide down into the area with the shallow pool of slimy, green water.
[Part 2 | Return to the Shantytown Walkthrough]
Copyright © 2013- - Stellalune (). All rights reserved. The screenshots and videos included here were made using Fraps. Feel free to copy or print this walkthrough for personal use. By all means, share it with friends, but please include this credit line so people can send me their feedback. No part of this walkthrough may be reproduced on another site without permission. Follow this link for details about this site's advertising and privacy policy.