Gondola Transport - Skyship Combat - Part 2

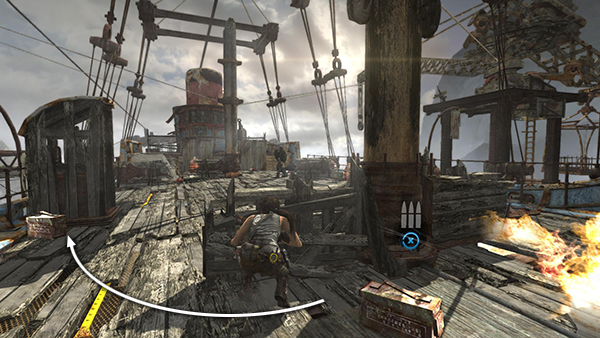
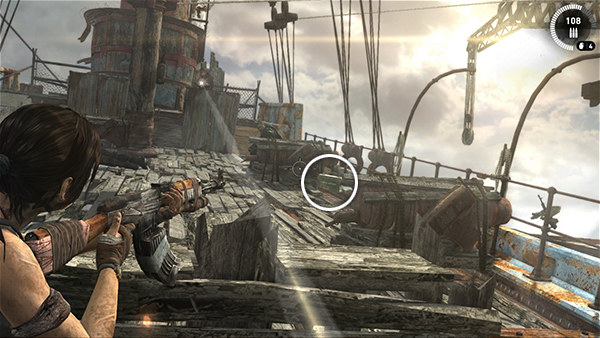
There's a box of rifle/SMG ammo sitting here behind the barrier and more rifle ammo behind the small structure ahead on the left. When the men start throwing petrol bombs or dynamite, scramble over there for fresh cover and an ammo top-up.

There are two more low barriers on the right side of the deck. You'll find shotgun shells sitting near the farther one, though you probably won't need them.

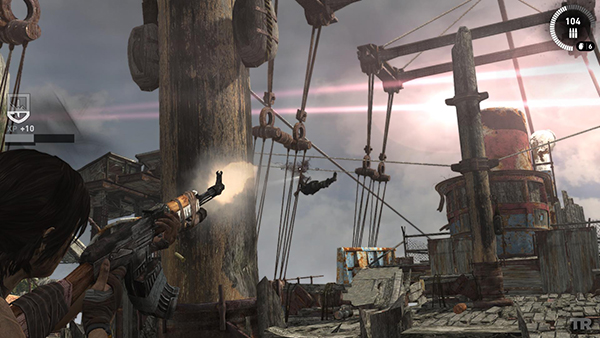
This fight also offers several opportunities to shoot enemies off zip lines for the Deadeye Achievement/Trophy. They slide in from both sides at various points during the battle. If you're working on unlocking Deadeye and don't manage to shoot a few men off the lines, just reload the checkpoint at the start of the fight and try again.

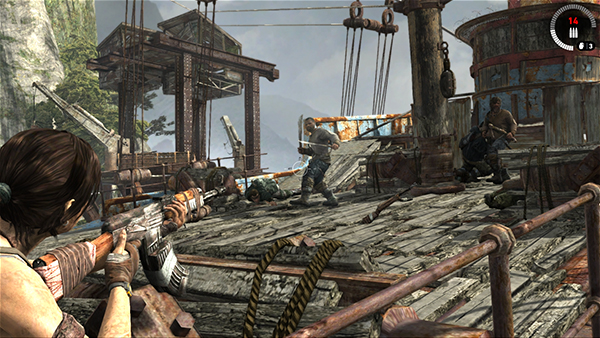
The bad guys don't all appear at once, but as you kill each small group, more slide down the zip lines. I counted 20 enemies in all—mostly archers and riflemen with Molotovs, plus a few demolitions men. The last to arrive are 2 men with axes and machetes (shown above). Even if you don't kill those two, a cut scene kicks in.
[Previous | Next | Return to the Gondola Transport Walkthrough]
Copyright © 2013- - Stellalune (). All rights reserved. The screenshots and videos included here were made using Fraps. Feel free to copy or print this walkthrough for personal use. By all means, share it with friends, but please include this credit line so people can send me their feedback. No part of this walkthrough may be reproduced on another site without permission. Follow this link for details about this site's advertising and privacy policy.