Galleries Under Siege - Respirator and Sprint Upgrade
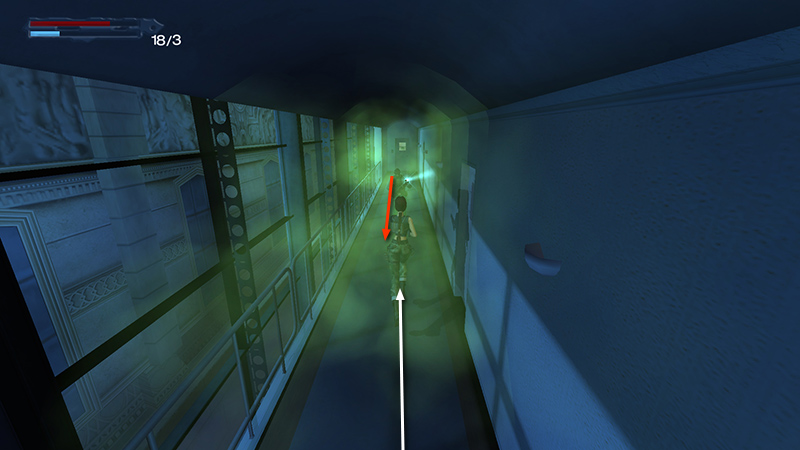
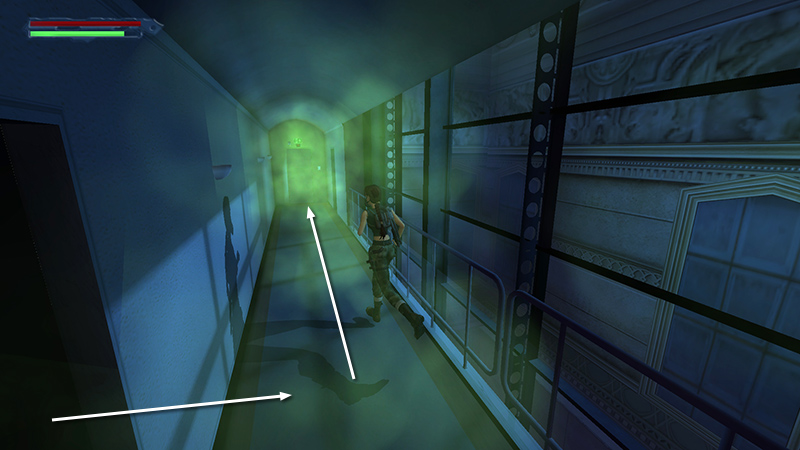
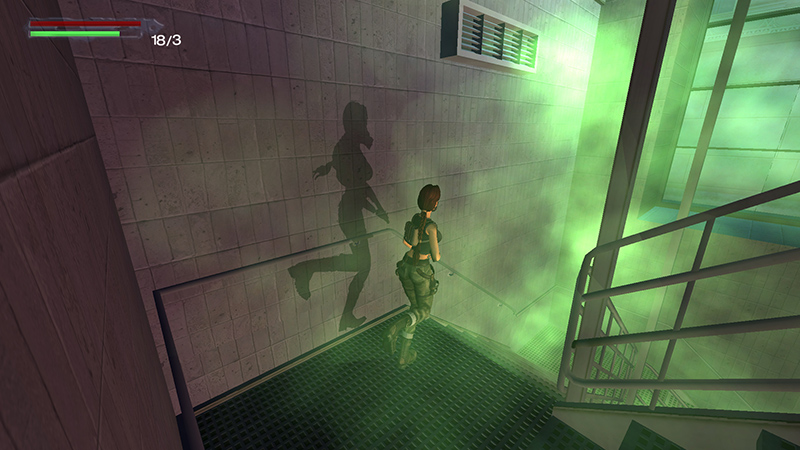
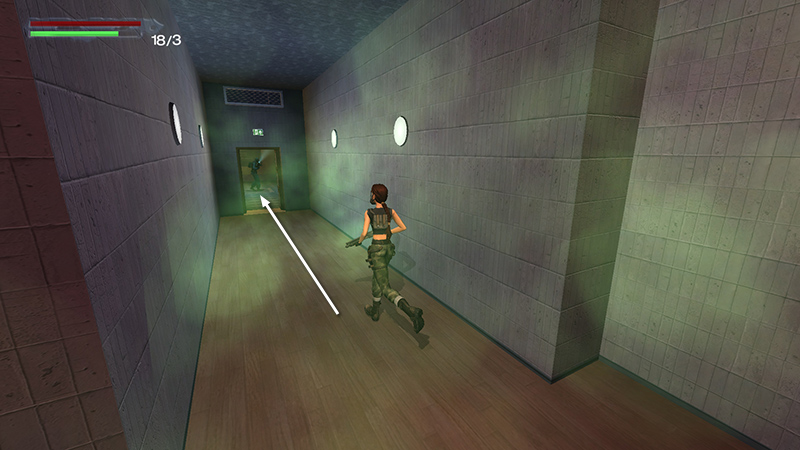
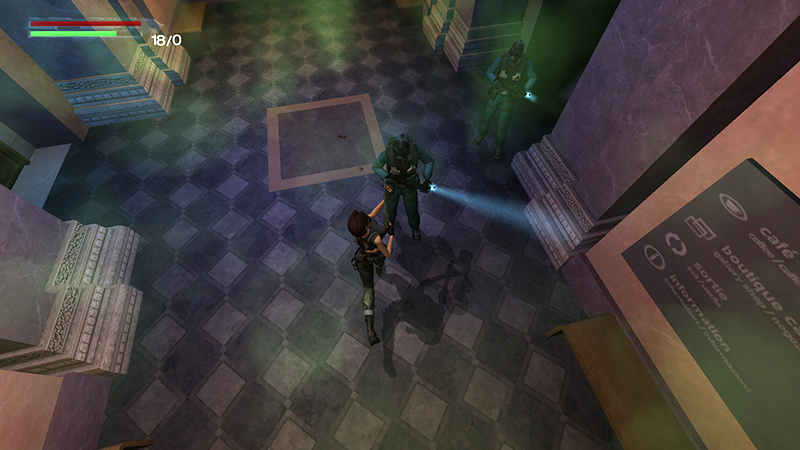
After making your way through the gas-filled exhibit halls and up the stairs, as shown in the previous sections, run forward and shoot the commando (12) patrolling this hallway.
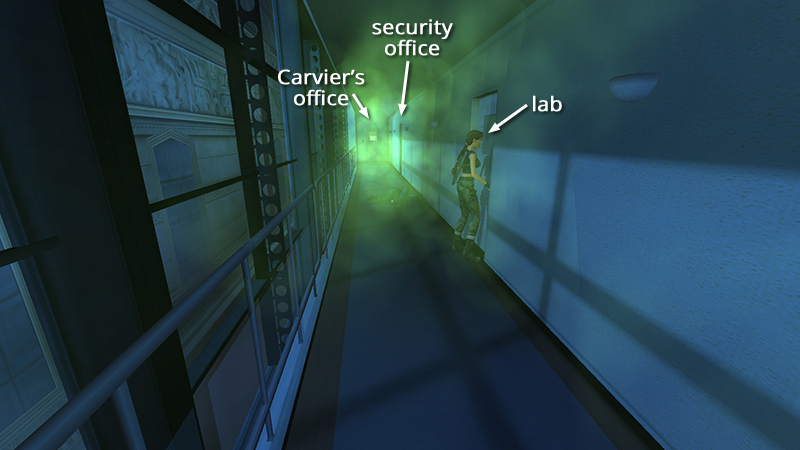
Go through the first door on the right into the LABORATORY.
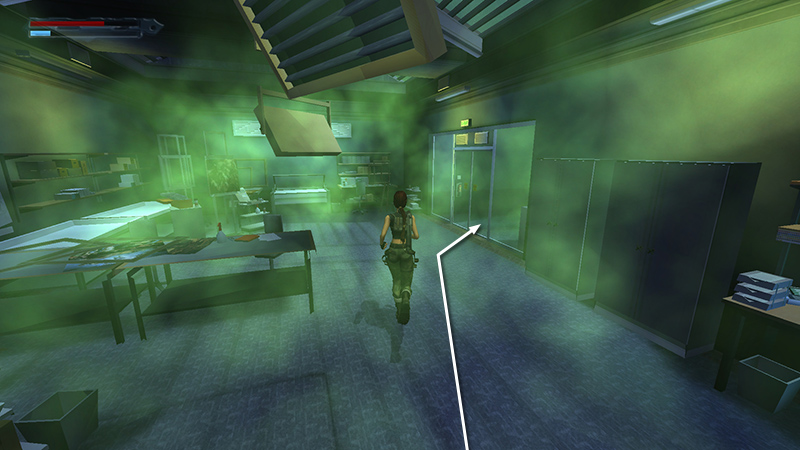
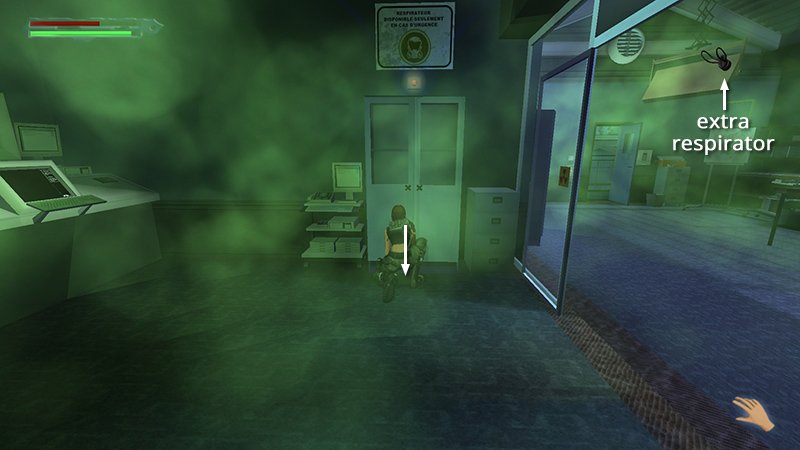
Once inside, go through the glass doors on the right...
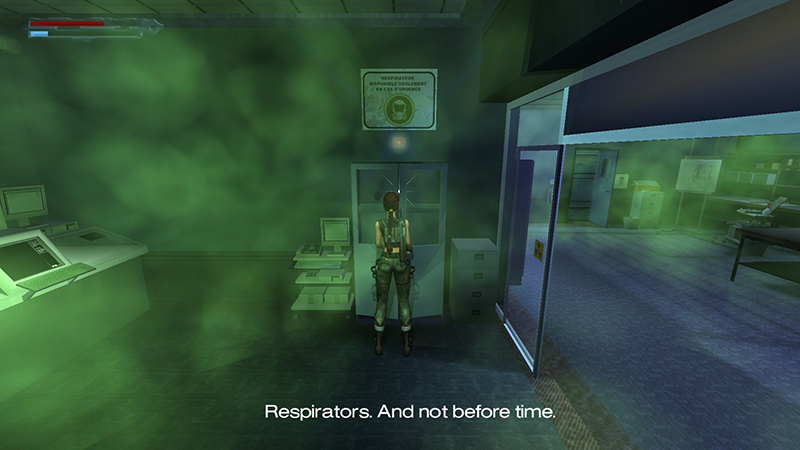
...and turn right to face the RESPIRATOR (6) cabinet. Grab one.
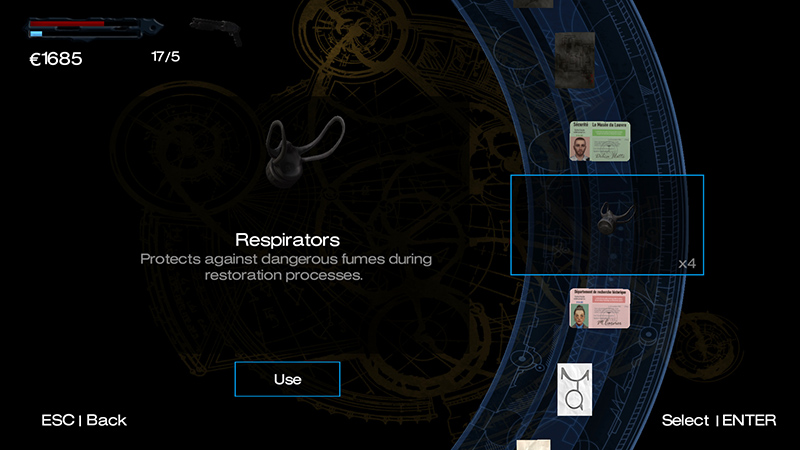
Equip it by selecting it from the Items section of your Inventory. Now Lara can breathe without taking damage.
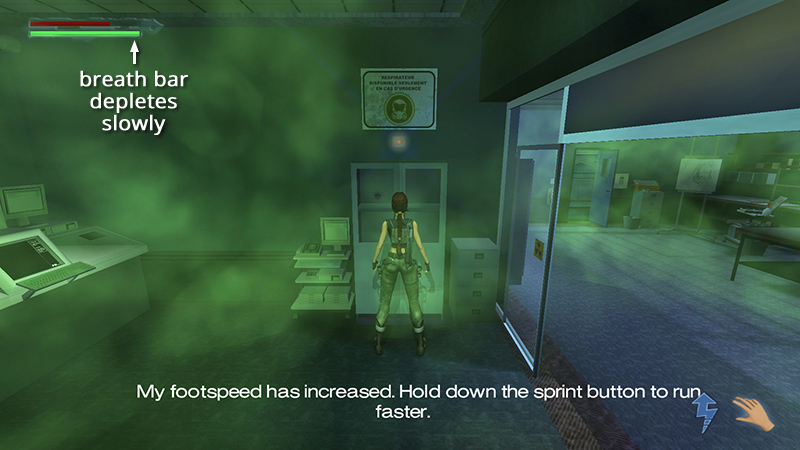
Keep an eye on your breath bar, though. When it runs down, you're back to breathing the toxic gas. You should have plenty of time to finish the level before then. When you open the respirator cabinet, Lara also gains the ability to sprint, a special lower-body upgrade.
NOTE: Lara says "sprint," but the game menu uses the term "dash." Open Options > Control > Change Controls to view or change the default Dash control. You can also switch between holding or toggling Sprint in the menu under Options > Control > Dash Mode.
NOTE: The respirator bug (described in the LOUVRE GALLERIES walkthrough) still works, at least in the Steam version. Position Lara in front of the cabinet a bit left or right of center, then press Duck and quickly press Action. Lara should crouch and grab a respirator through the locked door. If you used it earlier, you'll now have 5 respirators in total, and your total item count for this level will be one more than is listed.
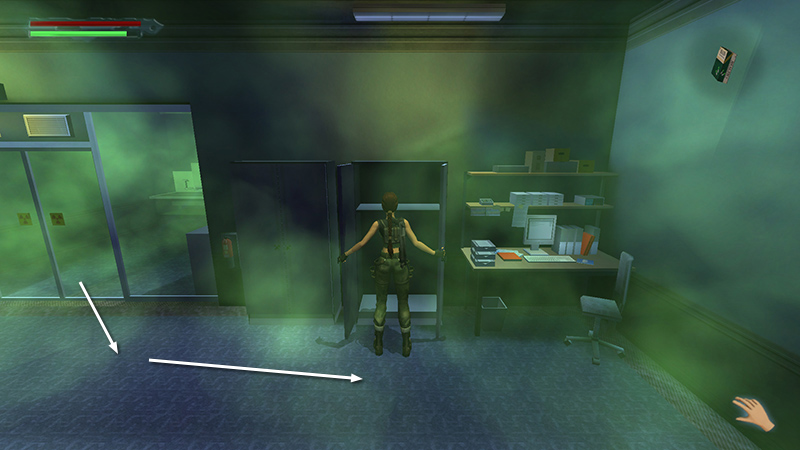
Return through the automatic glass doors, but before exiting the lab, pick up a package of health pills (7) in the second tall cabinet on the left.
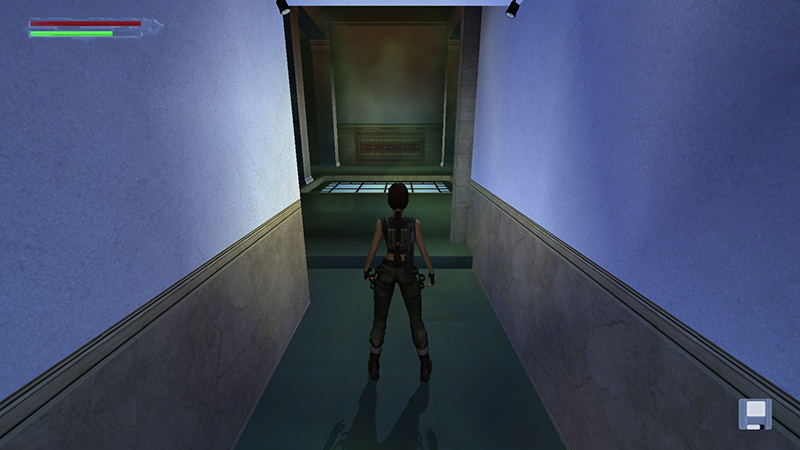
Exit the lab, turn left, and run/sprint to the end of the hall where you came in.
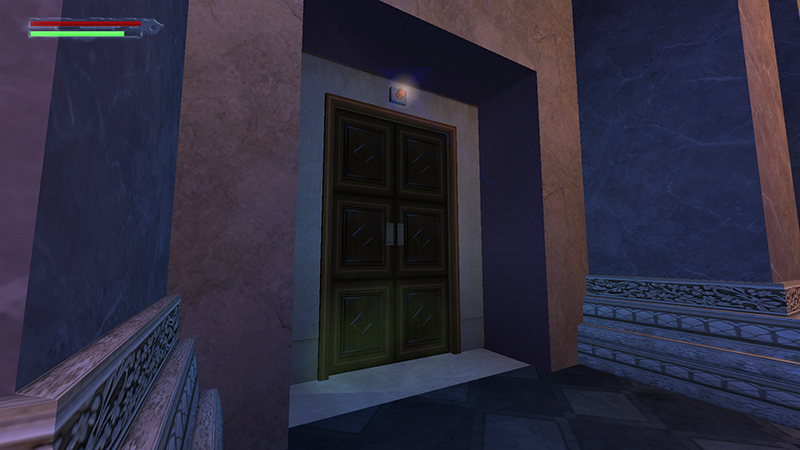
A brief cutscene shows a light coming on above a door, which happens to be located in the room below.
When you regain control, open the door in front of you, and return downstairs.
Follow the short corridor back to the connecting room with the gallery signs, where 2 more soldiers (13-14) are waiting for you to kill them.
Again, I like the shotgun at close range, but do what works for you.
NOTE: If you avoided the enemies earlier, in the gallery with the glass case, Lara may aim at him now through the wall. You can press Roll to change targets, but it's more than a little awkward. (The main walkthrough includes a few additional notes on backtracking here.)
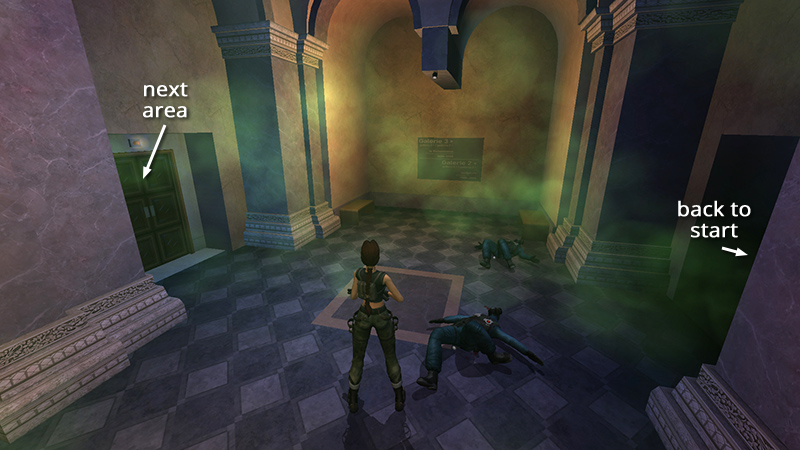
When you're ready to move on, go through the door on the left with the light above it.
Save the game before moving forward, since you're about to be mobbed.
DARK MODE: I plan to add optional dark mode for these pages, but my current priority is updating the walkthroughs. Meanwhile, may I suggest a reputable dark mode browser extension, such as Dark Reader? (Download only from trusted sites, like darkreader.org or your browser's official add-on/extension site.)
Walkthrough text and diagrams copyright © Stellalune (email ). Feel free to copy or print this walkthrough for personal use. By all means, share it with friends, but please include this credit line so people can send me their feedback. No part of this walkthrough may be reproduced on another site without permission.