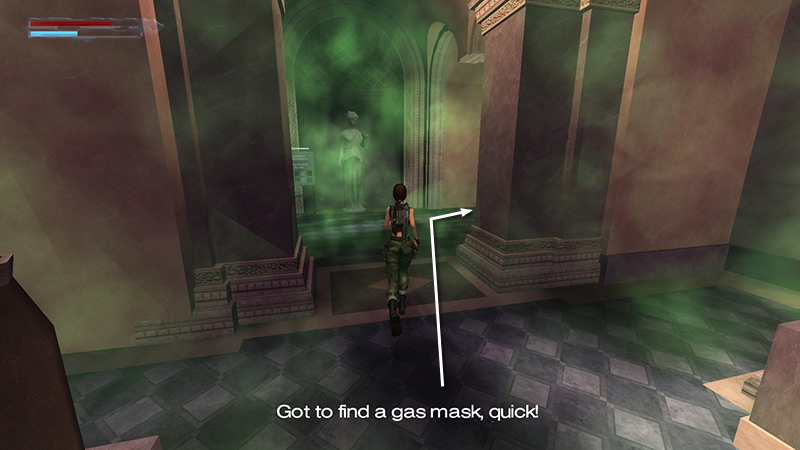
Galleries Under Siege - Gas-Filled Galleries (Continued)
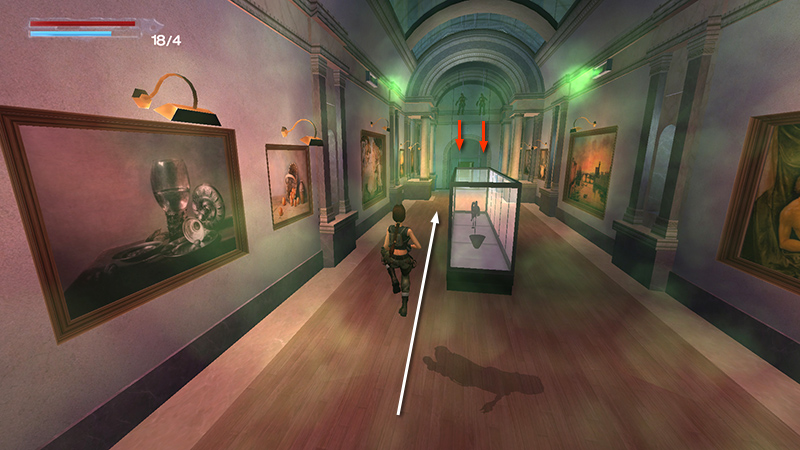
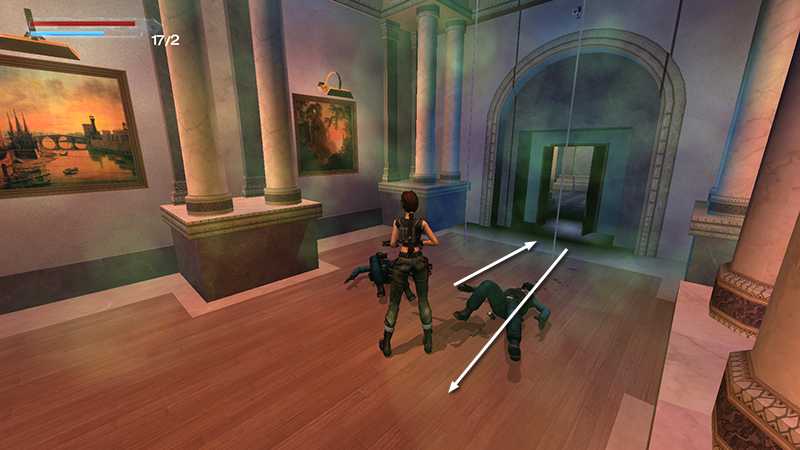
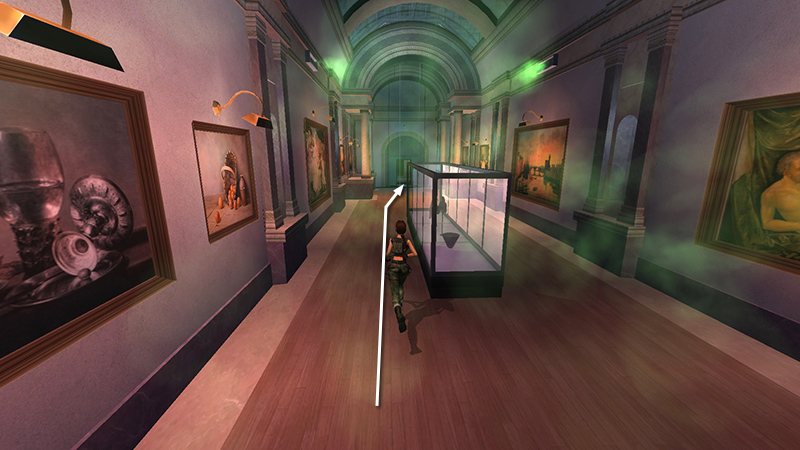
As you run through the next gallery, with the large glass case in the middle, 2 more commandos (7-8) slide down ropes from the ceiling.
Again, you can run/jump forward and blast them at close range with the shotgun.
- OR -
Alternatively, whip out the dual Vectors if you have them. (I would save the Desert Ranger unless you're doing the achievement/trophy run.) Run/jump toward them, engage, and hop back firing. The glass case provides a little cover, though not much.
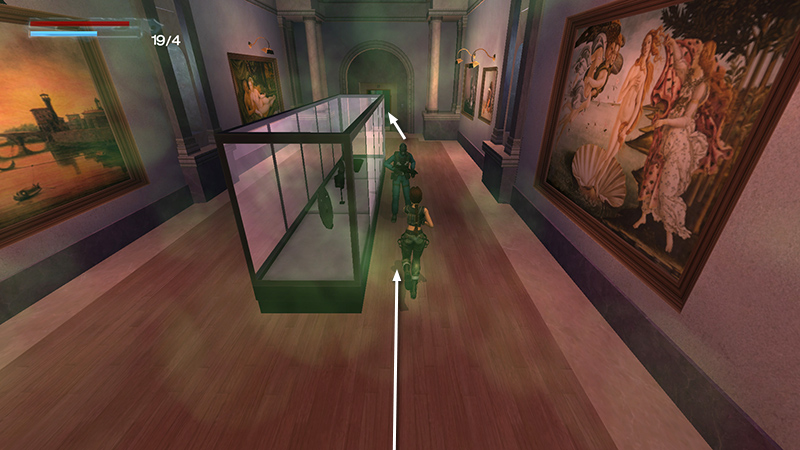
One of these two drops a Mag Vega clip (4) when he dies. If you like, you can avoid the next two enemies and just run forward through the doorway beyond the ropes. (Pick up the walkthrough below.)
NOTE: You can avoid the 9th and 10th enemies until after you've obtained a respirator, then return to the galleries to kill them. However, I recommend dealing with the 9th man sooner if possible. Letting him live can make the section where you return here later unnecessarily difficult.
- OR -
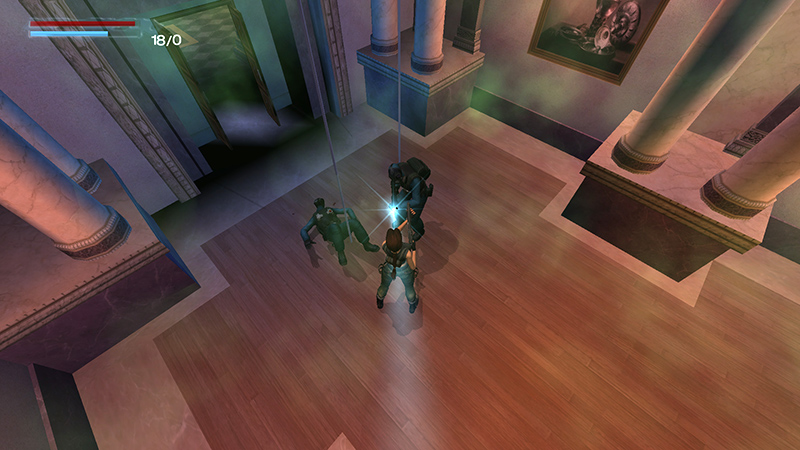
If you want all kills, run forward to the doorway beyond the ropes to spawn another mercenary (9) behind you.
Switch to the shotgun, if you aren't already holding it, and run back to meet (and kill) him. Then run on to the VESTIBULE...
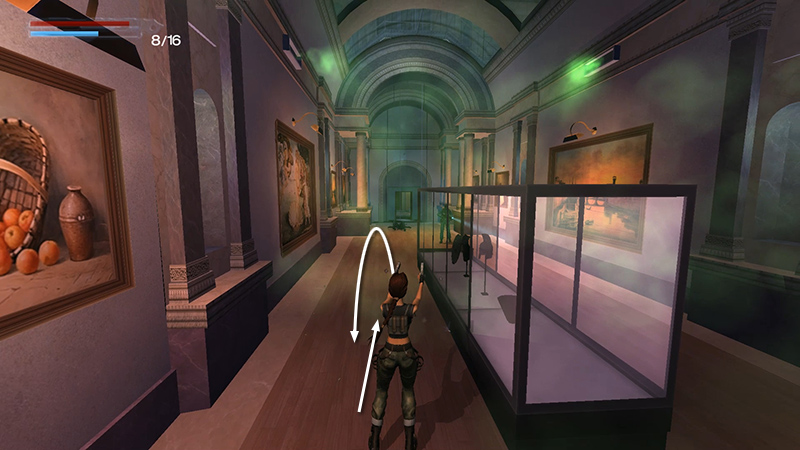
...and confront another solider (10) in the gallery on the left (i.e., opposite the Archaeological Dig sign).
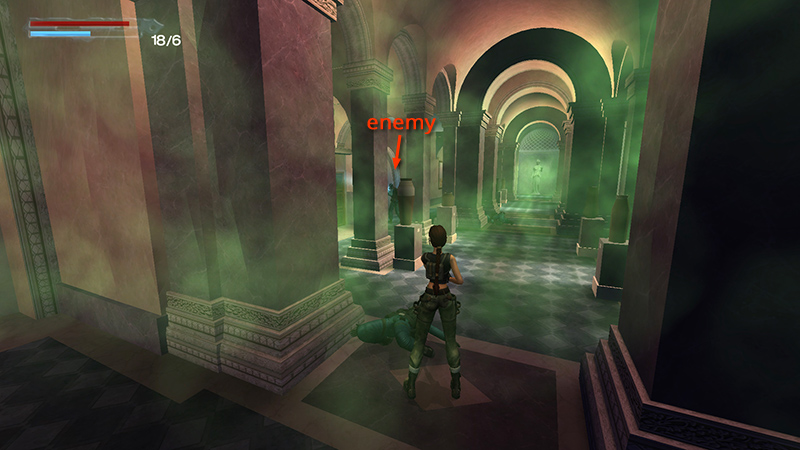
He may meet you on the way, or you'll find him wandering around among the columns.
Return through the VESIBULE...
...and the gallery with the glass case. Proceed through the doorway at the far end.
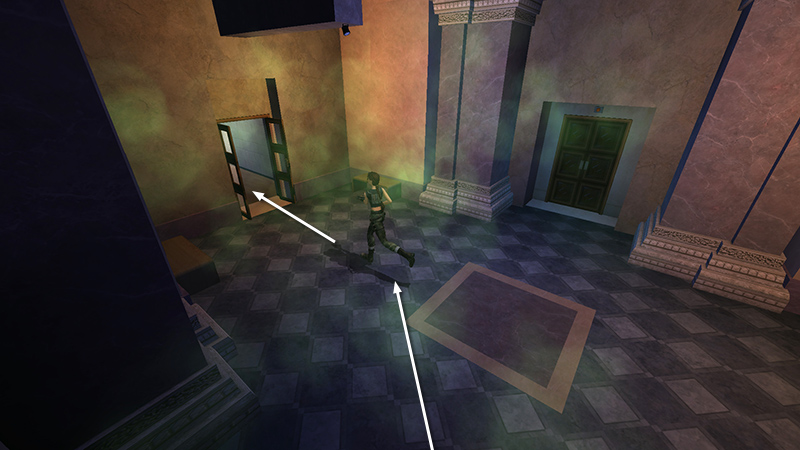
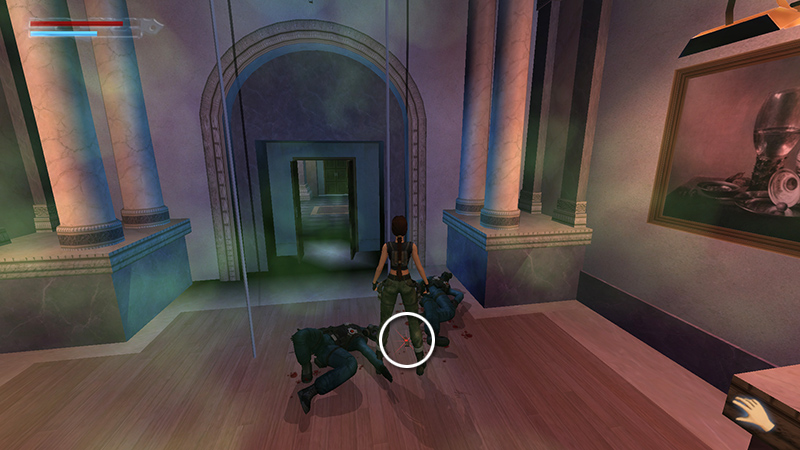
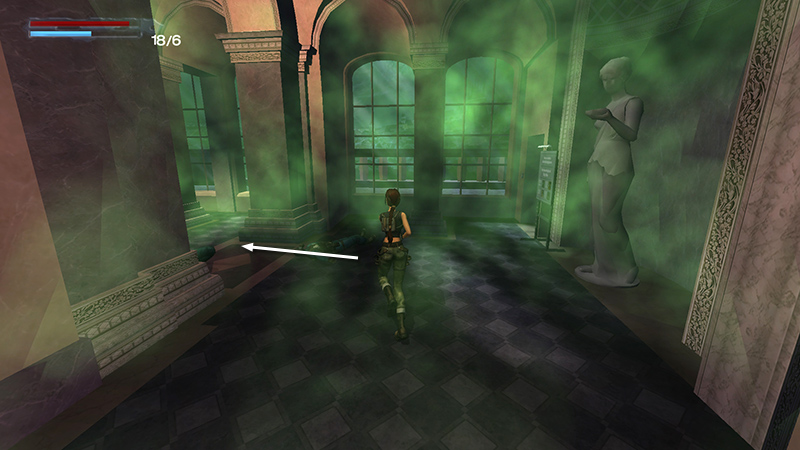
In the next small connecting room, turn left and run forward into the STAIRWELL.
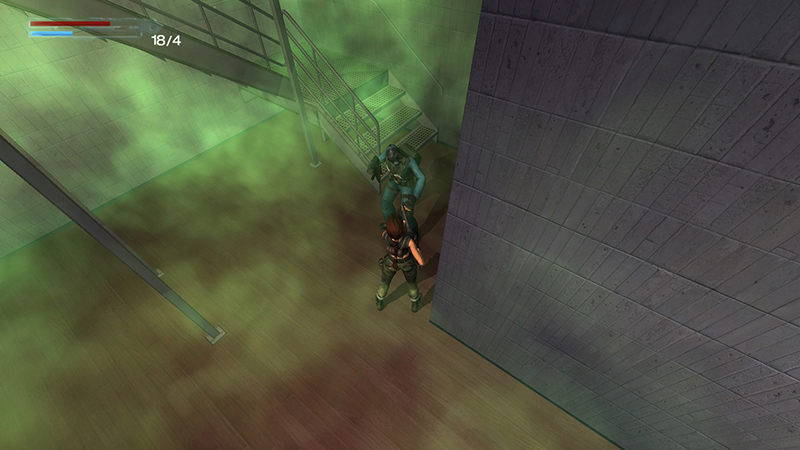
Shoot another soldier (11)...
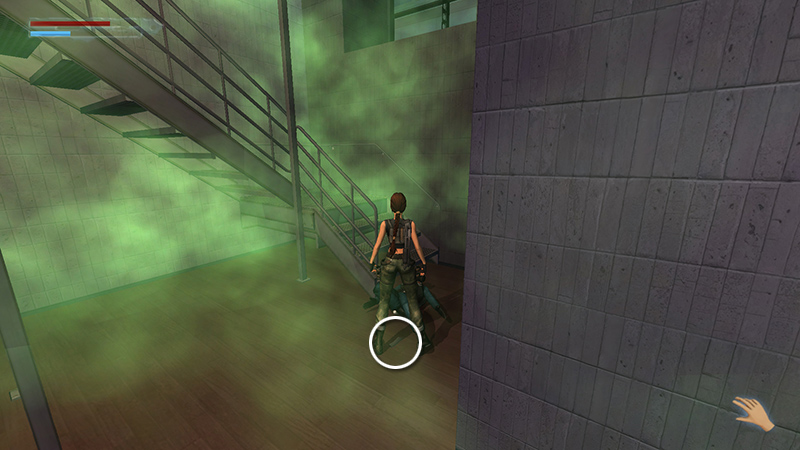
...and pick up another Mag clip (5).
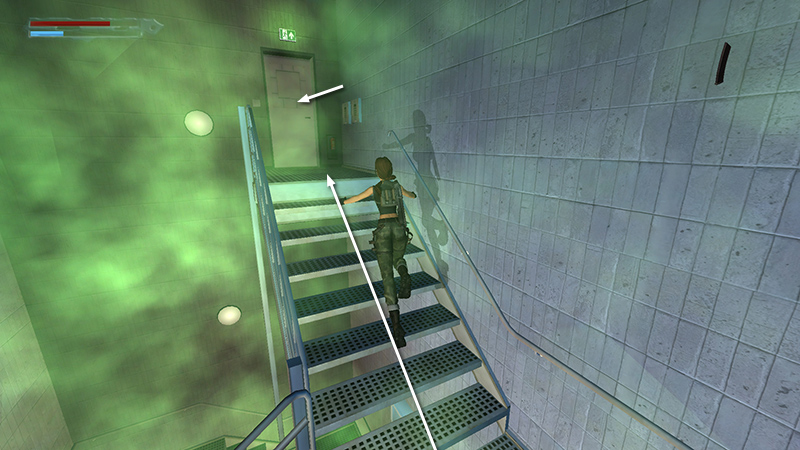
Run up the stairs (you can save a little time by jumping up the longer flights of stairs) and proceed through the door at the top.
DARK MODE: I plan to add optional dark mode for these pages, but my current priority is updating the walkthroughs. Meanwhile, may I suggest a reputable dark mode browser extension, such as Dark Reader? (Download only from trusted sites, like darkreader.org or your browser's official add-on/extension site.)
Walkthrough text and diagrams copyright © Stellalune (email ). Feel free to copy or print this walkthrough for personal use. By all means, share it with friends, but please include this credit line so people can send me their feedback. No part of this walkthrough may be reproduced on another site without permission.