Louvre Galleries - Gallery with Square Pillars and Vestibule
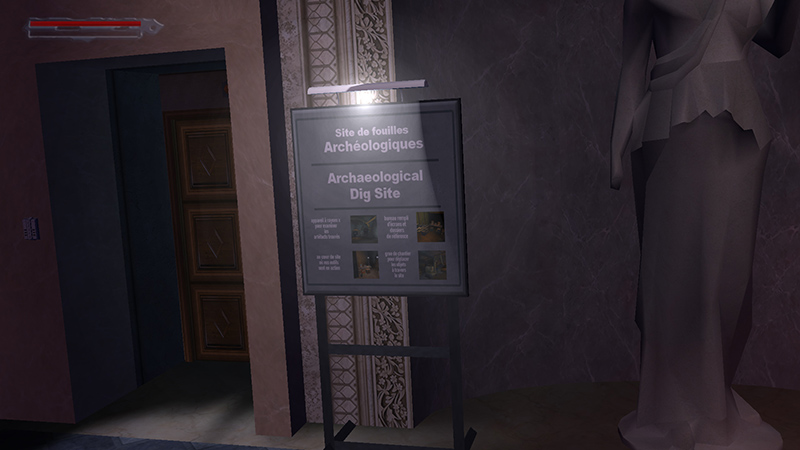
A cutscene shows the layout of the next gallery and the vestibule beyond. There are a few guards on patrol and various points of interest, including a locked door near a sign about an archaeological dig.
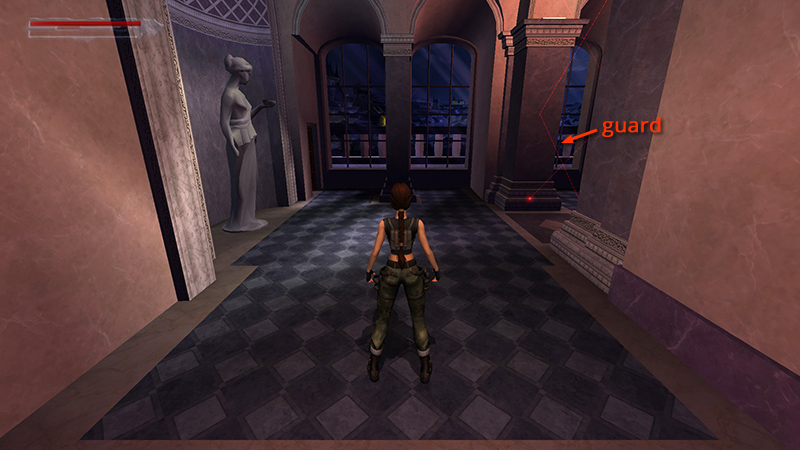
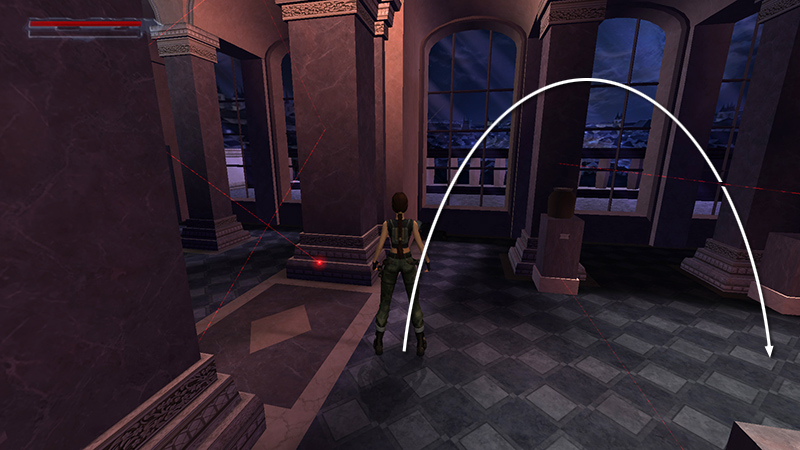
When the cutscene finishes, there's a guard (4) lurking just ahead near the windows.
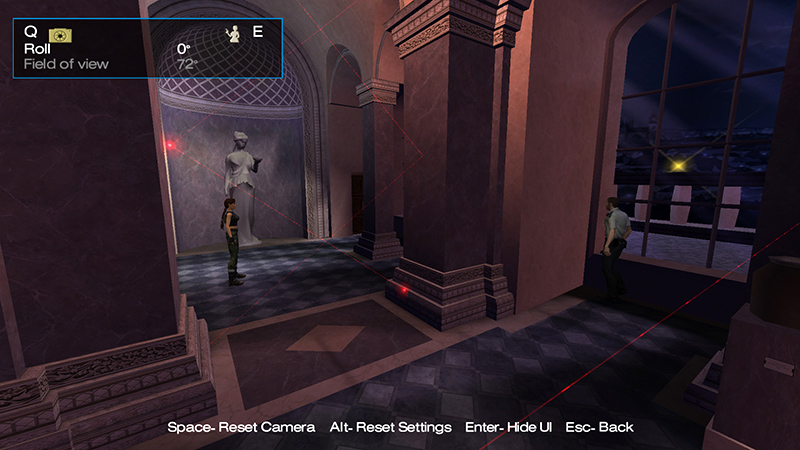
If you step forward a bit, you can use photo mode to scout his position.
NOTE: If you skip the cutscene, the first guard doesn't seem to appear at all. If you trip any of the lasers in this room, another guard with a gun (5, optional) joins the party, and you fail your stealth mission.
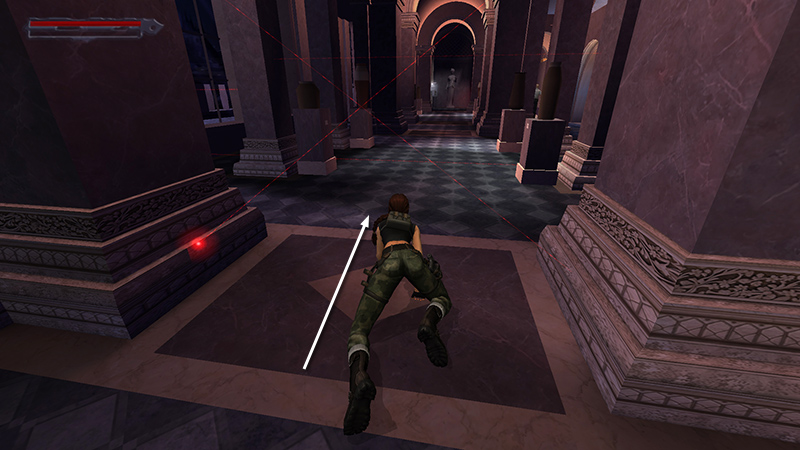
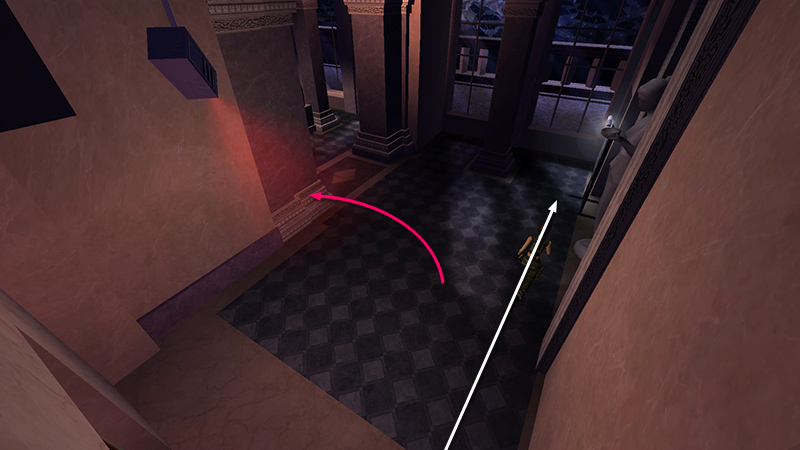
Carefully crawl underneath the X-shaped laser trap.
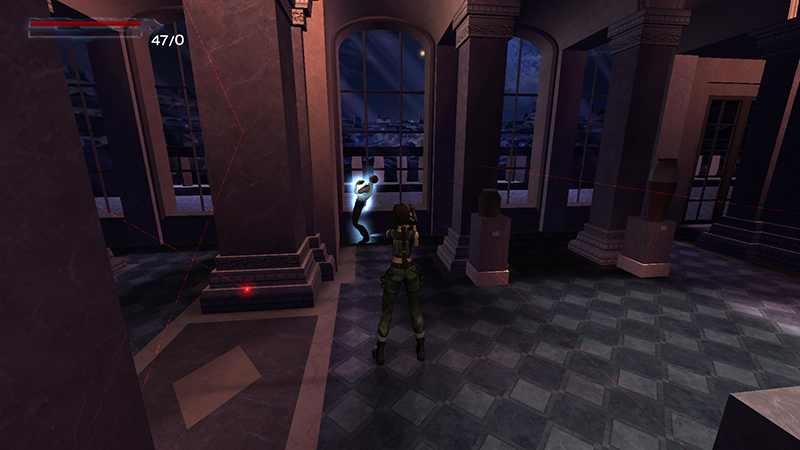
Stand up, immediately draw the K2, and take down the guard before he spots Lara.
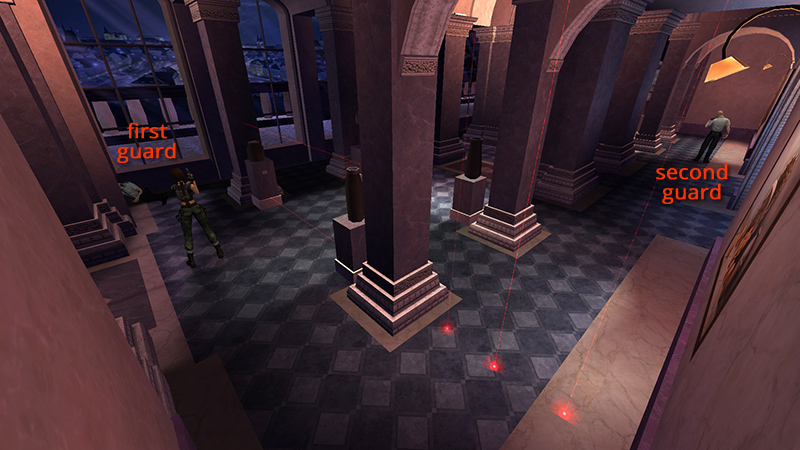
The next guard (6) is posted near the side door along the right gallery wall.

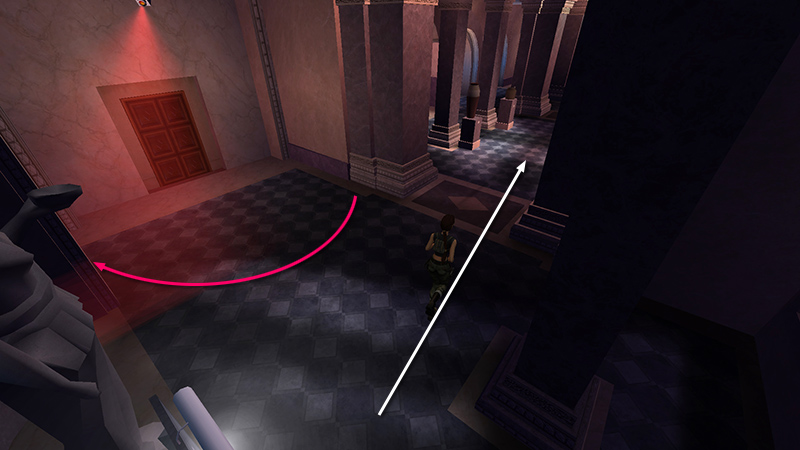
Turn around so the X-shaped laser trap is on Lara's right and walk forward, staying close to the dividing wall between the entryway and the gallery. As you approach the vertical lasers...
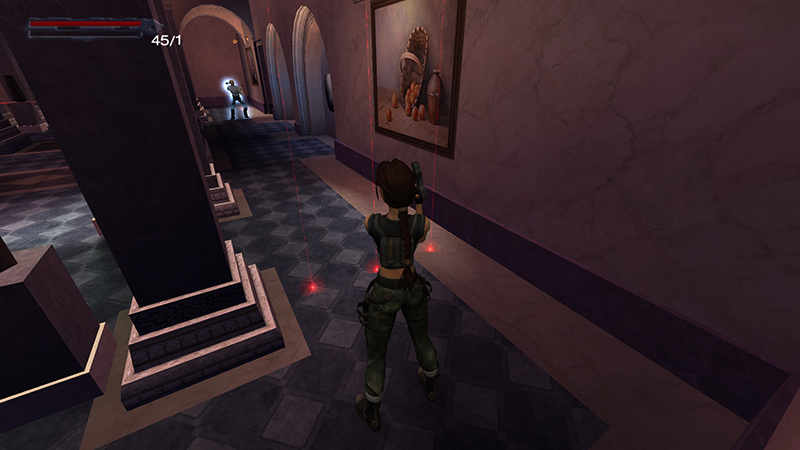
...Lara will automatically swing around to aim at the guard. You don't want to be too close to those lasers when she does, or you'll trip the alarm. Tase him immediately before he notices you.
NOTE: You can also sneak up on this guard and try to knock him out, but the taser seems faster and more reliable.
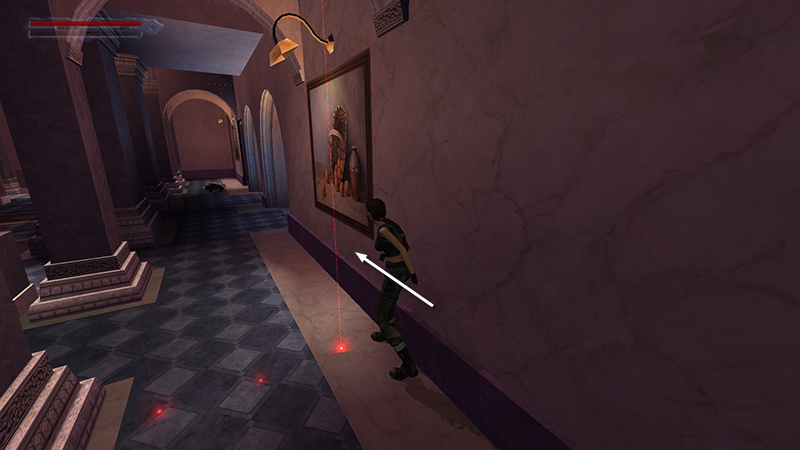
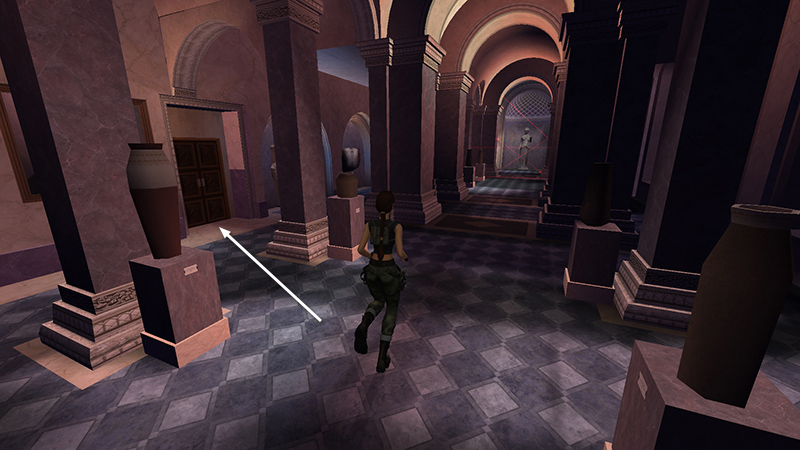
Move past the vertical lasers, either by standing close to the wall and sidestepping past them, or by standing near the wall and pressing Stealth then Action to hug the wall, and sidling past, as shown above.
- OR -
Alternatively, return to the middle of the gallery, position Lara as shown, with the criss-crossing lasers on her left. Then side flip over the two horizontal laser beams.
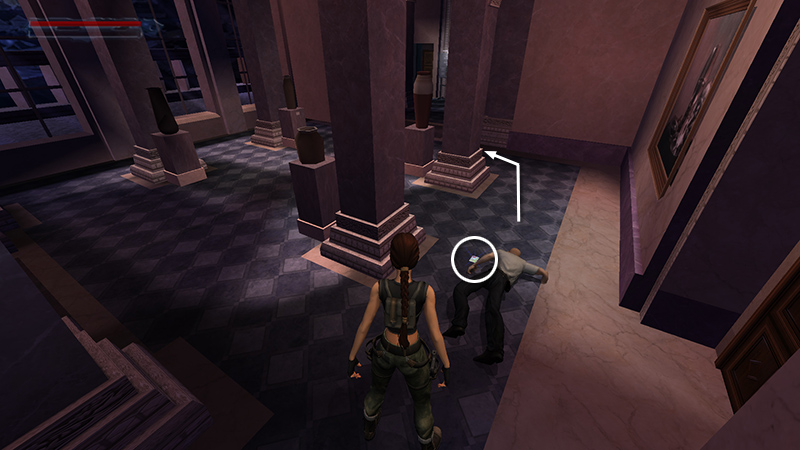
Approach the second guard's body and pick up the LOUVRE LOW SECURITY PASS (3) he dropped. Continue toward the far end of the room.
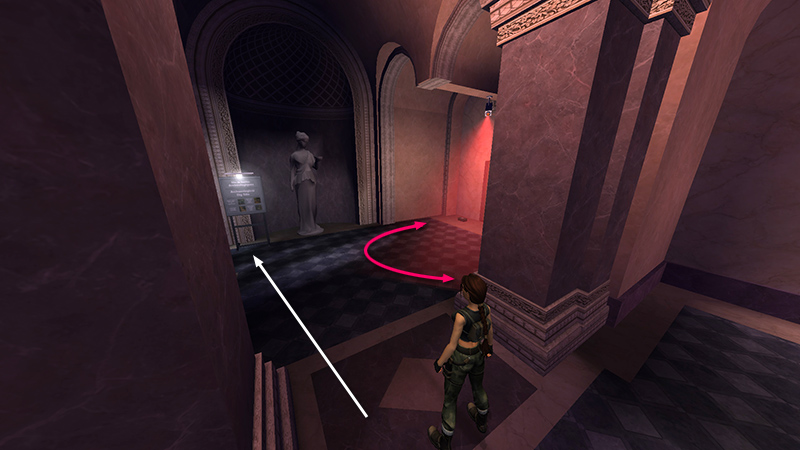
There's a security camera mounted on the ceiling of the VESTIBULE ahead. Stay out of the sweeping red light, or another armed guard (7, optional) will appear at the other end of the gallery, and you'll fail the stealth achievement/trophy. When the camera swings away, run to the Archaeological Dig Site sign ahead on the left.

Examine it for a notebook update (33/62): "Get access to the archaeological dig at the second buttress." There's also a locked door with a card reader that you can't use yet.
NOTE: If you miss the sign, don't worry; you'll have another opportunity to unlock the notebook entry later.
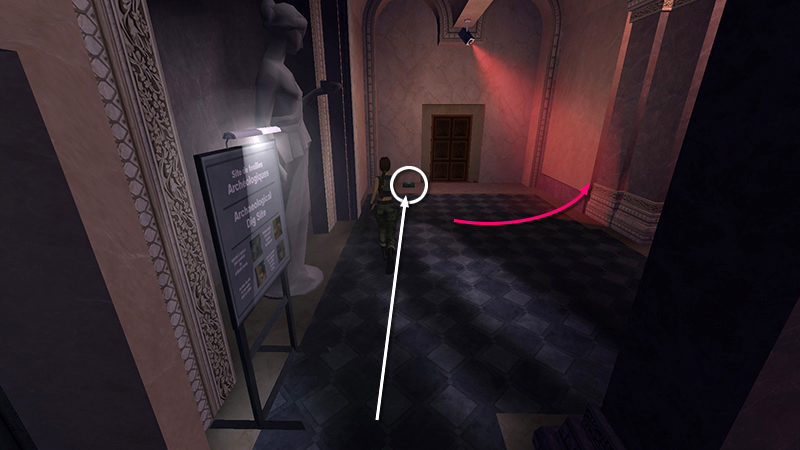
Turn to face the large health pack (4) on the floor below the camera. When the red light swings away to the right, run forward and pick up the health.
Turn around, wait for the camera to pan away, then run back to the sign.
Again, wait for the camera to point away from the doorway and run back into the GALLERY WITH SQUARE COLUMNS.
If there's no armed guard here, all is well. Head for the door on the right, near where you tased the last guard for his SECURITY PASS. Go through the door into the next gallery.
[Previous | Next | Louvre Galleries]
DARK MODE: I plan to add optional dark mode for these pages, but my current priority is updating the walkthroughs. Meanwhile, may I suggest a reputable dark mode browser extension, such as Dark Reader? (Download only from trusted sites, like darkreader.org or your browser's official add-on/extension site.)
Walkthrough text and diagrams copyright © Stellalune (email ). Feel free to copy or print this walkthrough for personal use. By all means, share it with friends, but please include this credit line so people can send me their feedback. No part of this walkthrough may be reproduced on another site without permission.