Eckhardt's Lab - Third Periapt Shard
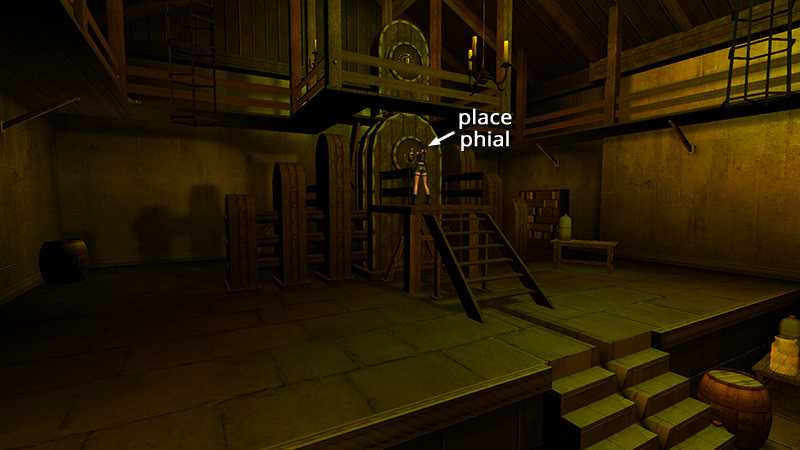
In the previous section, we obtained 3 ALCHEMIC PHIALS and used one of them. Now, we'll use the other two. Place ALCHEMIC PHIAL #2 in the receptacle at the top of the wooden steps on the dais.
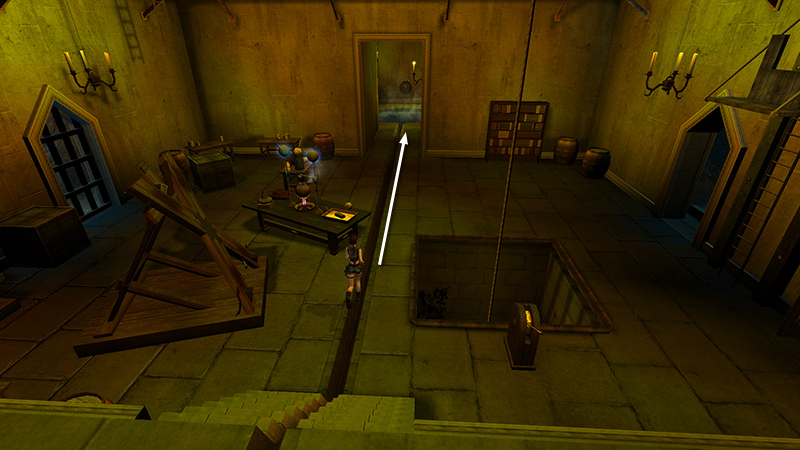
Then follow the short hallway on the other side of the lab to a small room with a circular pit of boiling water. (Take care not to fall in.)
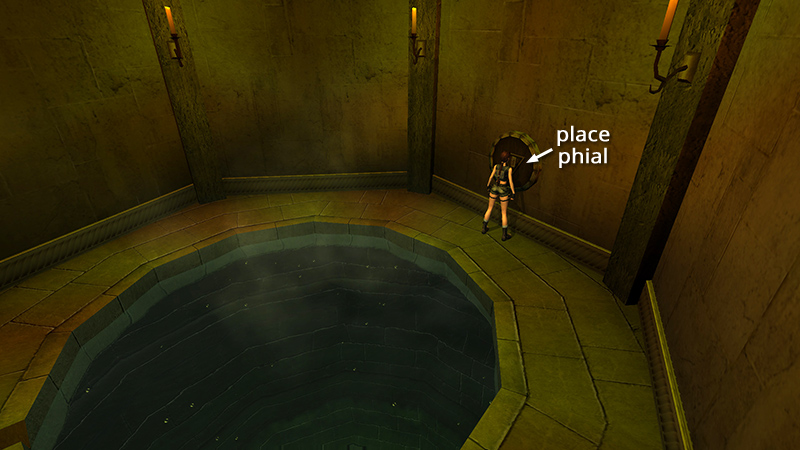
Place ALCHEMIC PHIAL #3 in the third receptacle.
Cutscene: When all three phials have been used, a glowing substance flows into the pool, magically cooling it.
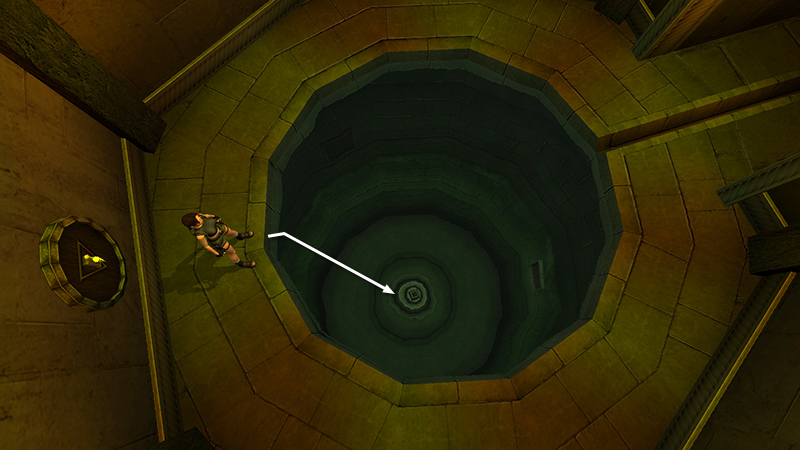
Now Lara can jump into the circular pool.
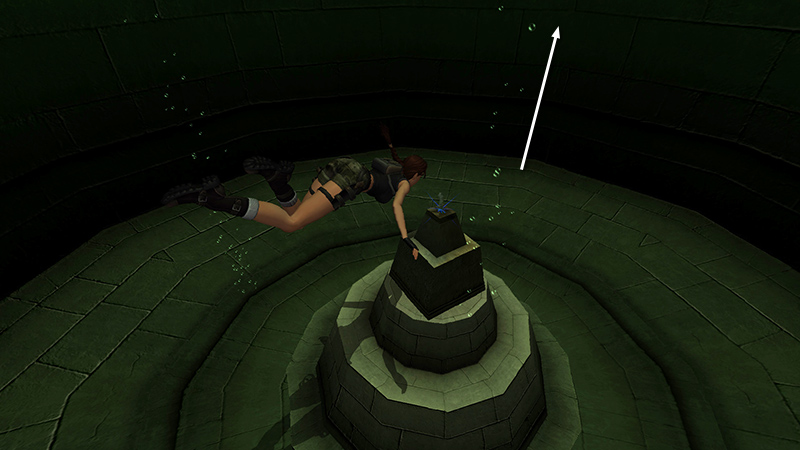
Swim down and take Eckhardt's PERIAPT SHARD (6) from the underwater pedestal. Along with Kurtis's shards, we now have three, enough to burn with righteous light and confine evil—at least according to the Ancient Wisdom. Taking the shard also opens the exit. Return to the surface...
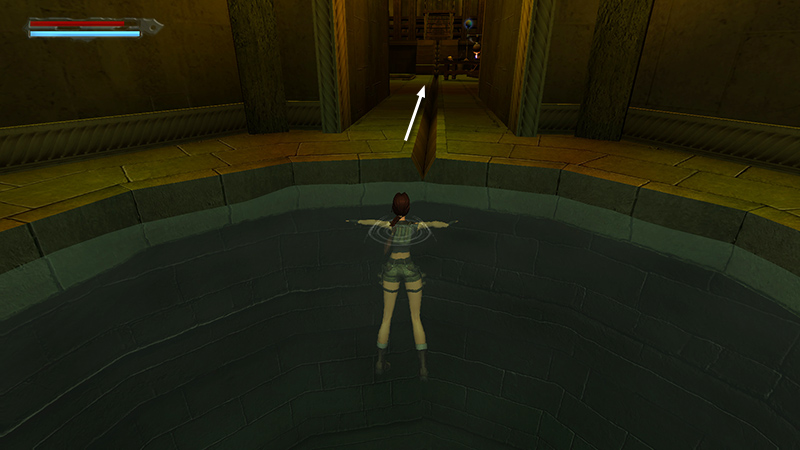
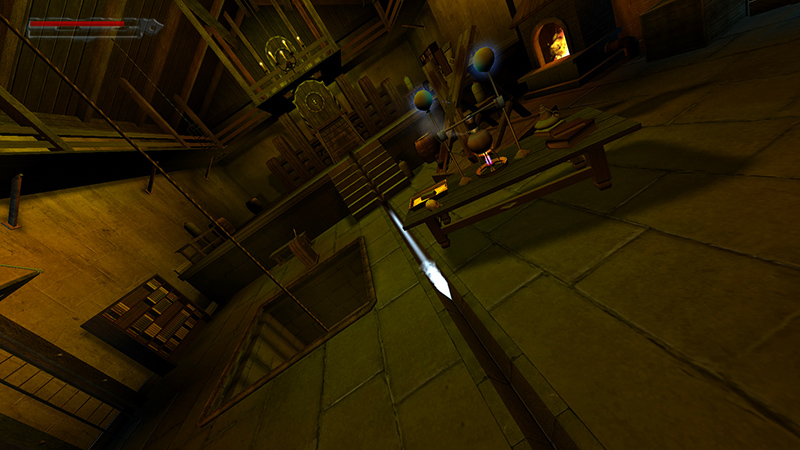
...and follow the hallway back to the lab.
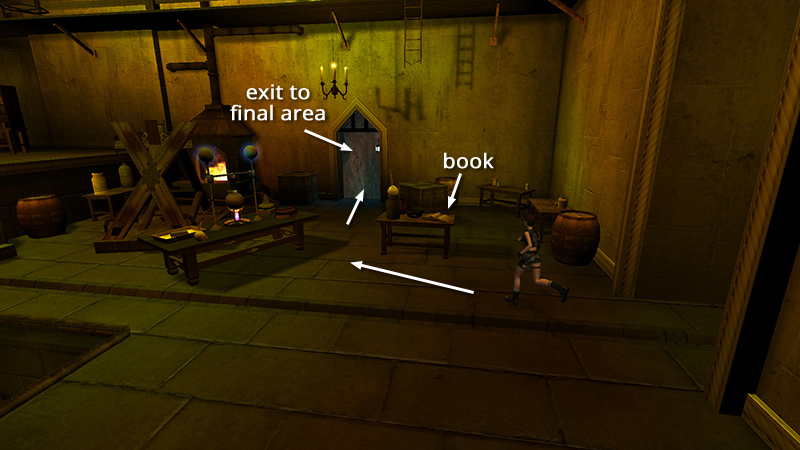
Examine the open book on the worktable, if you didn't do so before, to unlock 5 more notebook entries. Once you leave this room, you can't return.
When you're ready to confront Eckhardt, step through the gate...
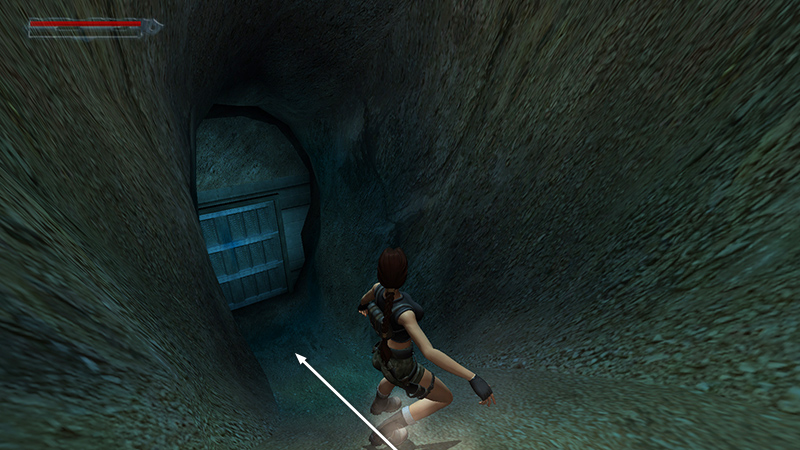
...and slide down a long sloping tunnel. At the bottom, open the doors to enter the Black Alchemist's inner sanctum.
DARK MODE: I plan to add optional dark mode for these pages, but my current priority is updating the walkthroughs. Meanwhile, may I suggest a reputable dark mode browser extension, such as Dark Reader? (Download only from trusted sites, like darkreader.org or your browser's official add-on/extension site.)
Walkthrough text and diagrams copyright © Stellalune (email ). Feel free to copy or print this walkthrough for personal use. By all means, share it with friends, but please include this credit line so people can send me their feedback. No part of this walkthrough may be reproduced on another site without permission.