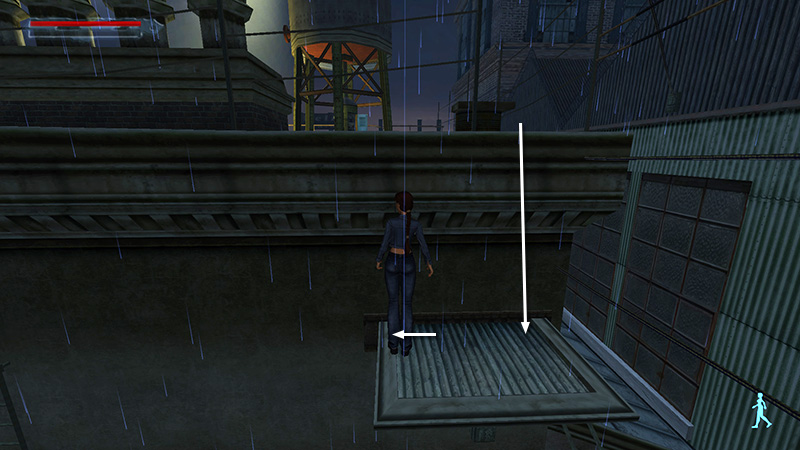
Parisian Backstreets - Residential Neighborhood
After obtaining the COURTYARD KEY, as shown in the previous section, Lara can open the wrought iron gate and go through.
In the small yard with the two trash bins, Lara explains how to crawl. Hold the Duck button and move through the gap in the fence.
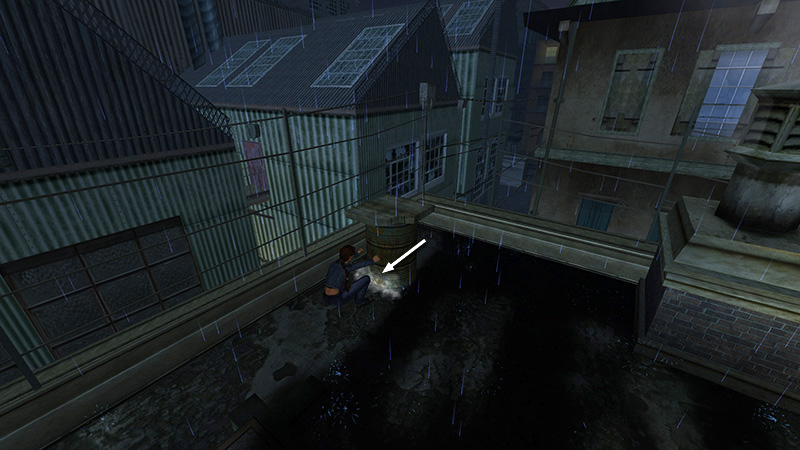
On the other side, pick up the CROWBAR (5).
Then follow Lara's instructions to commando crawl under the broken gate: Hold Duck, then press Stealth to drop lower. Crawl forward through the gap, then release Duck to stand up on the other side.
NOTE: You can switch between holding or toggling Duck in the menu under Options > Control > Duck Mode. Later, when you unlock the ability to Sprint/Dash, you can do the same with Dash Mode.
There's a gendarme in the street on the right. Ignore him for now. As long as you don't run up to him, he won't notice Lara. (If you do, he'll arrest her, and it'll be Game Over.)
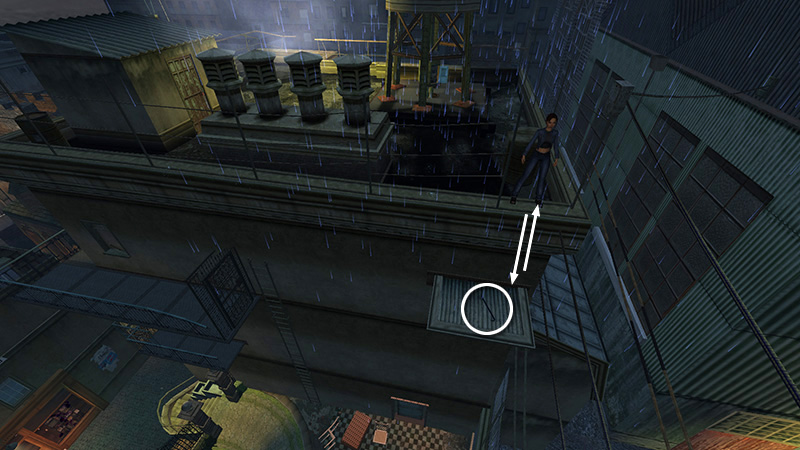
Just beyond the commando-crawl gate, go around to the left to find a box of health pills (6) (20% health).
Then cautiously approach the policeman to start a tutorial on stealth.
Press the Stealth button then follow the policeman along the street, away from the police car with the flashing lights.
When he reaches the corner, follow Lara's instructions to hug the wall while moving in stealth: Stand close to it and press Action. Then press right to sidle along the wall...
...and peer around the corner.
Now that the policemean is gone, press Stealth again to return to normal movement. Approach the locked gate just across the street (not the one where the policement went) and press Action to use the CROWBAR.
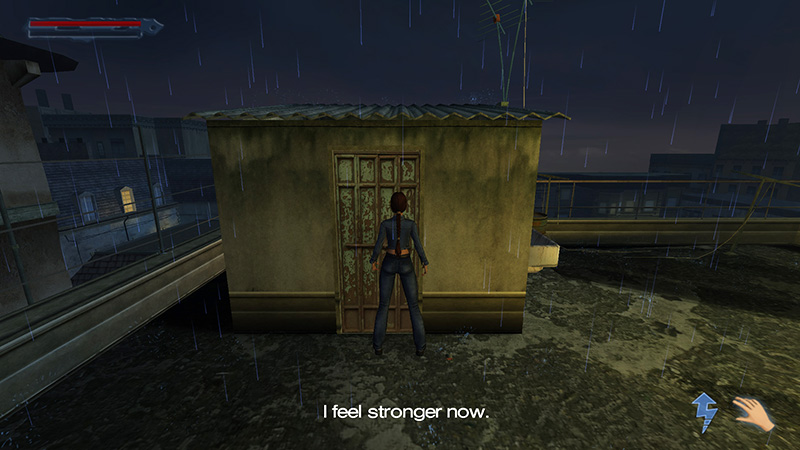
Lara will pry off the lock and, in the process, gain an upper-body strength upgrade. You'll see the blue lightning bolt icon and Lara will say, "I feel stronger now." (Yes, this doesn't make a whole lot of sense, but bear with me. You'll soon learn why this is useful.) Press Action again to open the gate.
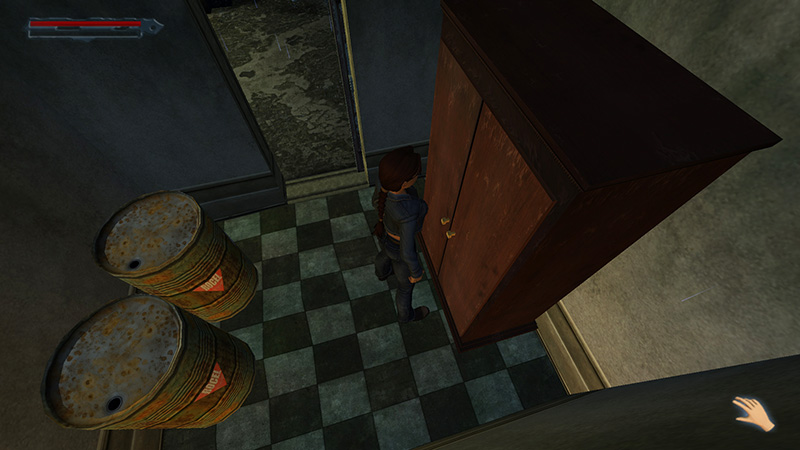
Inside you'll find a large health pack (7) sitting in the middle of a walled courtyard.
Return to the street, turn left, and head back the way you came. When you reach the barricade near the police car, turn right.
SHORTCUT: You could also go through the gate where the policeman went. You'll emerge near the end of the level, but you'll miss a bunch of pickups and the "Parkour!" achievement/trophy.
Commando crawl back under the gate, then crawl through the broken fence. Turn right, then left...
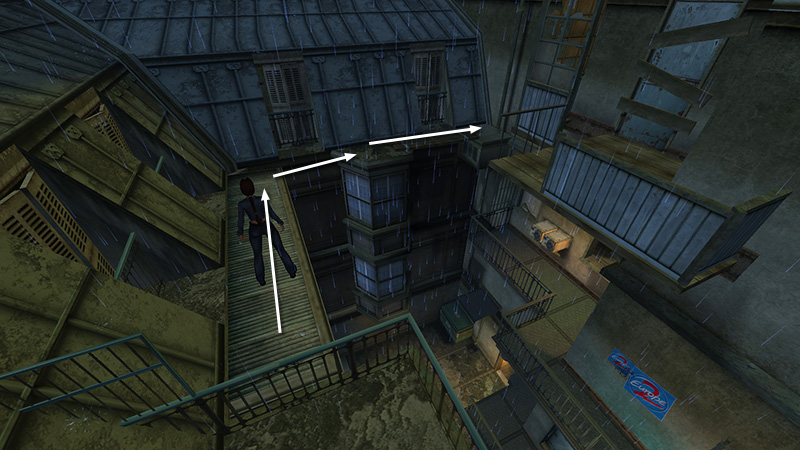
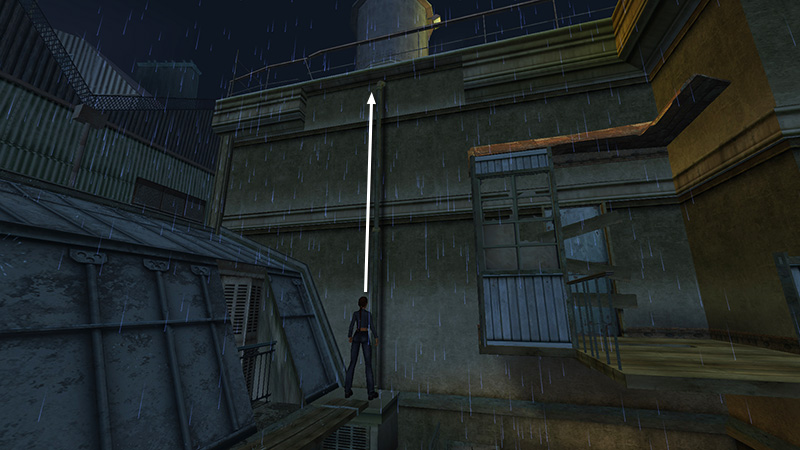
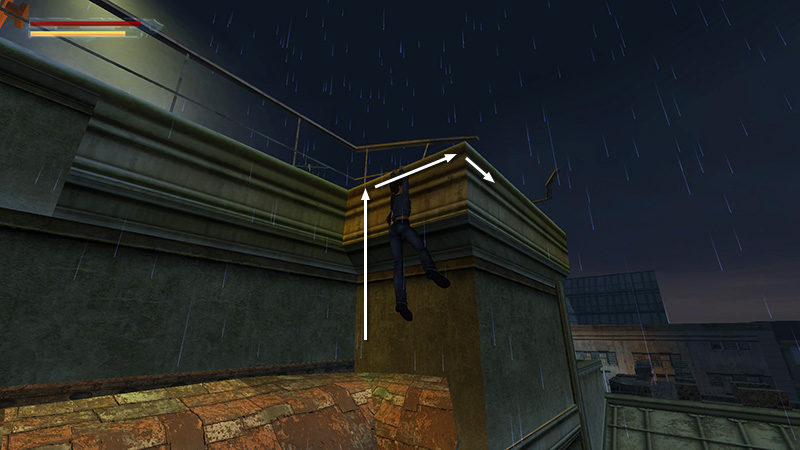
...and continue past the climbable drain pipe. The door on the right at ground level leads back to the starting area with the dog. It will open from this side, but you can ignore it. Instead return through the doorway at the top of the steps to the ladder you passed earlier.
[Previous | Next | Parisian Backstreets]
DARK MODE: I plan to add optional dark mode for these pages, but my current priority is updating the walkthroughs. Meanwhile, may I suggest a reputable dark mode browser extension, such as Dark Reader? (Download only from trusted sites, like darkreader.org or your browser's official add-on/extension site.)
Walkthrough text and diagrams copyright © Stellalune (email ). Feel free to copy or print this walkthrough for personal use. By all means, share it with friends, but please include this credit line so people can send me their feedback. No part of this walkthrough may be reproduced on another site without permission.