Sinking Submarine - Upper Deck - Silver Key and Power Switch
Whether or not you retrieved the NITROGEN CANISTER in the CONTROL ROOM, and unlocked the "Nekrasov Woman" achievement/trophy, as shown in the previous section, continue around the corner. (If you didn't do this, you'll get the pickups there shortly.)
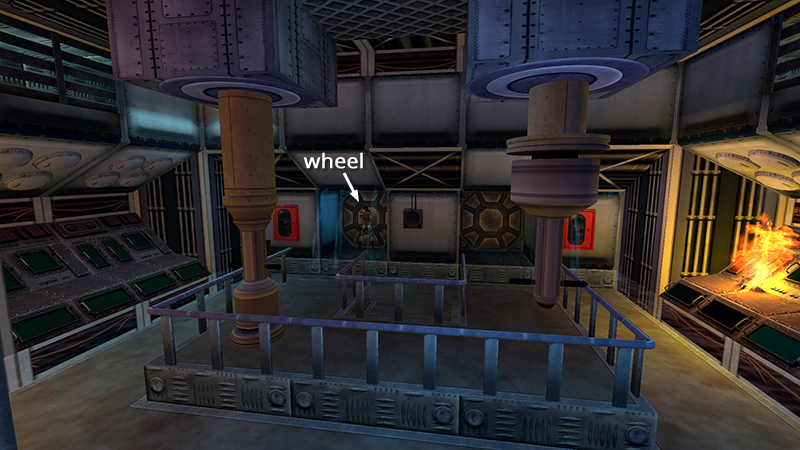
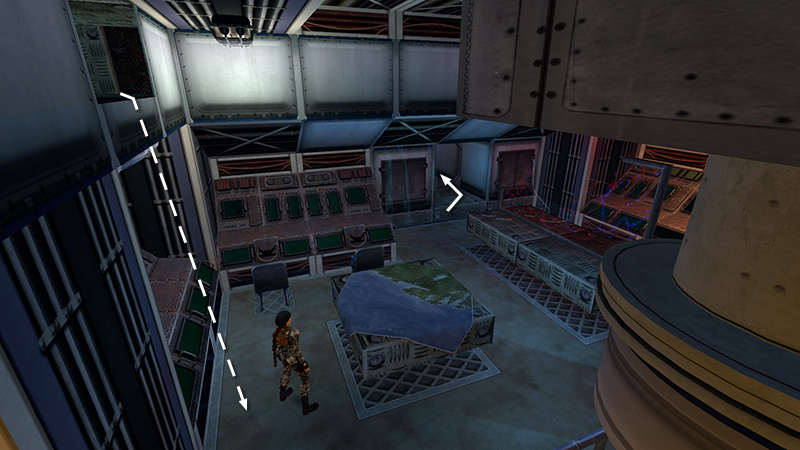
At the end of the corridor is a SECOND CONTROL ROOM WITH PERISCOPES. Cross the room and open the hatch with the wheel.
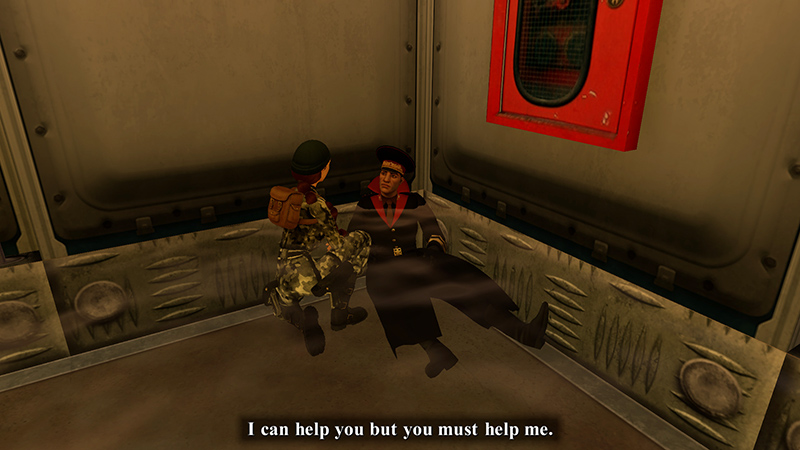
Cutscene: Lara meets the injured admiral. She offers to help him reach an escape pod, but he refuses. He gives her a key and tells her the oxygen tank the pod requires can be found in his stateroom.

After the cutscene, you'll have a SILVER KEY (9) (128/239) in your inventory. Make a mental note of the ladder beside the admiral. This leads to the ESCAPE POD.
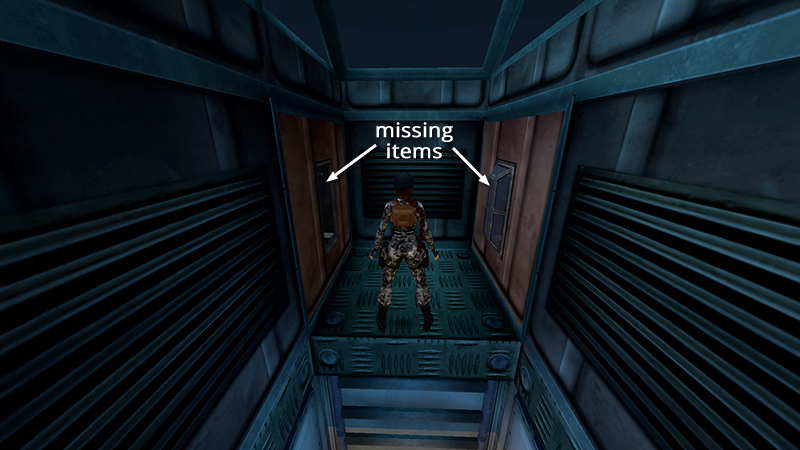
If you check it out, you'll notice there are two empty receptacles. You can place the NITROGEN CANISTER on the left if you like, but you'll also need OXYGEN to make the pod work. So climb back down.

Go back into the SECOND CONTROL ROOM WITH PERISCOPES. Notice the vents on the duct running along near the ceiling on the left side of the room. The second vent cover is loose.
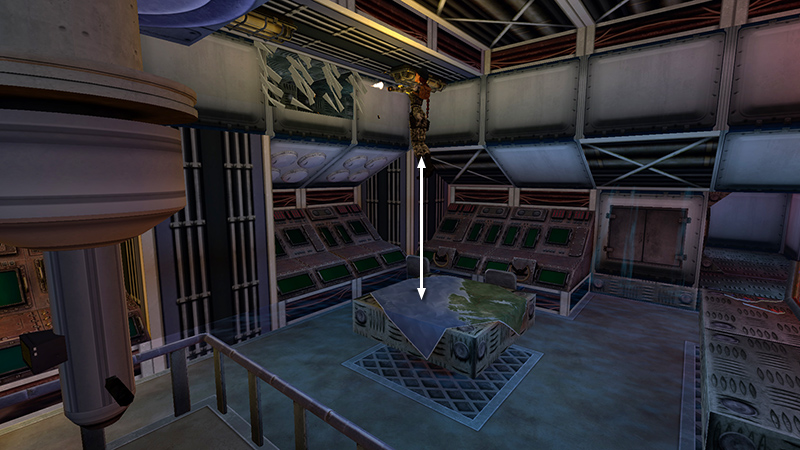
Stand on the square map table beneath the vent and jump straight up while firing pistols to shatter the slats.

Jump from the edge of the little table to grab the opening. Pull up.
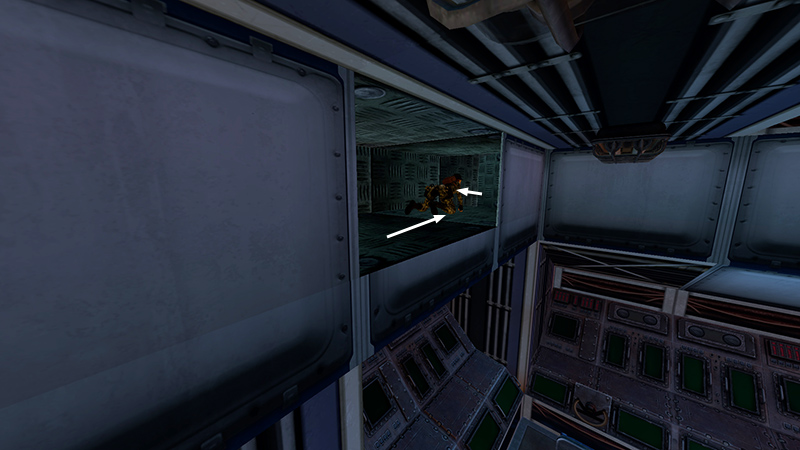
Now you're inside the ducts where Lara overheard the admiral and Mikhailov arguing in the first submarine level. Crawl to the right and around the corner...
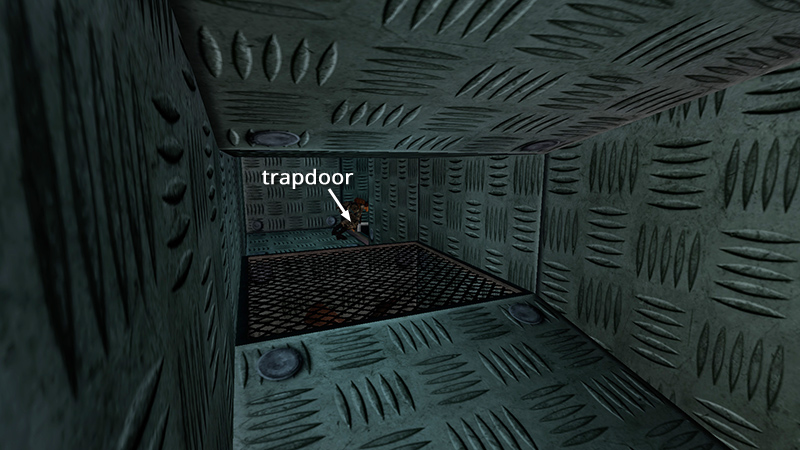
...to a trapdoor. Open it and drop into yet another small STOREROOM.
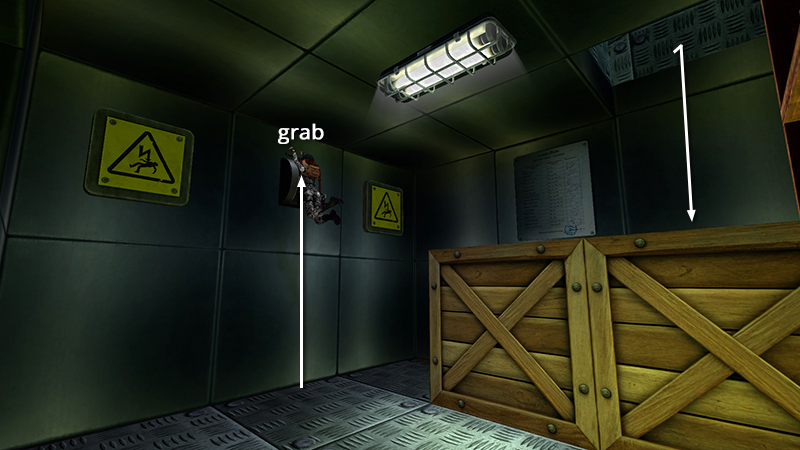
The power shutoff switch is high on the wall between the two yellow signs. Position Lara directly under the switch. Then jump straight up and hold Action to grab it. Lara's weight throws the switch, shutting off the electricity in strategic areas of the sub, deactivating the live wires.
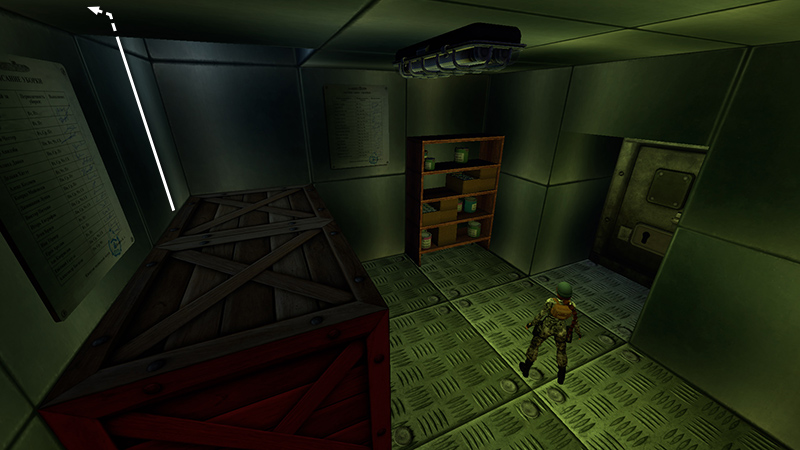
The admiral's key doesn't open the locked storeroom door. So, for now, return through the duct...
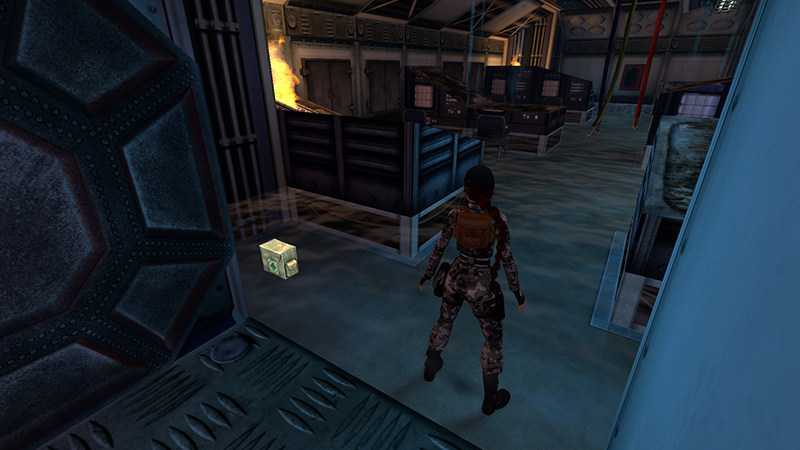
...and drop down into the CONTROL ROOM WITH PERISCOPES. Follow the corridor...

...back to the HAZARDOUS CONTROL ROOM, which is a bit less hazardous now. (You still need to avoid the fires, but this isn't hard.)
Enter and pick up a large medipack (10) (129/239)...
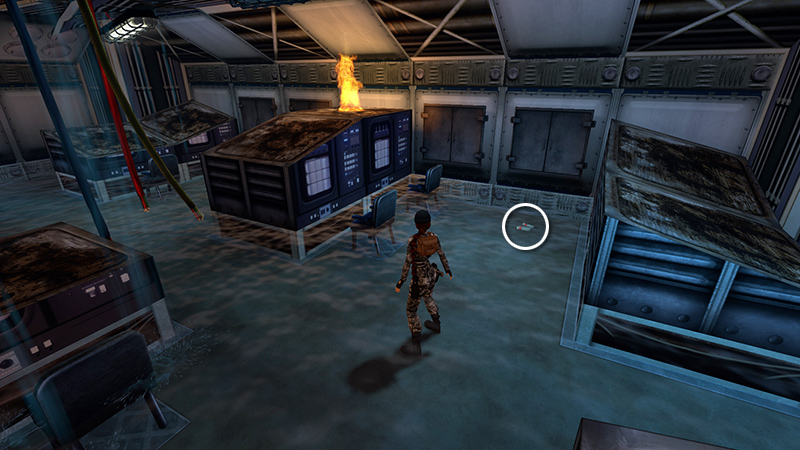
...Desert Eagle ammo (11) (130/239)...
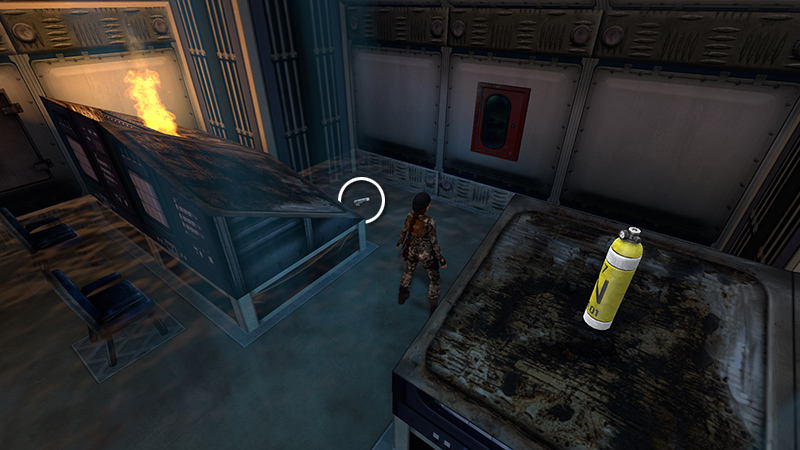
...and the DESERT EAGLE PISTOL (12) (131/239), scattered around the floor. If you didn't get the yellow NITROGEN CANISTER (counted above) earlier, be sure to take it now.
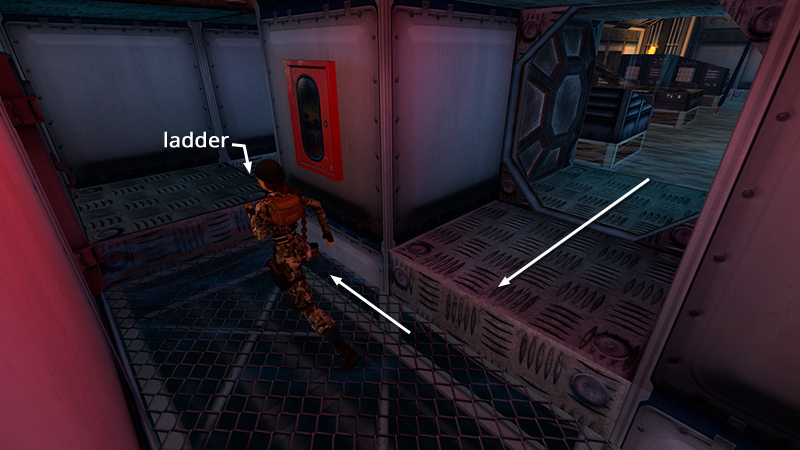
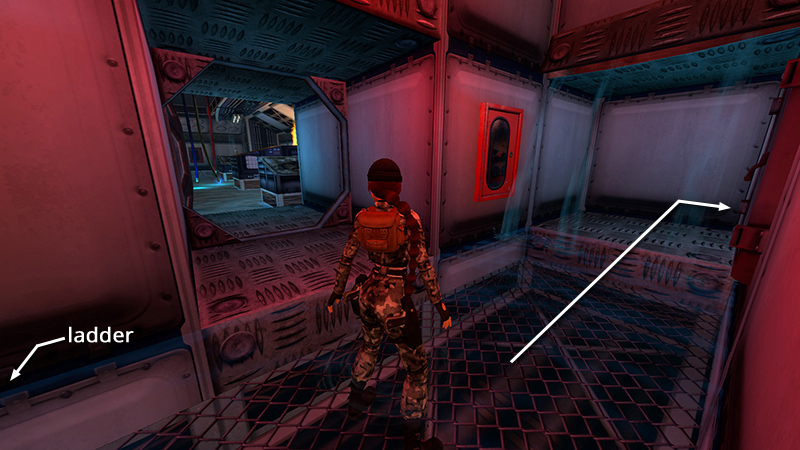
Exit and go to the right. Climb down the ladder to the deck below.
DARK MODE: I plan to add optional dark mode for these pages, but my current priority is updating the walkthroughs. Meanwhile, may I suggest a reputable dark mode browser extension, such as Dark Reader? (Download only from trusted sites, like darkreader.org or your browser's web store.)
Walkthrough text and diagrams copyright © Stellalune (email ). Feel free to copy or print this walkthrough for personal use. By all means, share it with friends, but please include this credit line so people can send me their feedback. No part of this walkthrough may be reproduced on another site without permission.