Red Alert! - Small Storeroom and Lobby with Commandos

After swinging across the EXPOSED STAIRWELL and avoiding the open flame, as shown in the previous section,
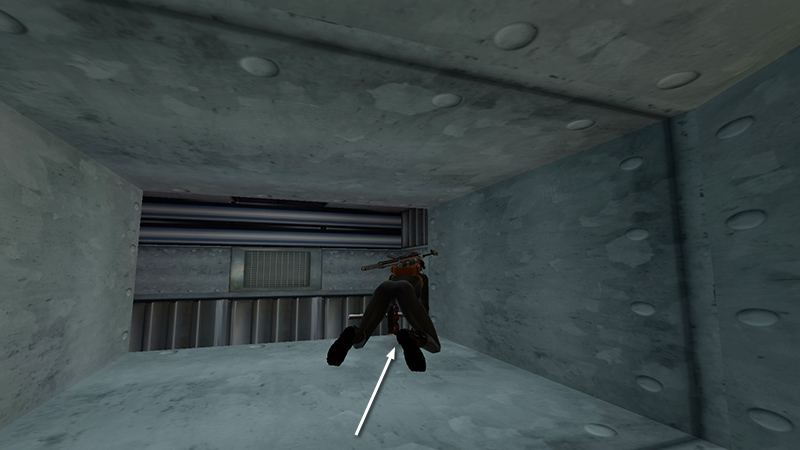
pull up and crawl through the duct...
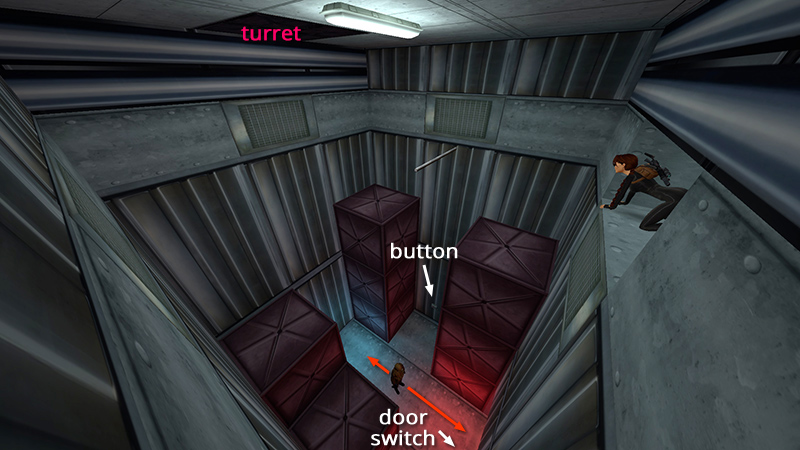
...to an opening overlooking a small storage room. Use Photo Mode or press the Draw/Holster Weapons button so Lara will kneel, giving you a better view of the room below. If the soldier (7) (not counted if killed in stealth) standing below notices Lara, he'll press a button on the wall activating a gun turret, and Lara will take a lot of damage before she can pull the switch that opens the exit and escape.
To avoid that, crawl to the right side of the opening and angle Lara to the right, facing the crate in the corner below.

Press Jump to somersault out of the opening onto the crate.
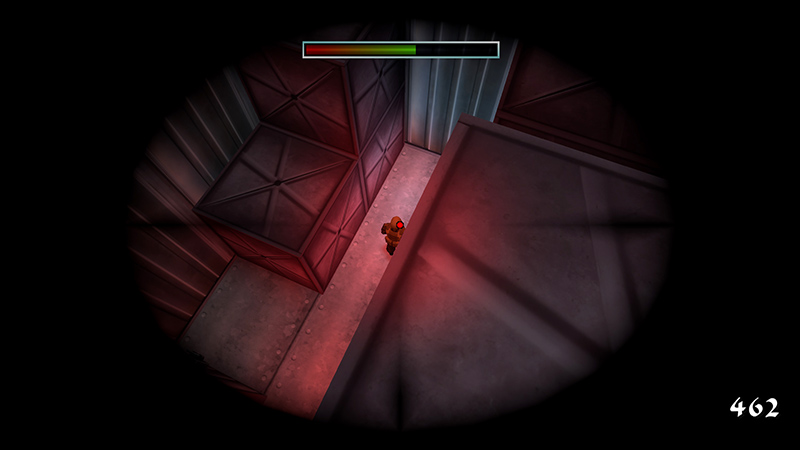
Equip the HK in sniper mode and kill the soldier with a single headshot. (This usually works even though he's wearing a helmet. Use burst mode if necessary.)
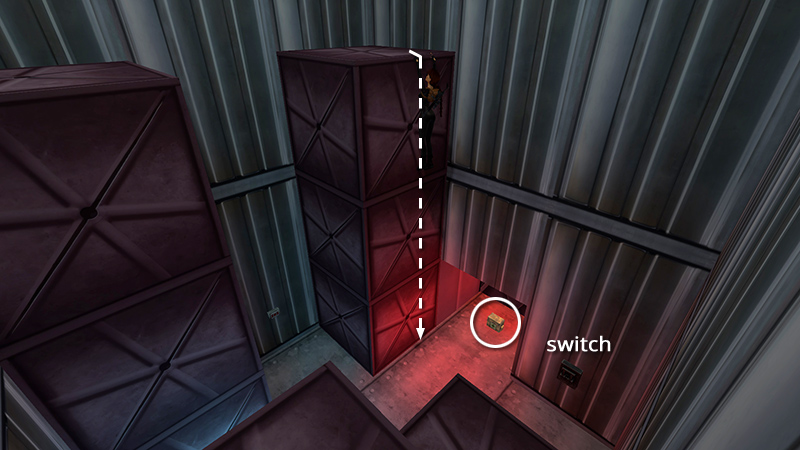
Drop down, pick up the large medipack (13) (231/239) in the doorway and use the switch to open the door.
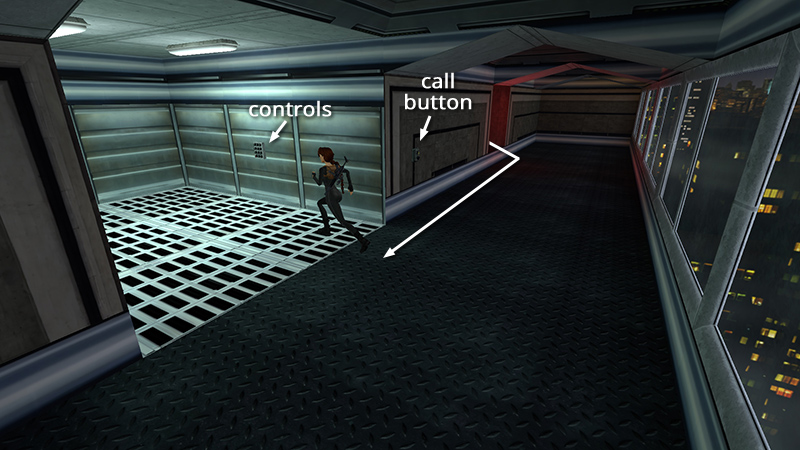
Follow the windowed corridor to the right. Press the button to call the SECOND ELEVATOR. Enter and press the button inside to descend.
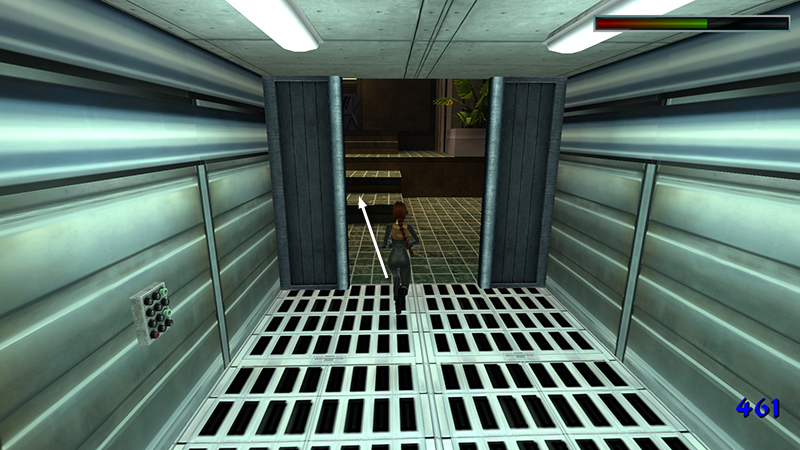
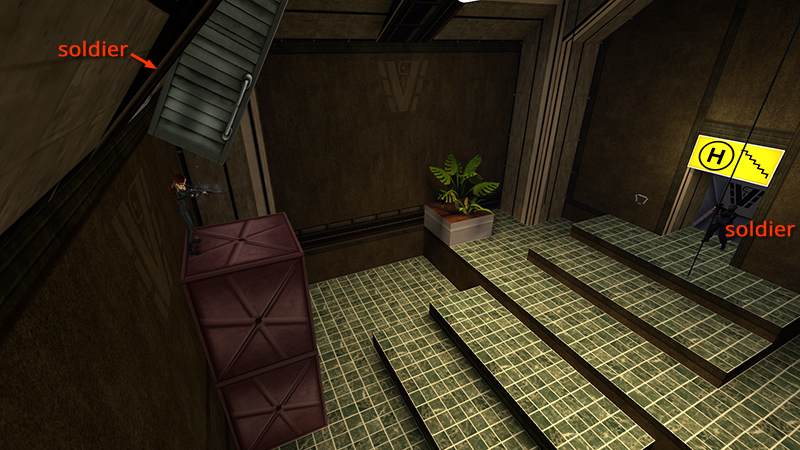
Set your weapon to burst mode and approach the doors; they should open automatically. As you enter the LOBBY and approach the wide steps...
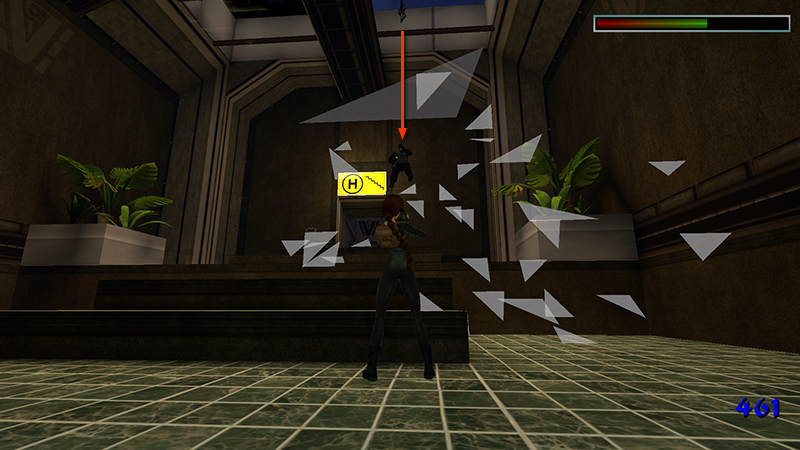
...2 commandos (11-12) (56-57/62) crash through the glass ceiling and descend on ropes. Shoot the soldier on the right first...
...then the one on the left.
NOTE: If you're low on ammo and good at aiming, you can use sniper mode. The guy on the right has a protective faceplate, though, so shoot him four times in the chest. Shoot the guy on the left once in the head.
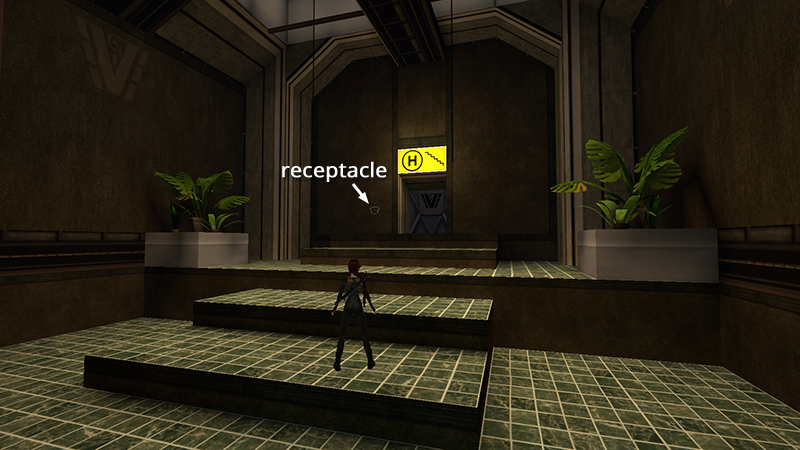
Notice the DOOR TO THE HELIPAD, with the yellow 'H' sign and the key receptacle, at the top of the stairs. You'll need to find a key for it.
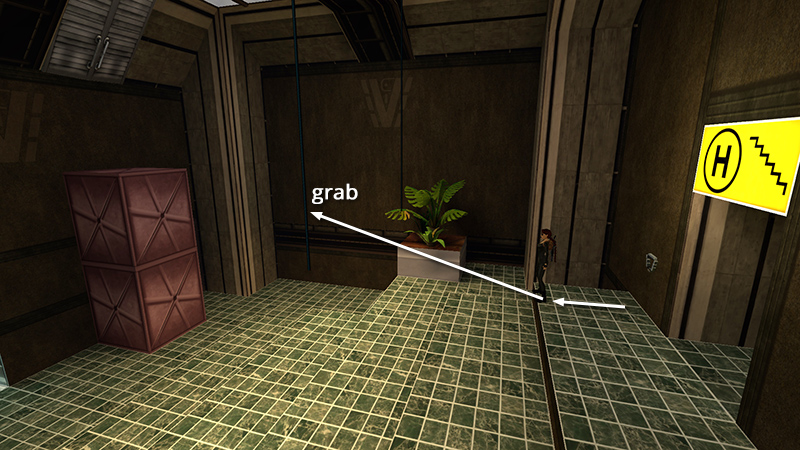
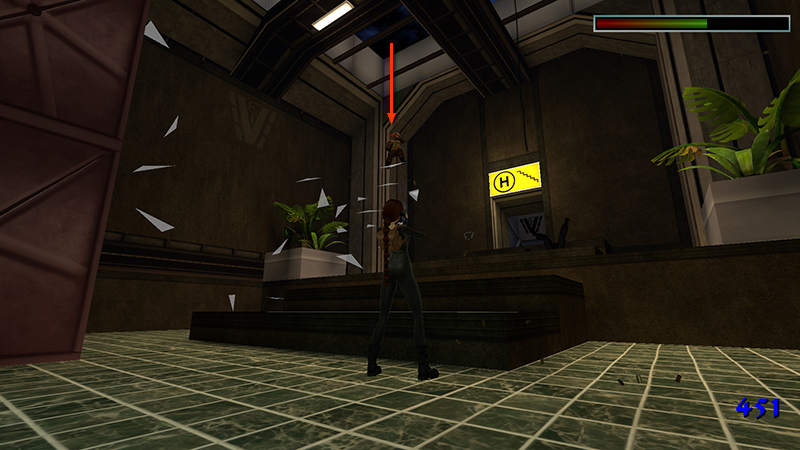
To exit the LOBBY, move to the top step, then turn so Lara's back is toward the key receptacle and she's facing the dangling rope on the right. Take a running jump and grab the rope.

Swing and jump to the top of the stacked crates.
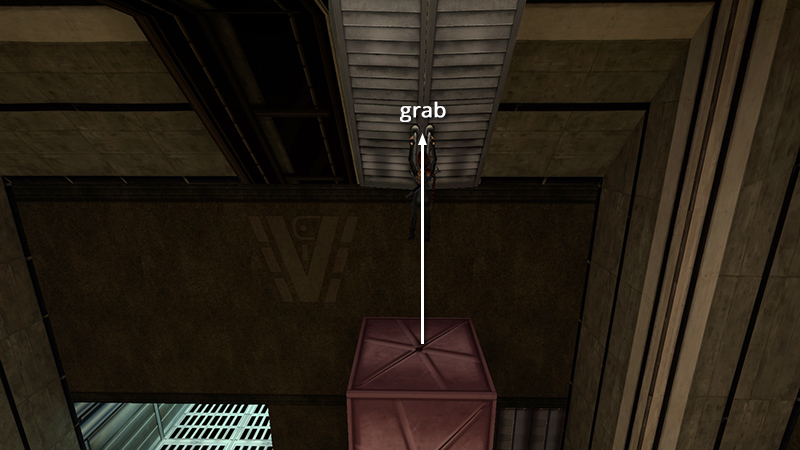
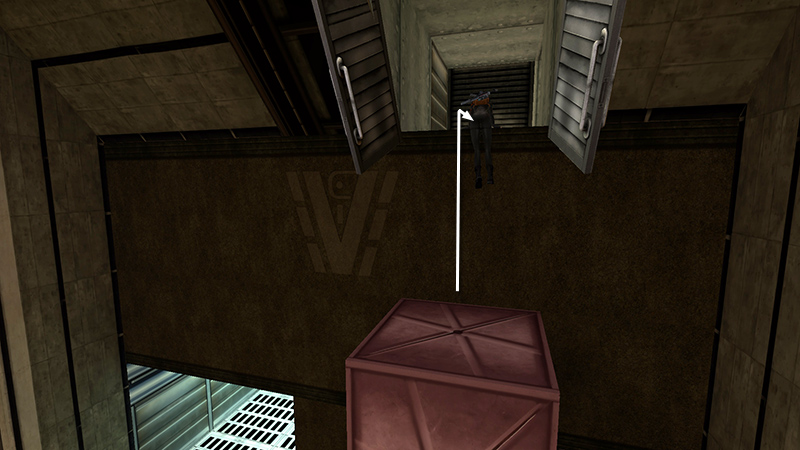
Stand in the middle of the crate and jump straight up to grab the handles of the angled metal doors to open them.
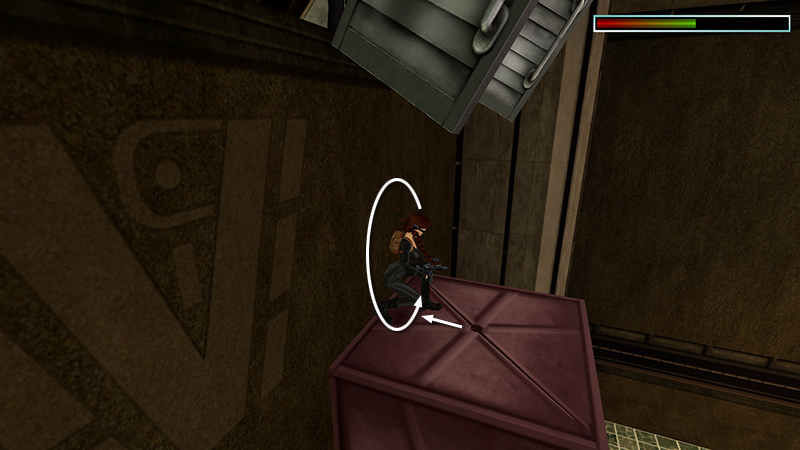
When the doors open, 2 more soldiers (13-14) appear: one in the duct above and one down below. To avoid taking too much damage, immediately roll so Lara's back is against the wall and the soldier above can't target her.
Take out the soldier in the HELIPAD doorway.
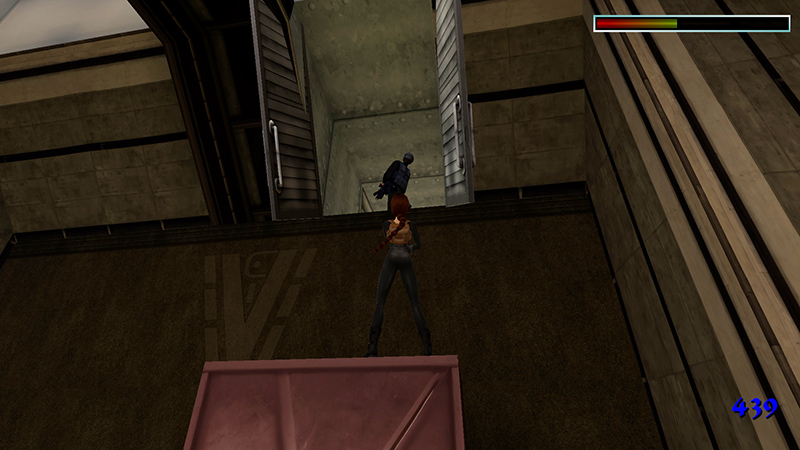
Then roll and step back so you can shoot the one in the doorway above.
When he's dead, climb up into the duct where he had been standing.
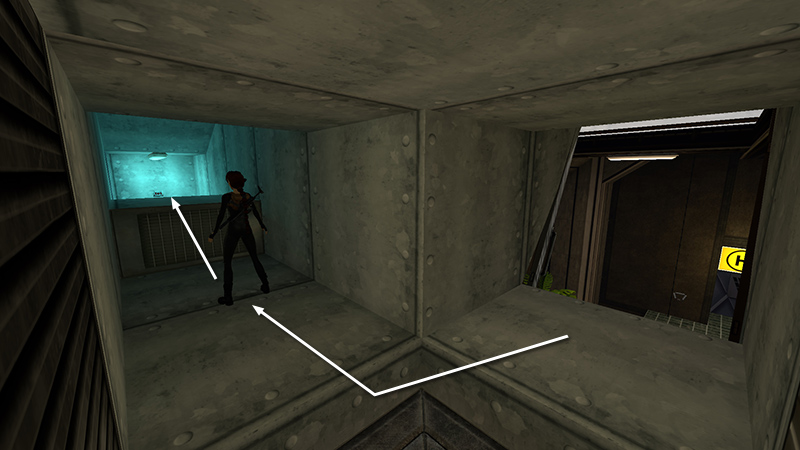
Follow the duct toward a button.
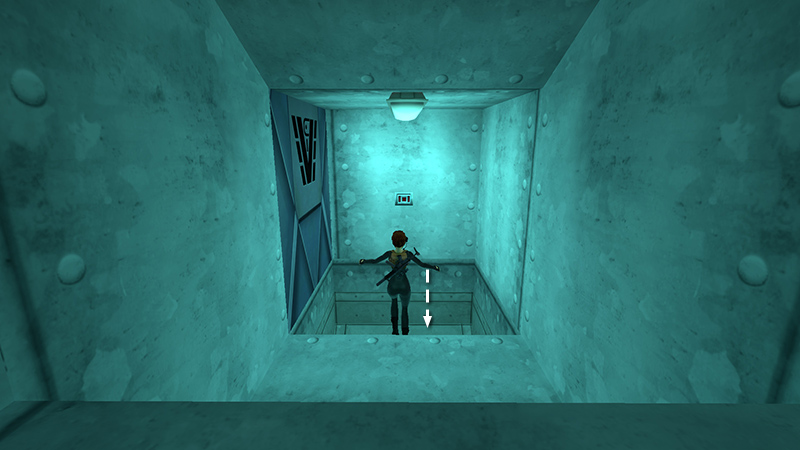
The floor drops out from under Lara before she can press it.
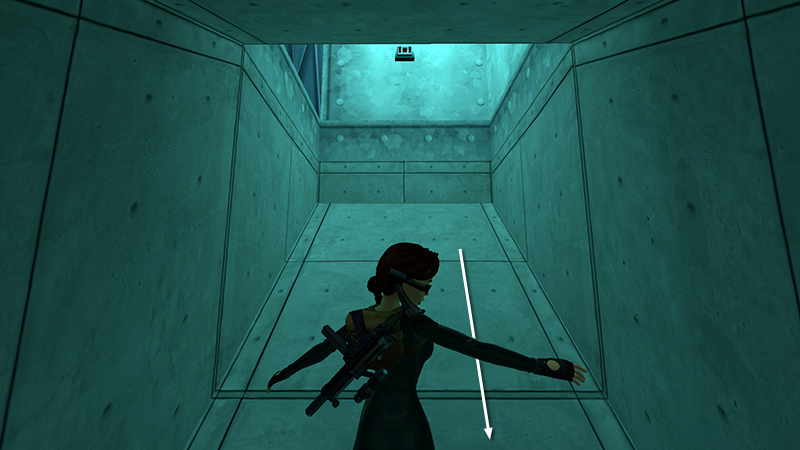
Slide down the chute...
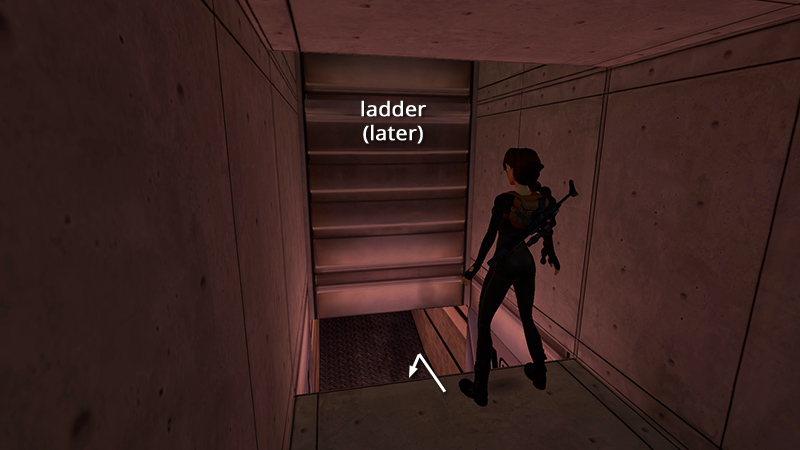
...and turn around. Before hopping down from the duct into the passageway, take note of the ladder on the wall ahead. You'll be exiting here later.
DARK MODE: I plan to add optional dark mode for these pages, but my current priority is updating the walkthroughs. Meanwhile, may I suggest a reputable dark mode browser extension, such as Dark Reader? (Download only from trusted sites, like darkreader.org or your browser's web store.)
Walkthrough text and diagrams copyright © Stellalune (email ). Feel free to copy or print this walkthrough for personal use. By all means, share it with friends, but please include this credit line so people can send me their feedback. No part of this walkthrough may be reproduced on another site without permission.