Red Alert! - First Cyborg - "Waterminator" Achievement/Trophy
IMPORTANT: The main walkthrough includes a map of this area and various bug notes. I highly recommend that you check those out and save the game in a new slot before proceeding.
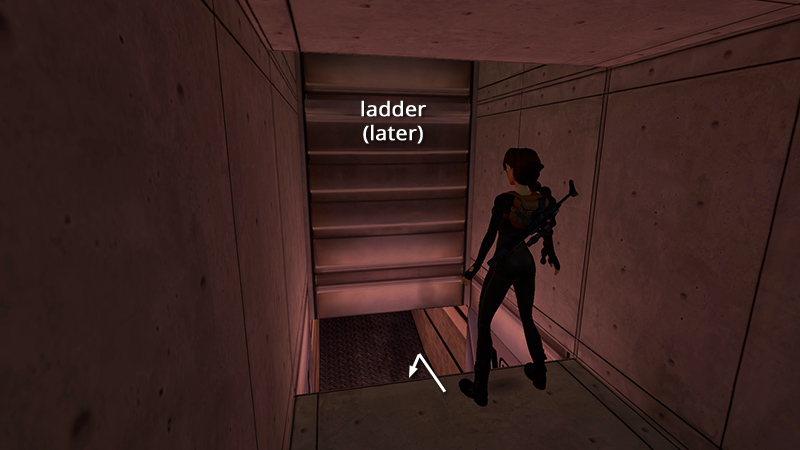
In the last section, you climbed out of the commando-infested LOBBY and followed the ducts to this ledge. The ladder above will take you back to the LOBBY later. For now, hop down and move forward.

Continue to a FOUR-WAY INTERSECTION. The doorway you just came through has no sign. The door to the left has a yellow "Caution" sign, the door straight ahead has a "Danger" sign, and the door to the right has a yellow "H" sign, for Helipad. Lasers bar the "Caution" and "Danger" doorways, so head to the right.
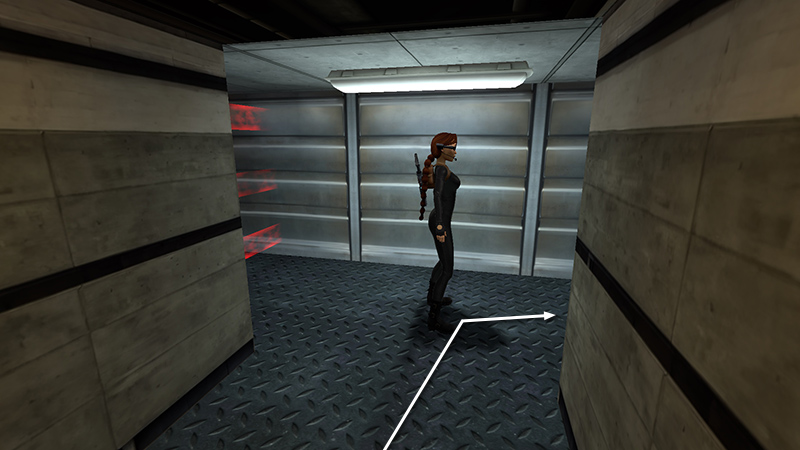
Here you'll see another laser-trapped doorway on the left and a crawlspace on the right.

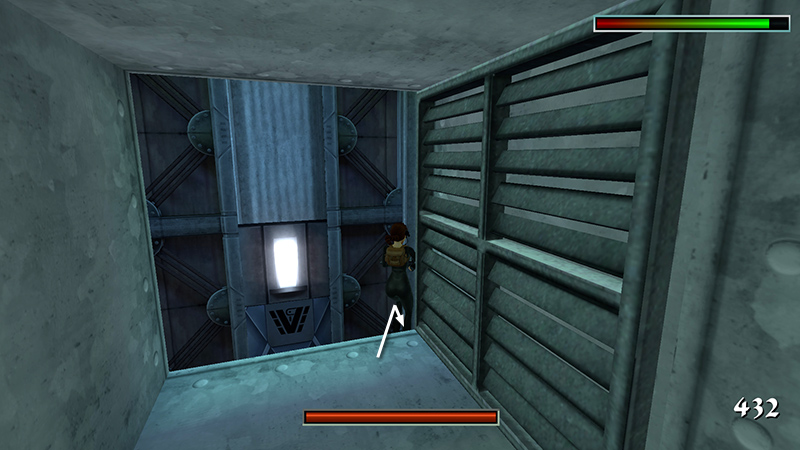
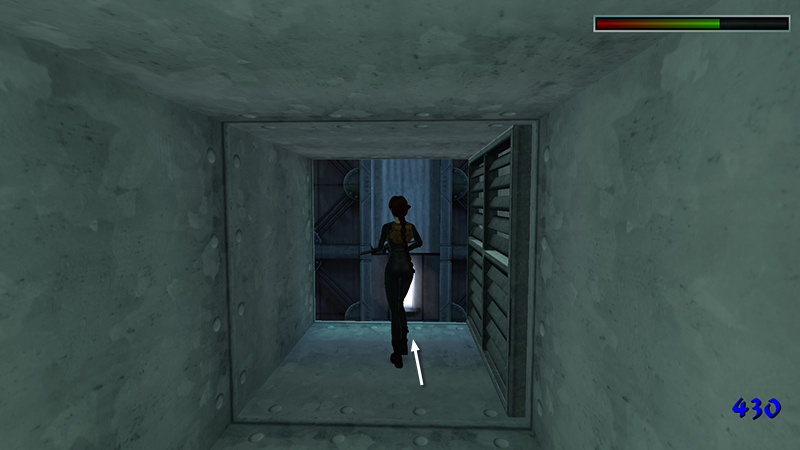
Go through the crawlspace...
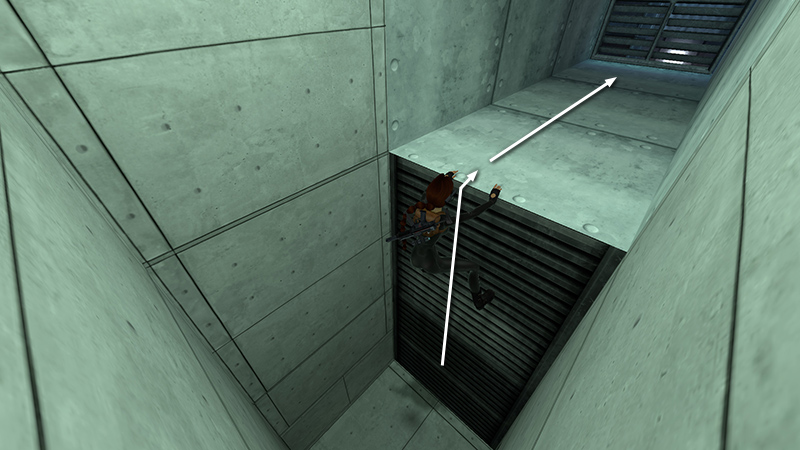
...climb the slats, and continue forward.
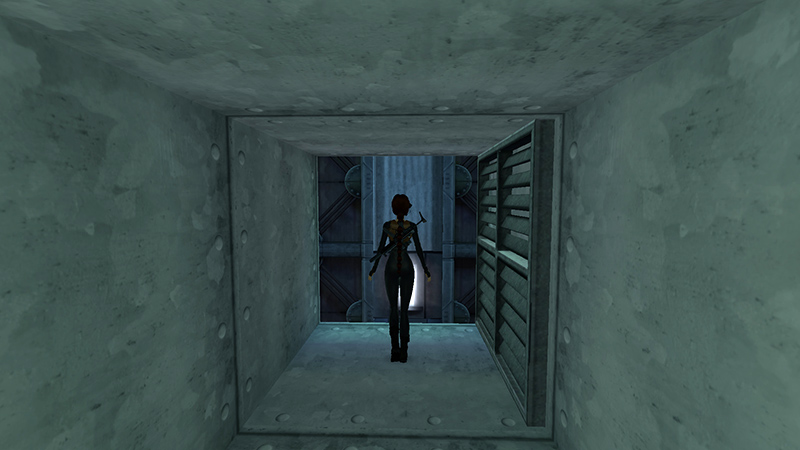
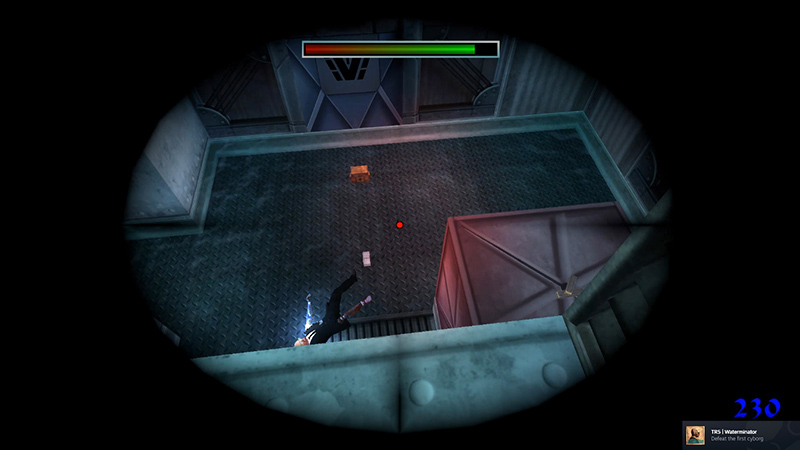
When you approach the end of the duct, the vent swings open.
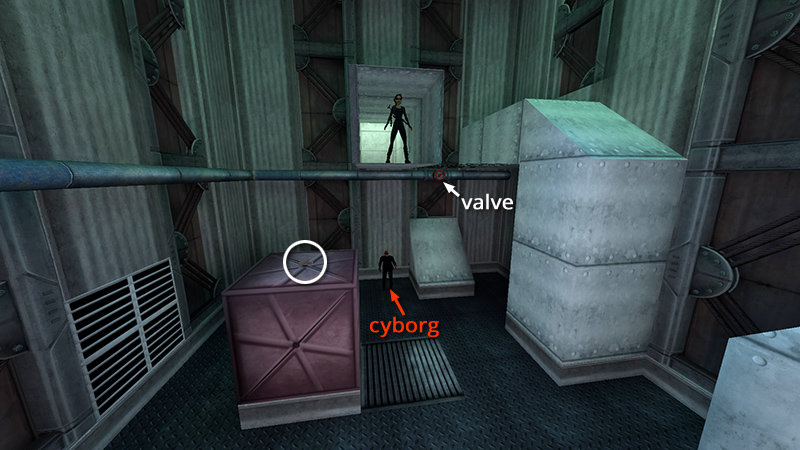
Use Photo Mode to do a little recon. There's a cyborg (15) (not counted) lurking below and some HK ammo (14) (232/239) sitting on a metal crate. There's also a red valve on the wall below and to the right of the duct, when facing it.
Set the HK to sniper mode. Angle Lara to the right and run off the right corner of the duct to land on the crate with the ammo.
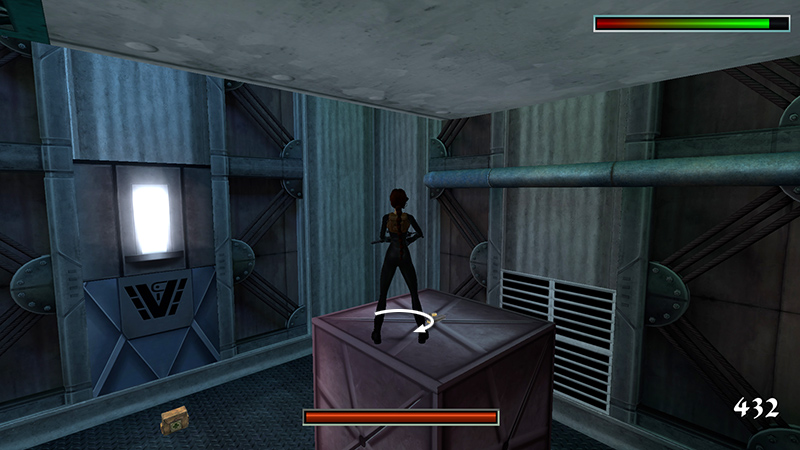
If you don't need it immediately, wait to pick up the clip, to minimize the damage Lara takes from the cyborg. While standing on the crate, quickly turn around.
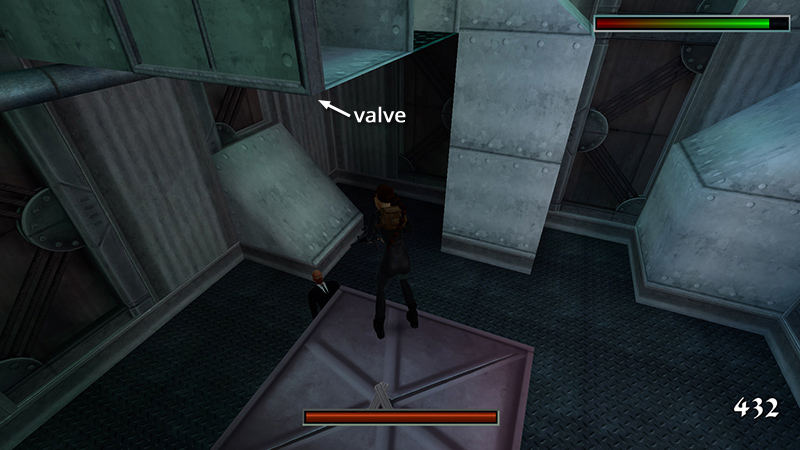
Lara will auto-target the cyborg, but you can't damage him yet, so don't waste ammo trying.
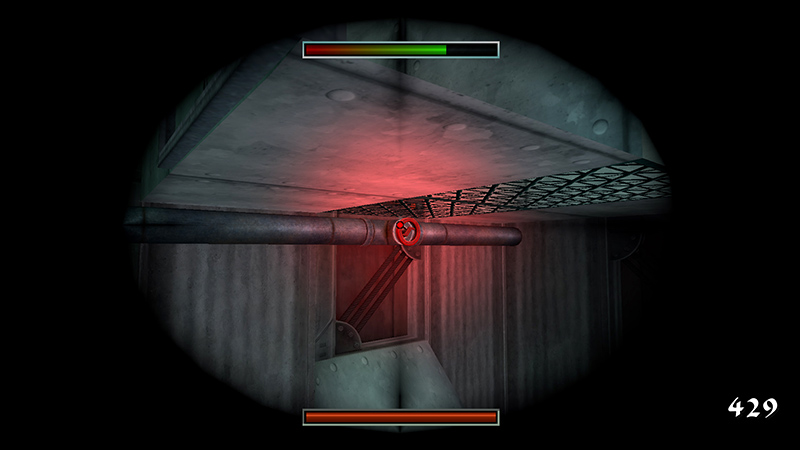
Instead use the scope to target the red valve and shoot it to flood the room.
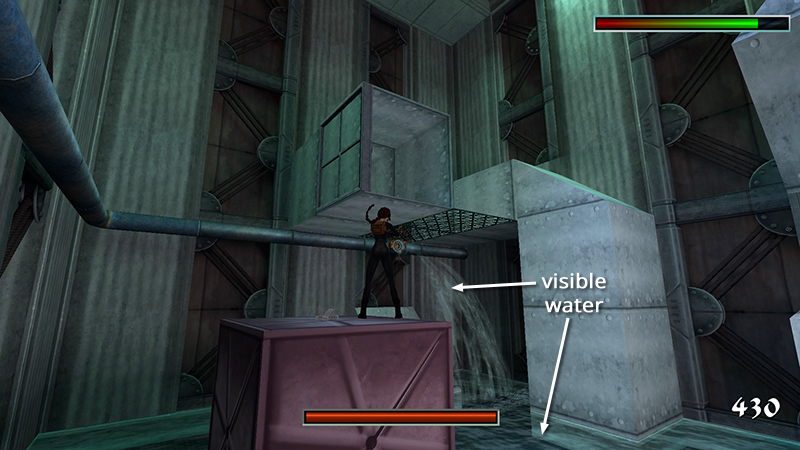
You should see water gush out of the pipe, and the floor will be covered with water.

Step back if necessary, take a standing jump into the duct, and move away from the opening.
Once you've flooded the room, as described above, you can stay inside the duct and shoot at the cyborg from relative safety as he paces below. Position Lara near the edge of the duct...
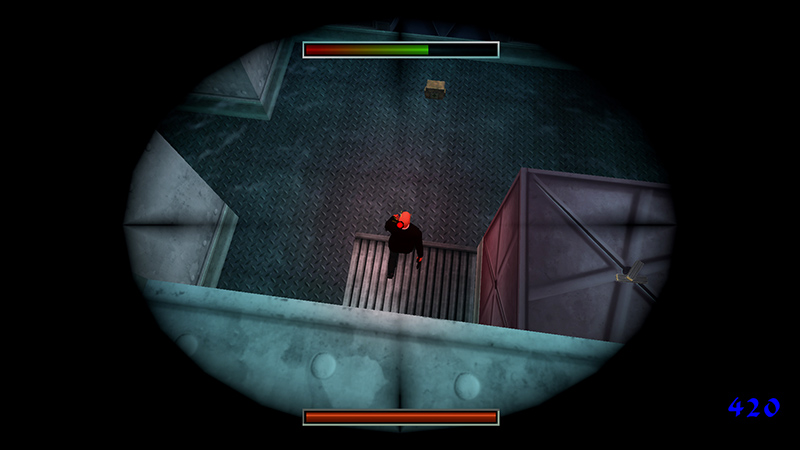
...and use sniper mode—or burst mode, as long as you don't lean on the trigger—to gradually plug away at him each time he walks by.

As the cyborg takes damage, his robotic skeleton will start to show. If he starts shooting at Lara...

...hop back, heal if necessary...

...then step forward and continue sniping. When his metal arm and leg are showing and he starts to crackle with blue electricity, he's nearing death.
After a few more shots, he'll short out and collapse, pooping out one of the KEY BITS you need. The "Waterminator" achievement/trophy unlocks when he falls. Do not hop down into the water yet, or Lara will be electrocuted.
NOTE: Since you destroy the cyborg indirectly, he's not counted as an official kill. Once he's dead, you can save again. Just don't overwrite the save from when you first entered this area after sliding down the duct from the LOBBY.
DARK MODE: I plan to add optional dark mode for these pages, but my current priority is updating the walkthroughs. Meanwhile, may I suggest a reputable dark mode browser extension, such as Dark Reader? (Download only from trusted sites, like darkreader.org or your browser's web store.)
Walkthrough text and diagrams copyright © Stellalune (email ). Feel free to copy or print this walkthrough for personal use. By all means, share it with friends, but please include this credit line so people can send me their feedback. No part of this walkthrough may be reproduced on another site without permission.