Underneath the Sphinx - Water Maze (part 1)
Start to Room #1
This sequence is indicated by the broken blue line on the diagram in the main walkthrough.
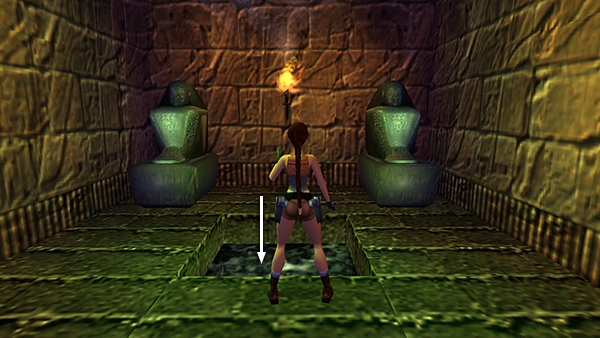
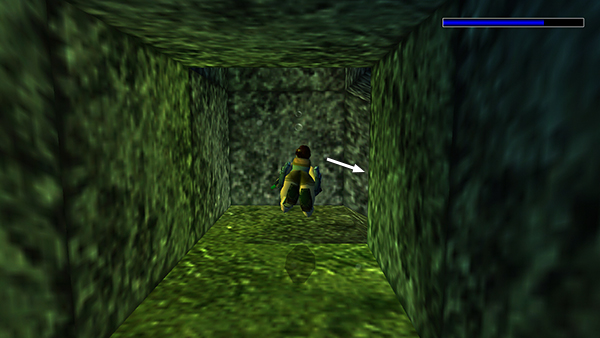
Stand at the opening above the first water-filled tunnel facing east (toward the two statues). Jump in and swim down to a three-way intersection.
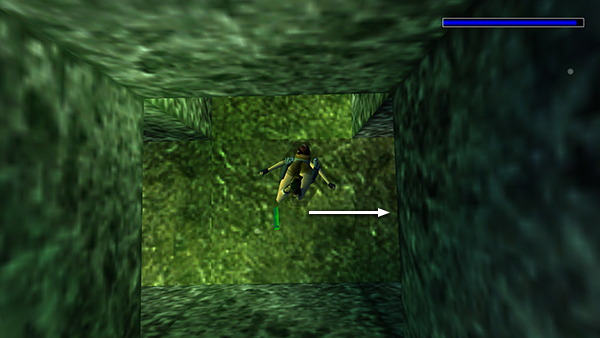
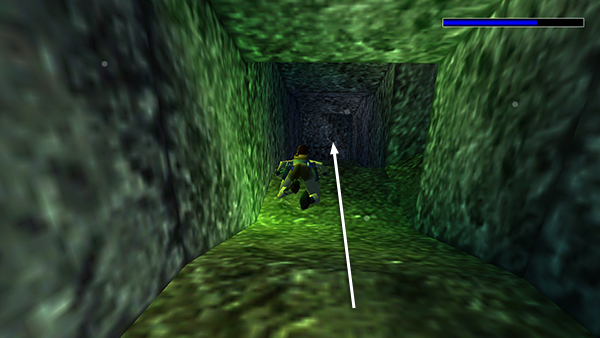
Here you have a choice to go forward (east), left (north), or right (south). Turn right...
...and follow the tunnel forward and down. There are a few turns but no side passages.
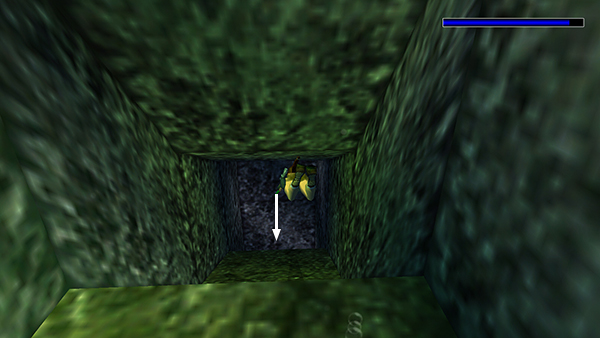
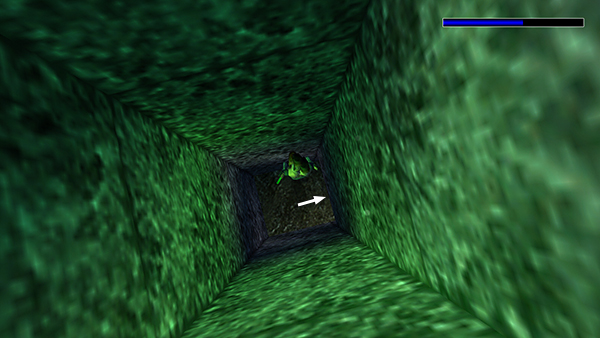
At the bottom, you can turn left (east) or right (west); turn left.
At the next intersection you have a choice of upward or right (south); turn right.
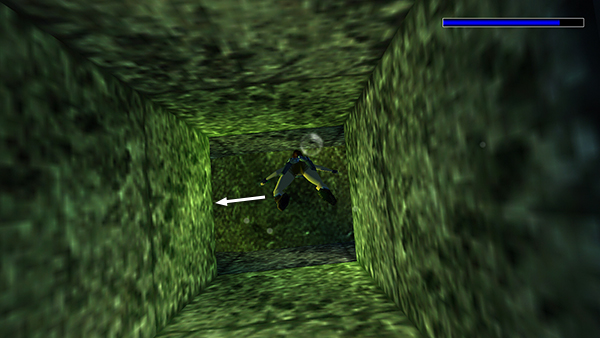
At the next intersection it's right (west) or forward (south). Continue forward.
The tunnel slopes downward then descends sharply. At the bottom you must turn right (west).
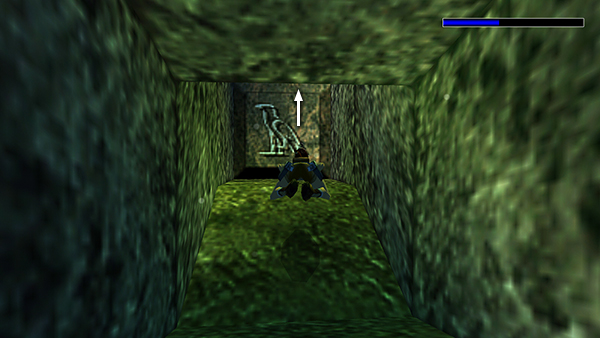
Continue straight on to a tile with a vulture symbol. Then follow the tunnel upward (the only choice)...
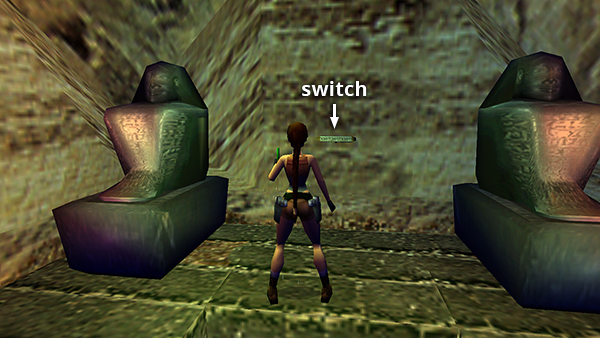
...to ROOM #1, where you can climb out of the water and breathe. Pull the switch between the statues to open the trapdoor to the next room (#2 in the diagram).
Copyright © 1999- - Stellalune ( ). All rights reserved. Feel free to copy or print this walkthrough for personal use. By all means, share it with friends, but please include this credit line so people can send me their feedback. No part of this walkthrough may be reproduced on another site without permission. Follow this link for details about this site's advertising and privacy policy.