Tomb of Semerkhet - Shallow Pit with Six Flame Niches (part 2)
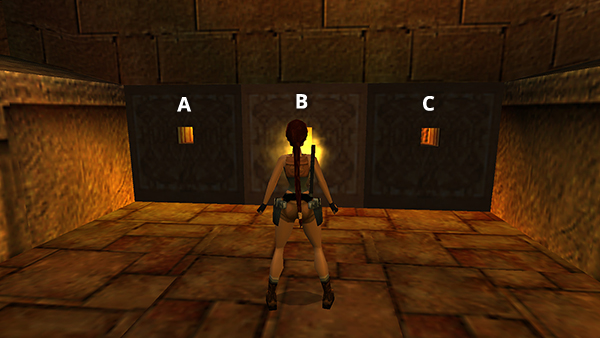
Now face niche B (the middle one on the opposite wall). Wait for the flame to die down.
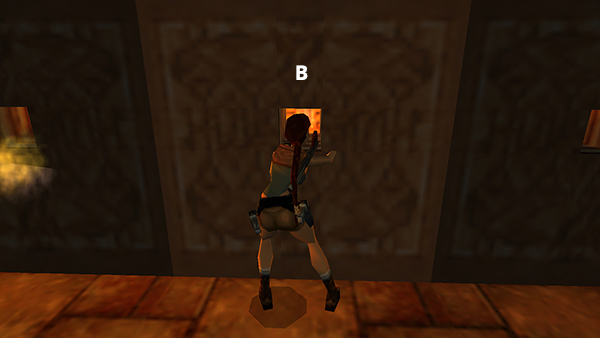
Then run forward and reach in to operate the mechanism that opens the exit, which you can't see from here.
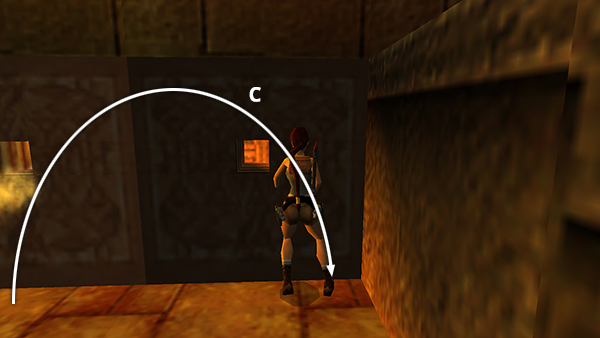
Flip to the right to avoid the flames that will soon billow out of niche B.
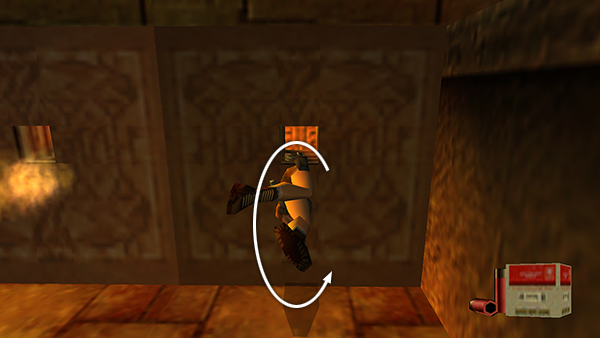
Reach into niche C for a box of shotgun shells. Then roll...
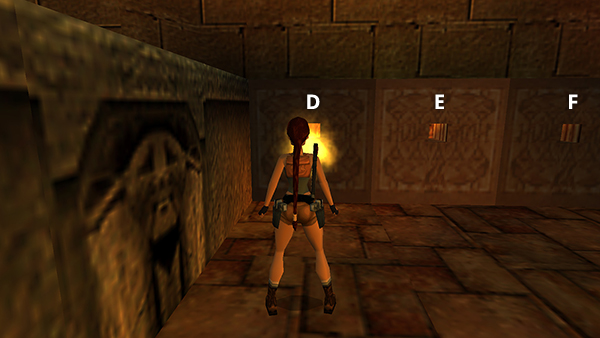
...and face niche D.
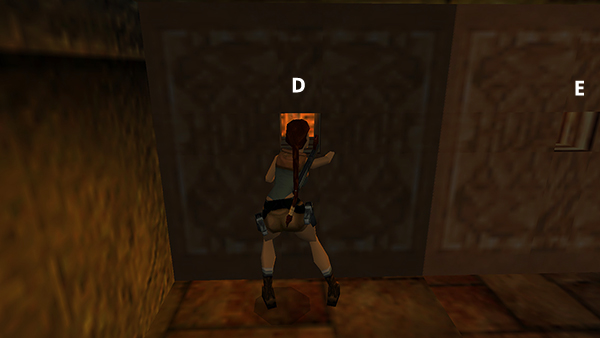
When the flames in D die down, reach in for a small medipack.
Then hop back twice to get out of the way.
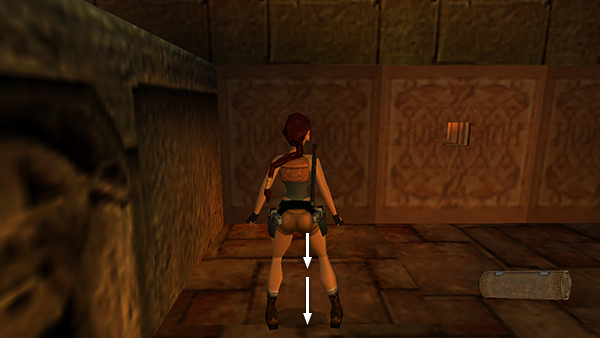
If you like, you can wait for the flames in niche D to cycle off again.
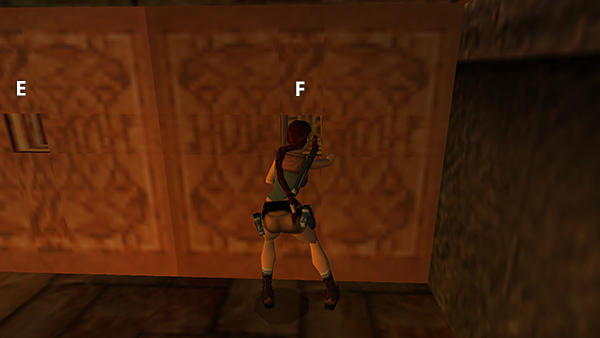
Then reach in once more to operate a mechanism.
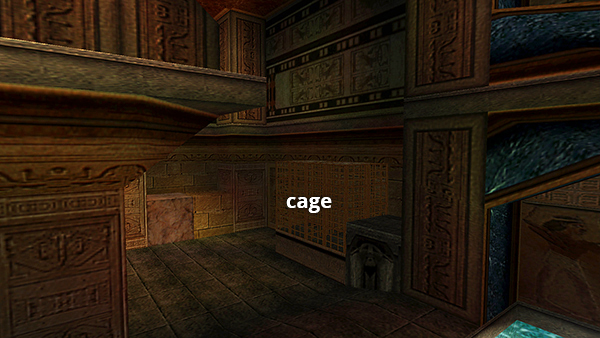
This raises another golden cage in the other room. Doing so also permanently deactivates the flame in niche D. Using this mechanism twice is optional, since you don't have to use the second golden cage.
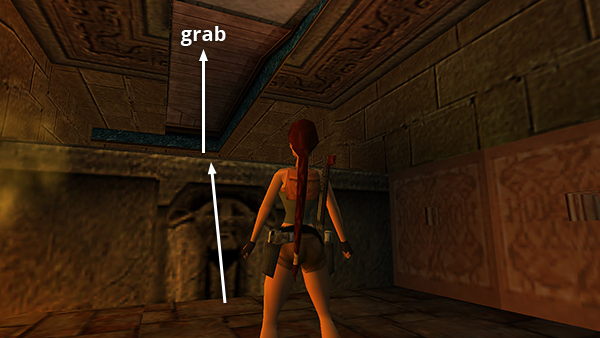
Climb out of the depression on the west side (not the east side, with the pool, where you came in) but don't run forward or Lara will fall into a deep pit. Jump up to grab the handholds on the ceiling.
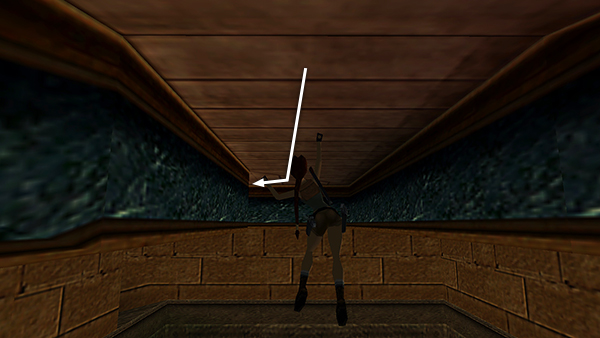
Traverse around the corner.
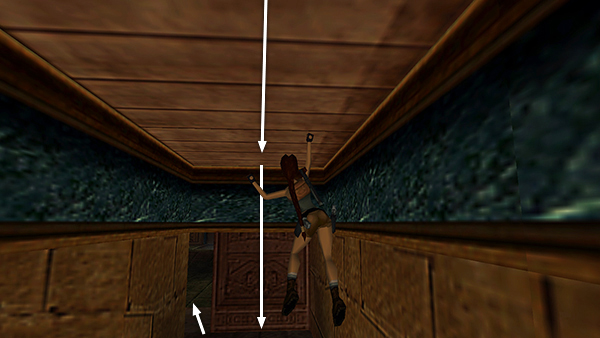
Then drop down near the exit, which will be open if you used niche B. Step forward into the room where you killed the jackals earlier.
Copyright © 1999- - Stellalune ( ). All rights reserved. Feel free to copy or print this walkthrough for personal use. By all means, share it with friends, but please include this credit line so people can send me their feedback. No part of this walkthrough may be reproduced on another site without permission. Follow this link for details about this site's advertising and privacy policy.