Tomb of Semerkhet - Shallow Pit with Six Flame Niches (part 1)
Go through the door you just opened using the first 3 niches, as shown in the previous section.
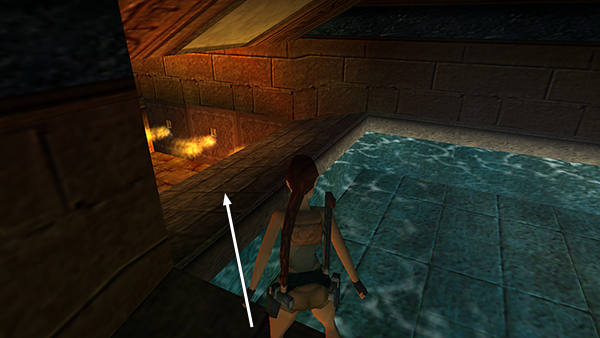
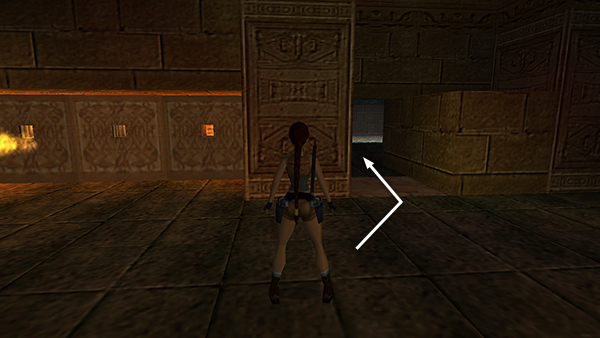
Jump over the shallow pool onto the ledge on the left. The block door closes behind you.
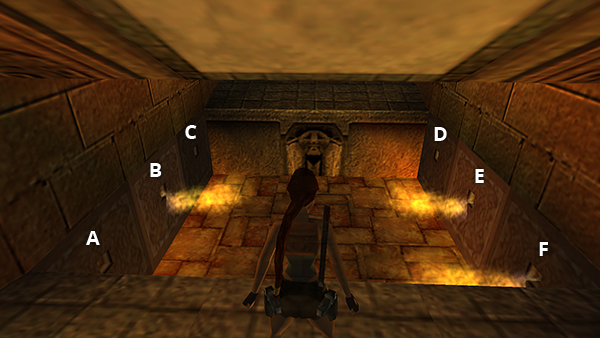
Ahead is a shallow pit with 6 flame niches, three on the left, three on the right. I have labeled these niches A through F in the diagram accompanying the main walkthrough, as well as in these screenshots. When you enter there is no flame in niche C. Niches B, E, and F have steady flames; A and D have oscillating flames. Hop down into the safe aisle between the flames.
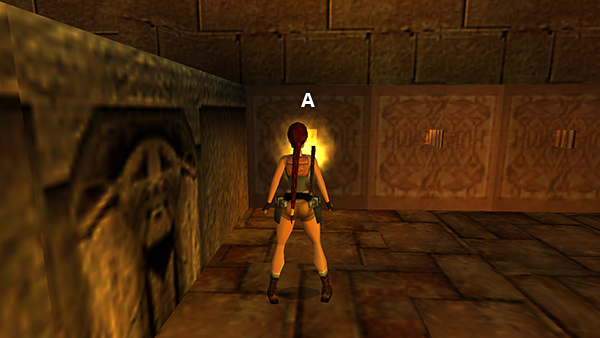
Stand Lara facing niche A and wait for the flame to die down.
Run forward and reach in to operate the mechanism. This turns off the flame in niche E.
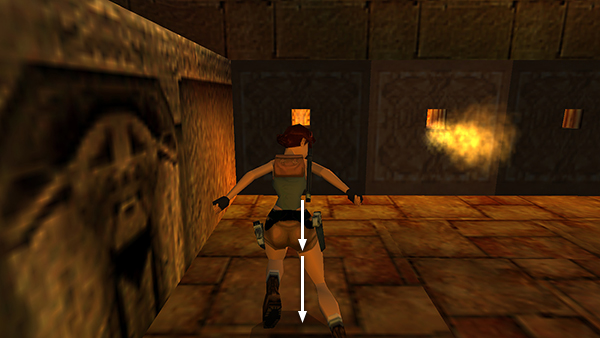
Hop back twice but no farther to get out of the way.
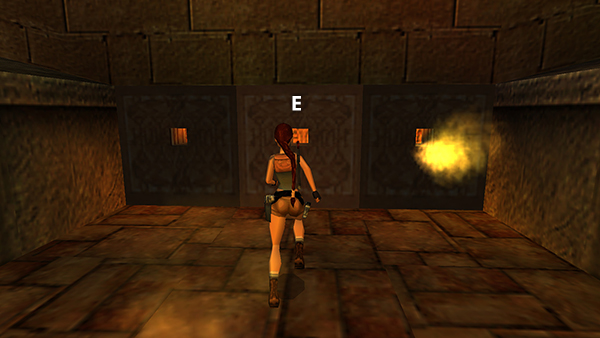
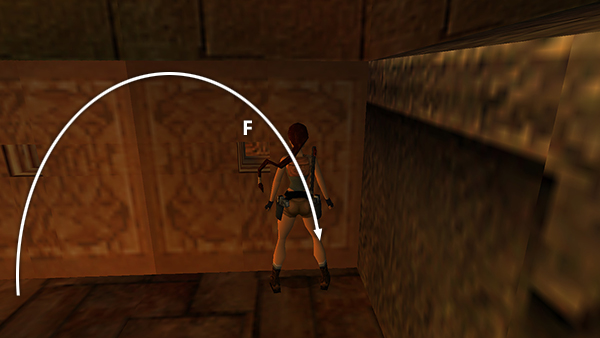
Turn around and approach niche E (the middle one on the opposite wall).
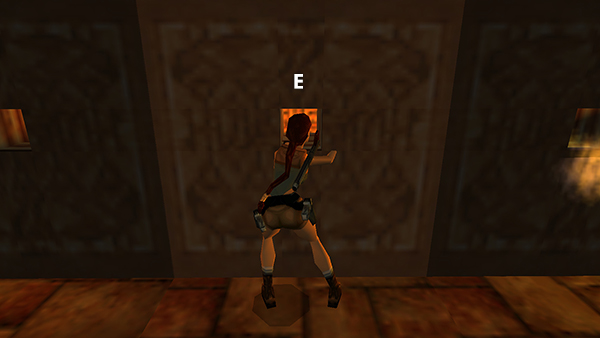
Use the mechanism inside niche E to turn off the flame in F, the next niche to the right.
Either flip or sidestep to the right.
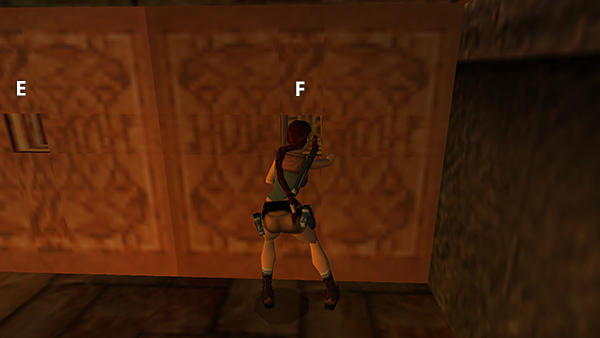
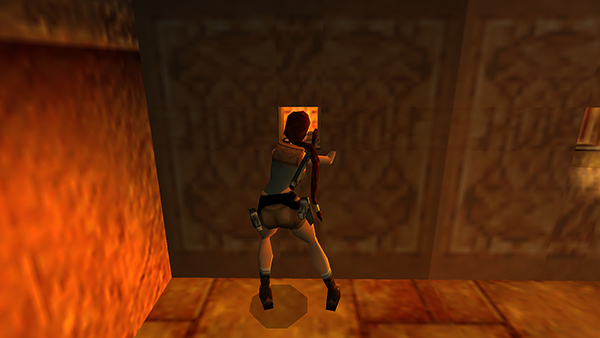
Then use the mechanism in F...
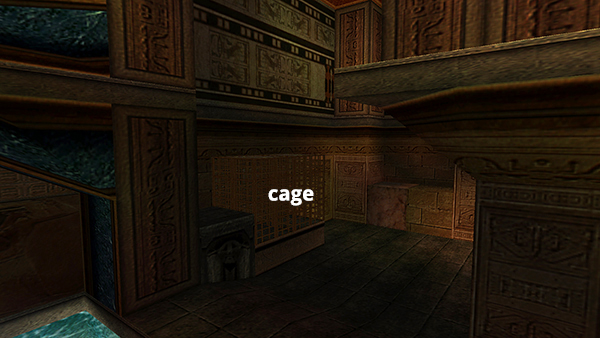
...to raise a golden cage out in the room where you killed the jackals. This also makes the flame in niche B begin to oscillate.
Copyright © 1999- - Stellalune ( ). All rights reserved. Feel free to copy or print this walkthrough for personal use. By all means, share it with friends, but please include this credit line so people can send me their feedback. No part of this walkthrough may be reproduced on another site without permission. Follow this link for details about this site's advertising and privacy policy.