Tomb of Semerkhet - Secret #6 (part 2)
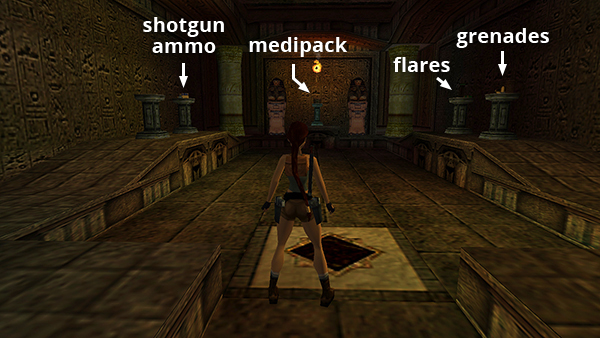
In the next room you'll find wideshot shells, flash grenades, flares, and a large medipack on pedestals. You can take the shotgun ammo and grenades without anything happening, but once you take the flares or medipack, a swarm of nasty beetles emerges, and you'll need to move quickly.
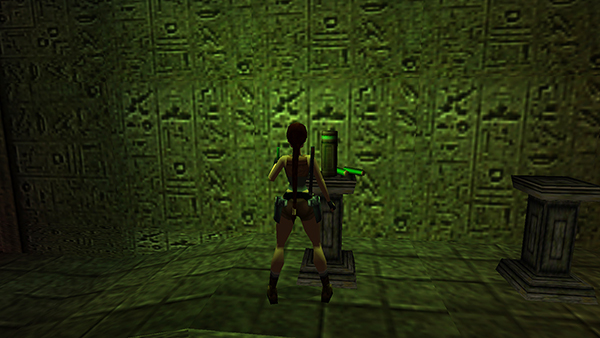
I recommend collecting the shells and grenades and saving the game before you pick up the flares. Then you'll have less to redo if things go badly. Grab them...

...turn to face the pedestal with the health pack, run off the edge, and jump up onto the ledge supporting the pedestal.
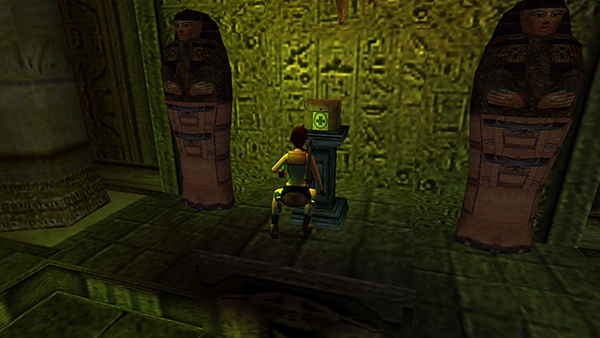
Grab the medipack.
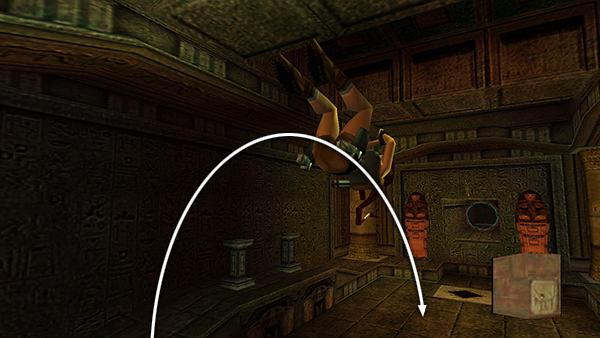
Immediately backflip and roll or, better yet, backflip and roll in the air to land facing the exit.
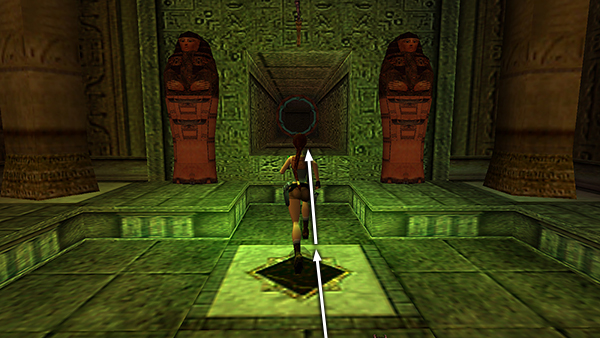
Run and jump into the doorway.
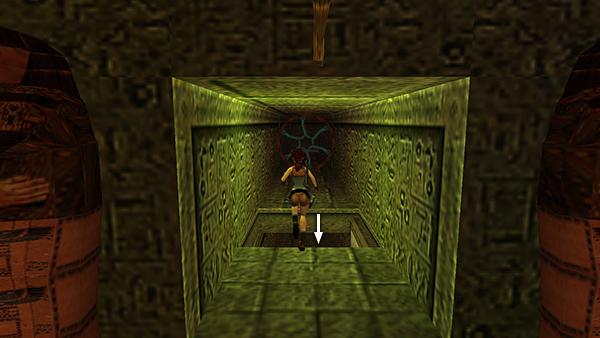
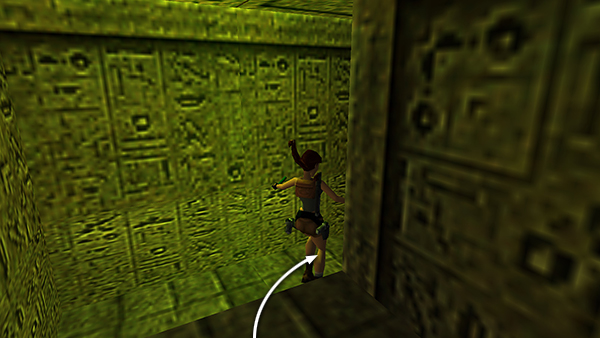
Then keep running off the edge into the open trapdoor.
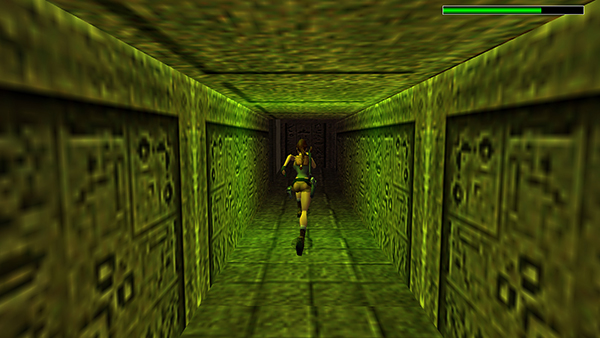
The beetles continue to follow, so run/sprint to the end of the passageway and climb up directly ahead. Run/sprint to the end of the passageway...
...and climb up directly ahead.
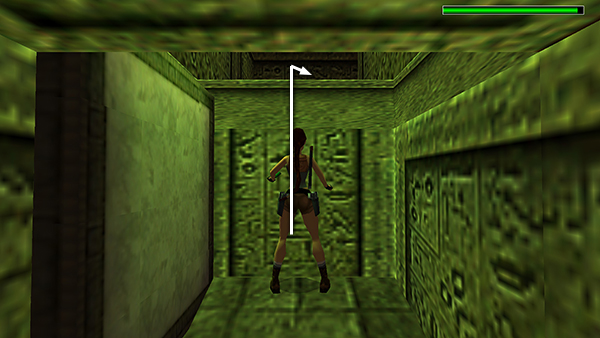
Angle Lara to the right as you run off the next ledge.
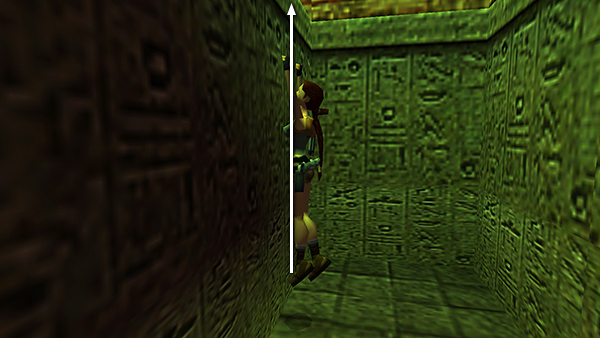
Run forward and climb up on the left. Now you're safe.
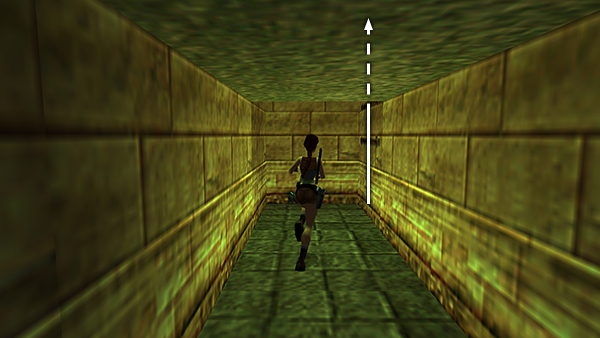
Continue to the end of the passageway and climb the ladder to the main area.
Copyright © 1999- - Stellalune ( ). All rights reserved. Feel free to copy or print this walkthrough for personal use. By all means, share it with friends, but please include this credit line so people can send me their feedback. No part of this walkthrough may be reproduced on another site without permission. Follow this link for details about this site's advertising and privacy policy.