Tomb of Semerkhet - Ba Cartouche Door -
Obtaining the Ra Cartouche (part 1)
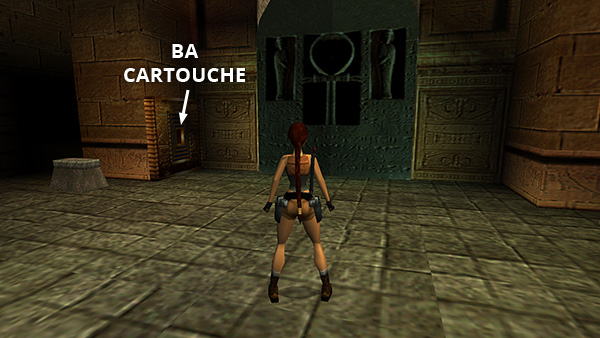
Open your inventory and combine the two CARTOUCHE PIECES to make the BA CARTOUCHE. Use this in the blue-and-gold receptacle near the east door. (It won't work for the other door.)
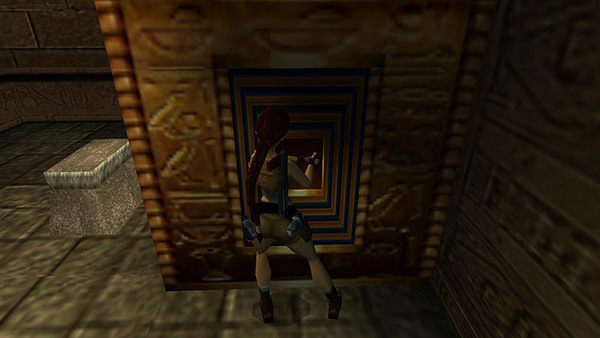
When you do this, the big doors open.
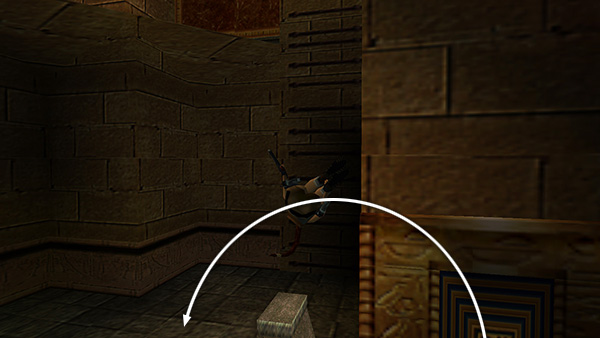
Immediately draw the shotgun and side flip to the left.
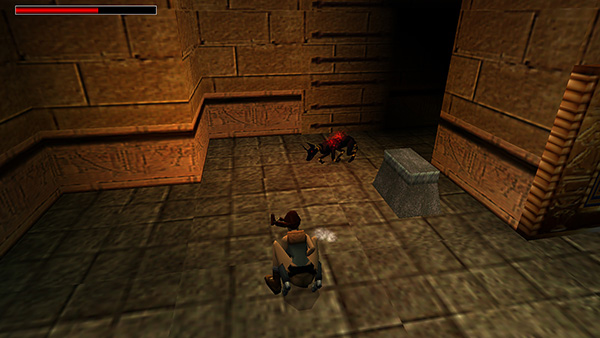
Shoot the jackals that appears in the corner ahead.
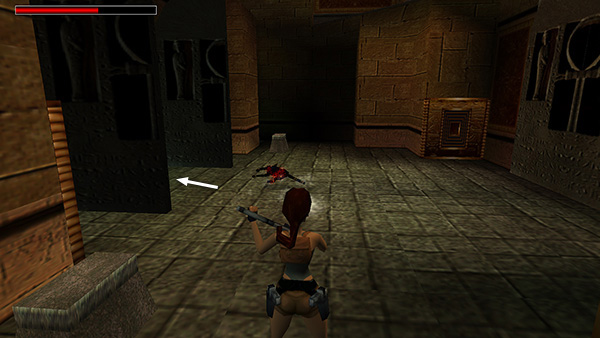
Roll and kill a second jackal that approaches from behind. Then enter the east room.
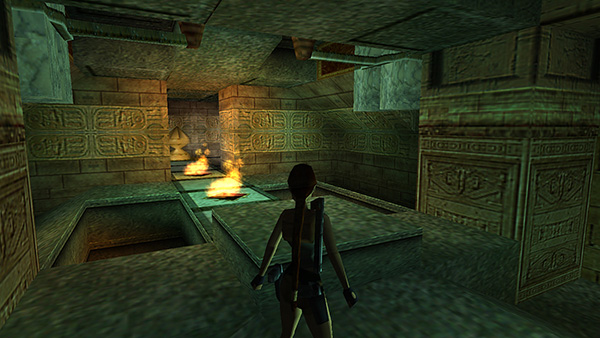
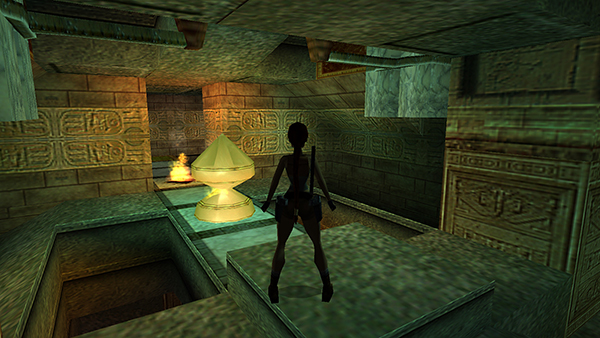
Inside is an elevated walkway with hammers and a senet piece similar to the others you've seen. Only this time there are lit burners preventing you from moving the piece.
The black switch high on the south wall turns off the burners but only for a little more than a minute. So unless you really hustle, you probably won't be able to move the senet piece all the way to the hammers without the burners relighting. I found it much less stressful to do it in two stages. Here's the sequence:
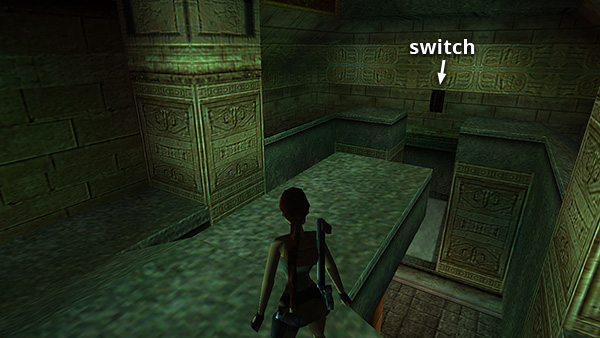
Take a running jump from the walkway to
grab the switch...
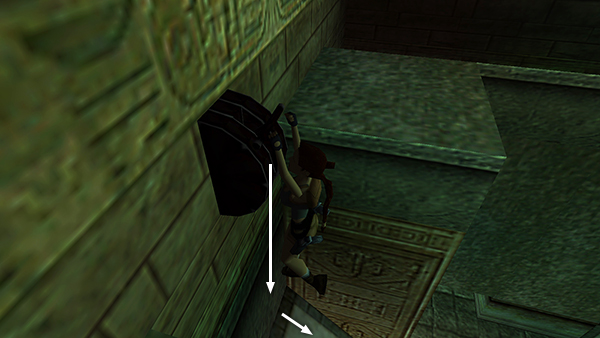
...and pull it down, deactivating the burners. If you like, you can set a timer to warn you when the time is almost up. You have 1:15 from the moment the switch is pulled until the burners reignite. After pulling the switch, Lara drops onto the slope below and slides down to the floor.
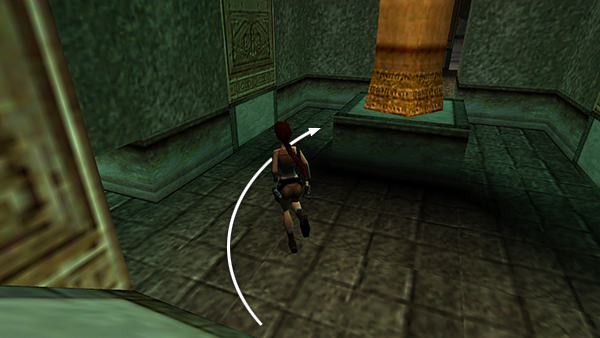
Immediately roll and run forward around either side of the column supporting the walkway.
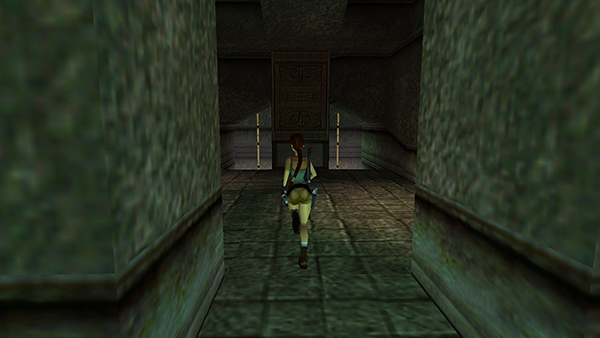
Continue forward toward either of the two climbing poles. Sprinting or taking running jumps will help you cover more ground but can also make Lara harder to control. It's fine to just run...
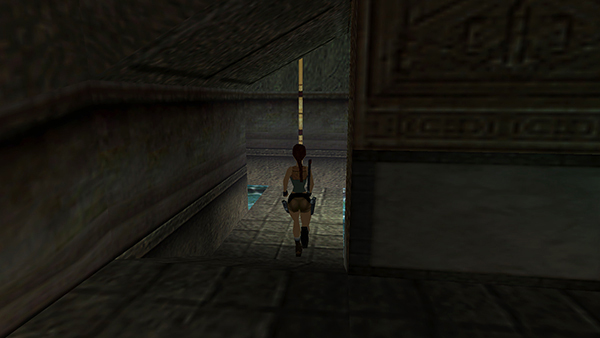
...and then, when you reach the bottom of the short ramp...
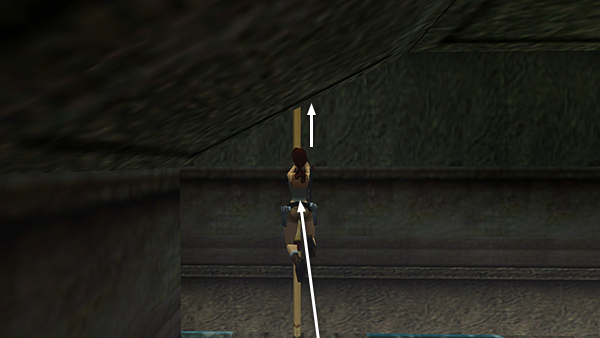
...jump forward to grab the pole and begin climbing.
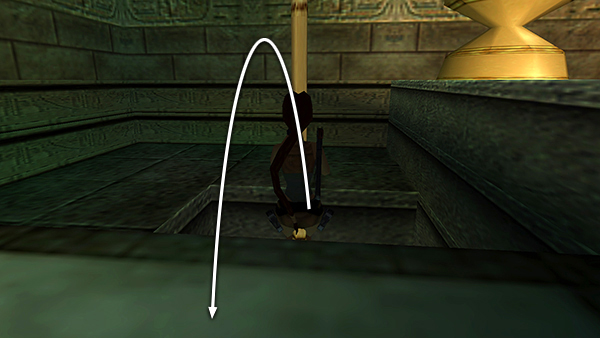
As soon as Lara's upper body has cleared the opening in the floor, backflip off the pole.
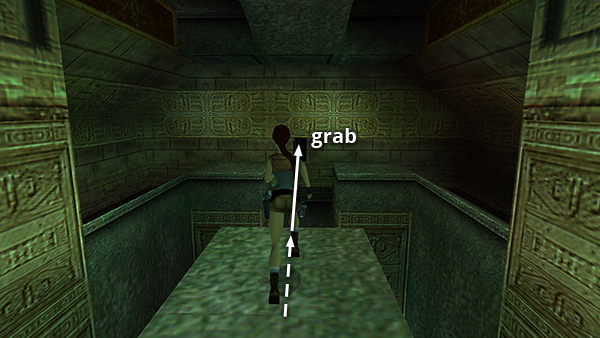
Then turn to face the senet piece and run/jump toward it.
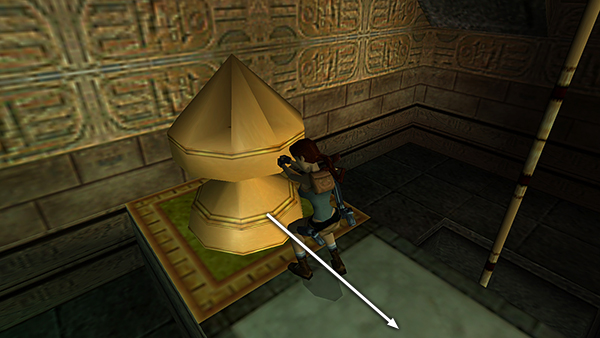
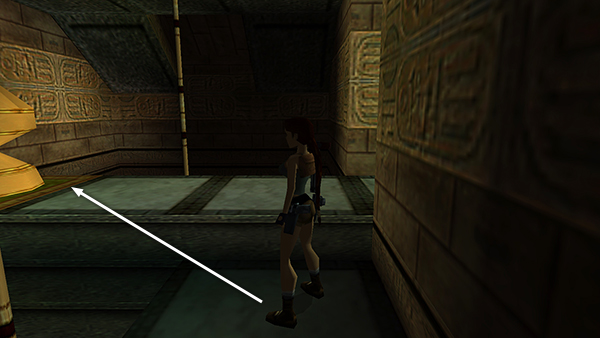
Grab it and start pulling.
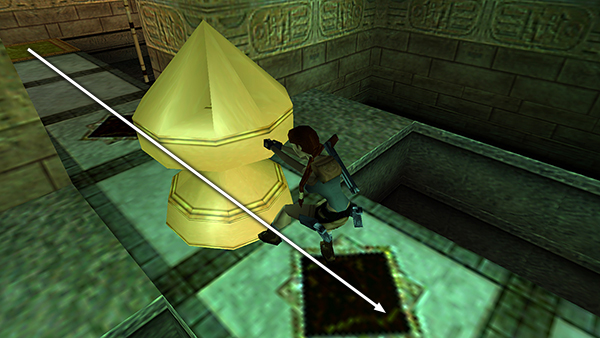
Depending on how well your running and climbing went, you may be able to pull the game piece all the way onto the second burner before the timer runs out.
If not, no worries. Just move it as far as you can and get out of the way before the burners reignite.
Copyright © 1999- - Stellalune ( ). All rights reserved. Feel free to copy or print this walkthrough for personal use. By all means, share it with friends, but please include this credit line so people can send me their feedback. No part of this walkthrough may be reproduced on another site without permission. Follow this link for details about this site's advertising and privacy policy.