The Lost Library - Room with Lions' Heads (part 3)
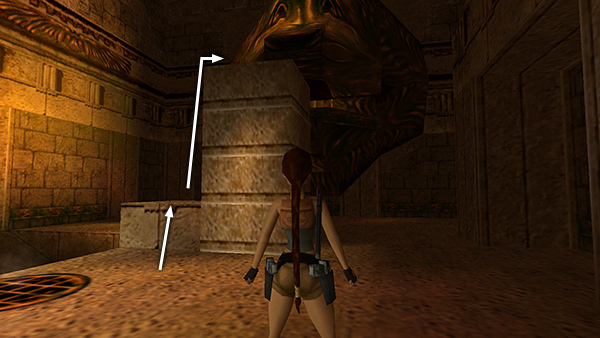
Climb onto the block you just raised (in the previous section).
Take a running jump to grab the ledge ahead (on the south wall). (In the screenshot above, I have already dropped a flare on the ledge so you can see where you're going.)
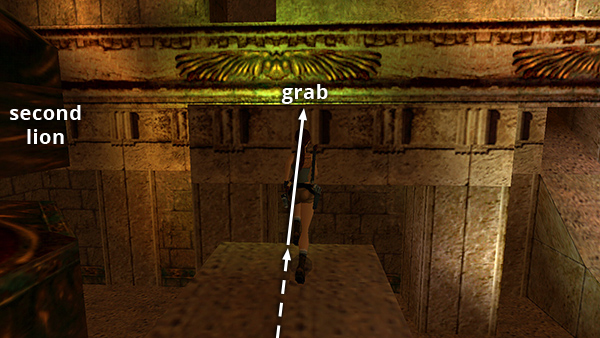
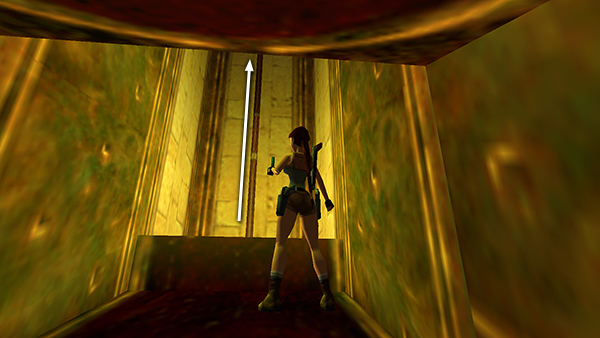
Pull up and light a flare so you can see the raised opening just to the left. Climb inside and follow the passageway around to an opening overlooking the second lion's head.

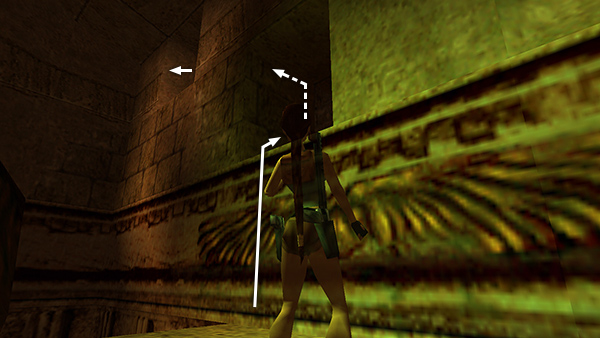
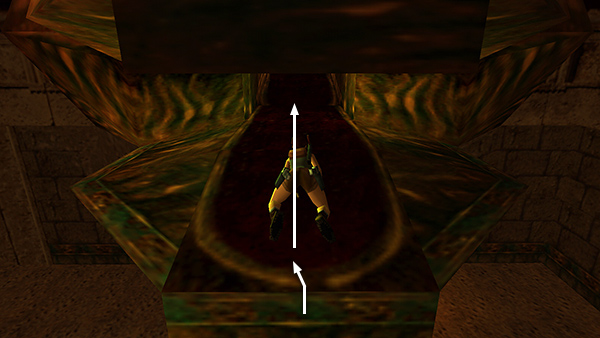
Take a running jump from the left side of the opening without pressing Action...
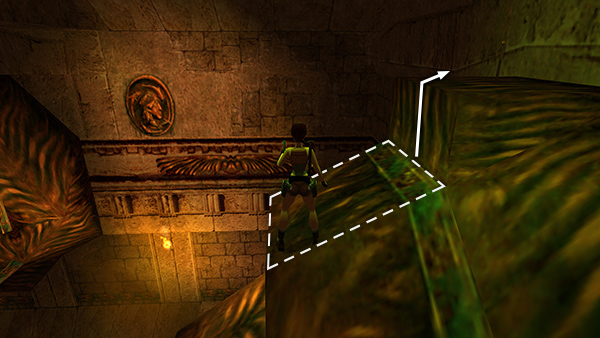
...to land on the front edge of the lion's sloping forehead. Make sure you aim carefully since parts of the head are too steep/slippery to land on. Climb up on the right...
...and pull the chain. This widens the opening in the lion's mouth so you'll be able to crawl through.
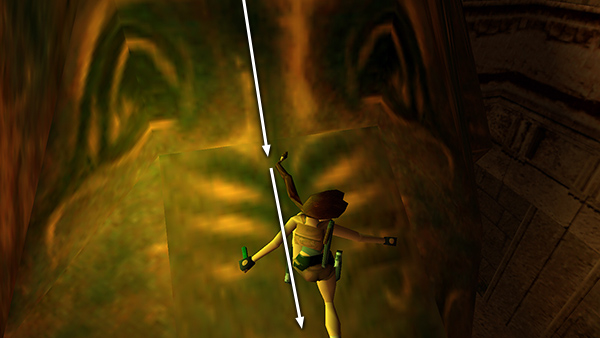
Hold Action and hop back three times to slide down the front of the lion's snout...
...and grab the edge of its nose.
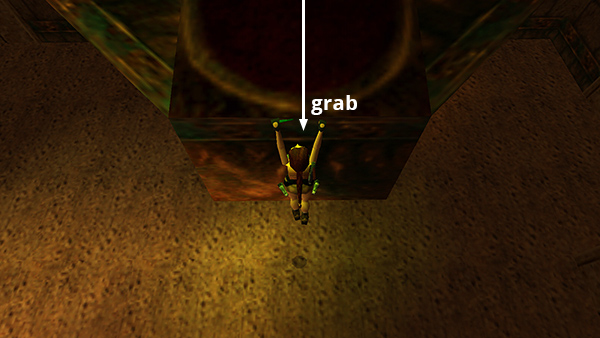
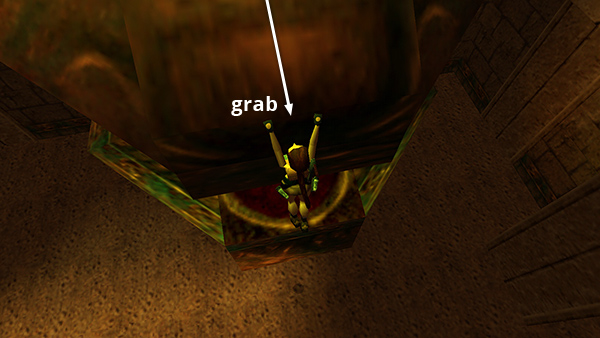
Let go and immediately grab again to catch onto the lion's lower jaw.
To prevent Lara from slipping, hold Duck/Crouch continuously as you pull up into the lion's mouth and crawl forward a bit. If Lara stands up before crawling all the way into the mouth, she'll slip and fall, and you'll need to climb up the blocks and jump to grab the lion's nose again.
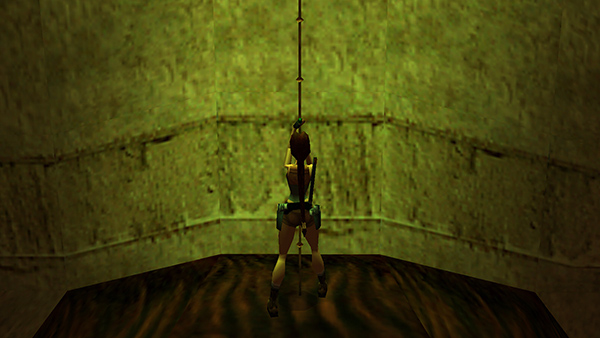
Crawl forward until Lara can stand. Then climb the pole to the small room above...
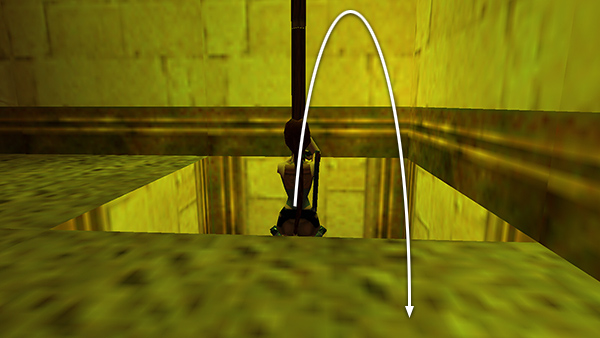
...and backflip onto the floor.
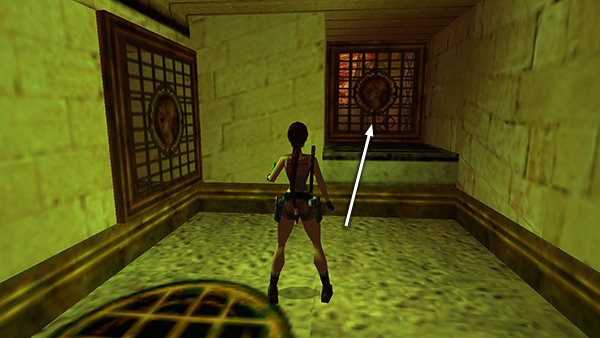
The two gates open automatically as you approach. Go through the one on the right.
Copyright © 1999- - Stellalune ( ). All rights reserved. Feel free to copy or print this walkthrough for personal use. By all means, share it with friends, but please include this credit line so people can send me their feedback. No part of this walkthrough may be reproduced on another site without permission. Follow this link for details about this site's advertising and privacy policy.