The Lost Library - Room with Lions' Heads (part 2)
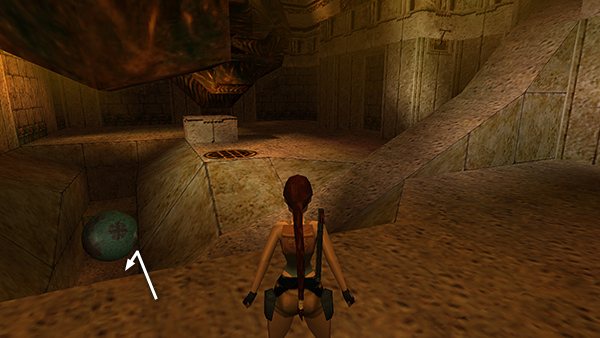
If you came down via the ledge with the secret and want all the kills, slide down into the trench where the globe landed.
This triggers a brief cutscene that's meant to play when the globe rolls down the slope.
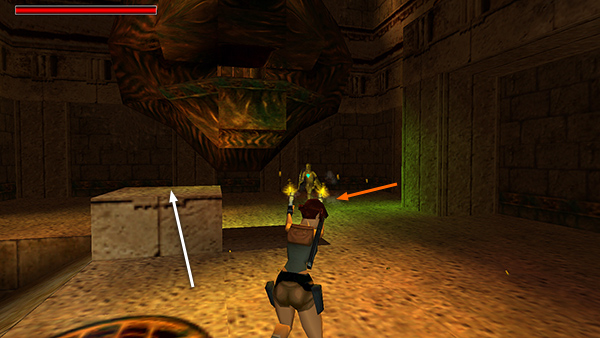
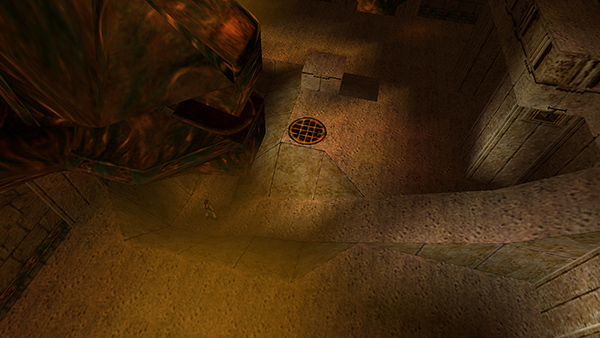
A mechanical man then appears in the southeast corner of the room. (If you fell through the lion's mouth, you will have landed on the trigger tile, and this enemy will appear whether or not you get the secret.) Fight him using the same tactics as the others. If you like, you can hop up onto the low stone block in the middle of the room.
The robot can't reach you here.
He won't follow you down into the trench either, but it's also harder to target the blue diamond in his chest from either of these safe spots.
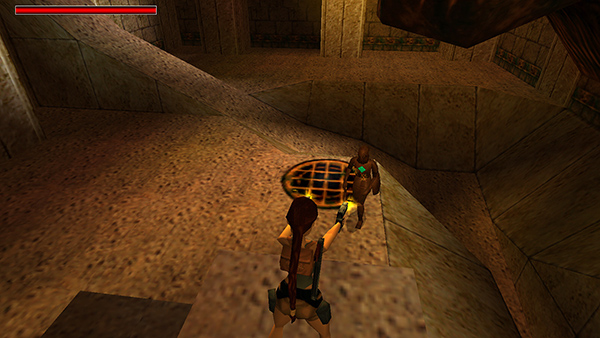
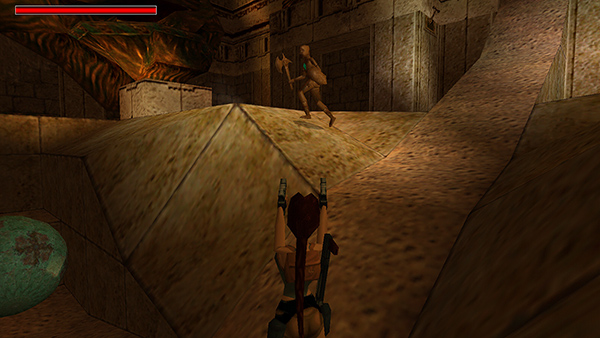
After you defeat the mechanical man, run up the ramp where the globe came down and stand at the top...
...as a second globe sails over Lara's head and rolls into the trench. (Or jump to either side to avoid it.)
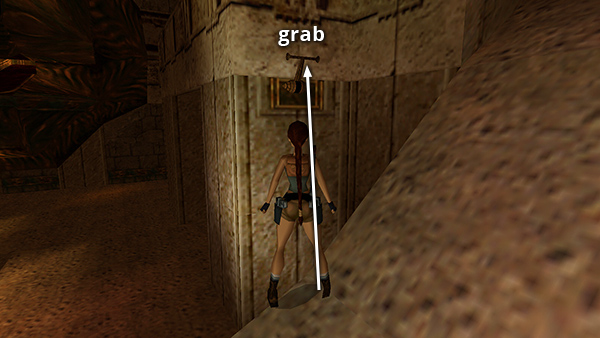
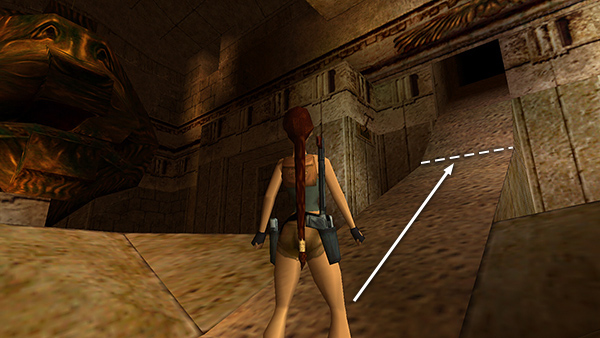
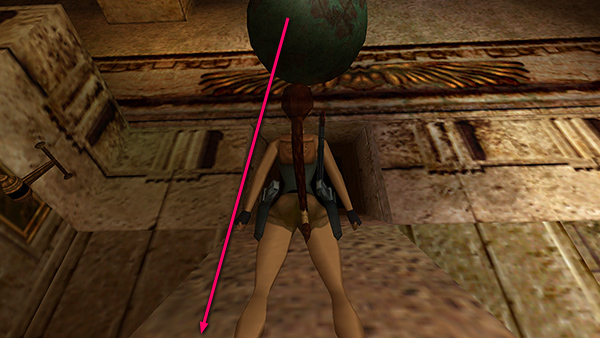
Take a standing jump from the top of the ramp to grab the switch on the wall to the left.

This raises a large stone block in the middle of the room.
Copyright © 1999- - Stellalune ( ). All rights reserved. Feel free to copy or print this walkthrough for personal use. By all means, share it with friends, but please include this credit line so people can send me their feedback. No part of this walkthrough may be reproduced on another site without permission. Follow this link for details about this site's advertising and privacy policy.