Great Hypostyle Hall - Three Connected Rooms with
Decorated Round Columns (part 2)
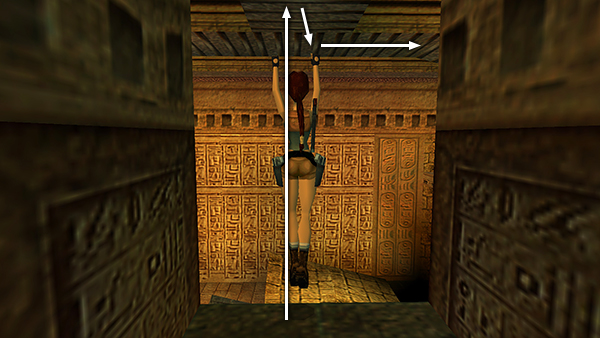
From the upper doorway facing into the THIRD (SOUTH) ROOM, grab the overhead bars and traverse forward then to the right (west)...
...all the way to the wall, so Lara is hanging in front of the black switch.
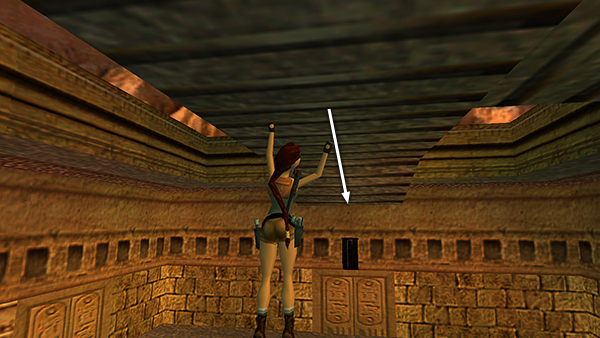
Release and then quickly re-press Action to pull the switch.
This raises a trapdoor in between two of the high ledges in the MIDDLE ROOM.
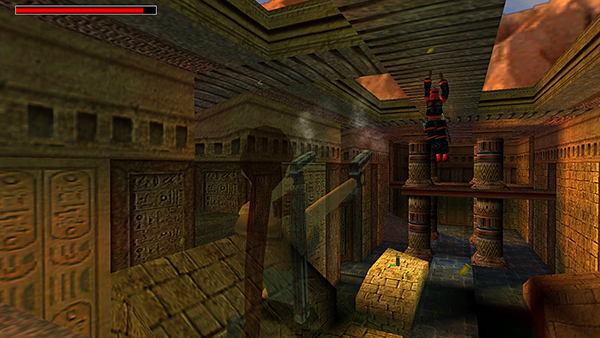
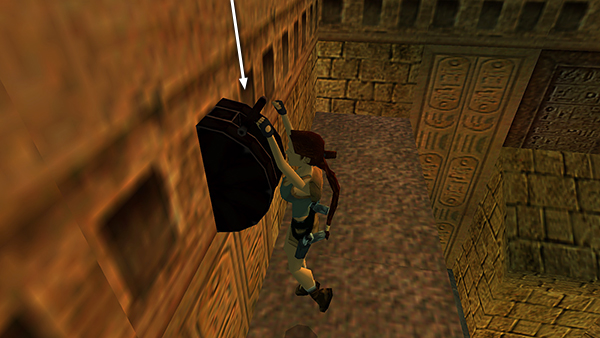
Immediately roll and take out another black-robed assassin traversing across the bars toward you. If you spot him in time, you can easily shoot him down with pistols before he reaches you.
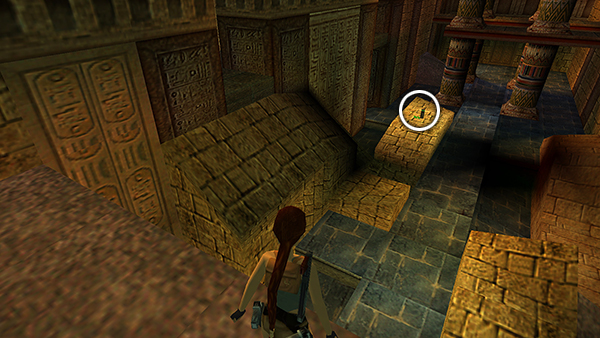
Drop down to the floor and pick up the flares sitting on the sandy-colored block.
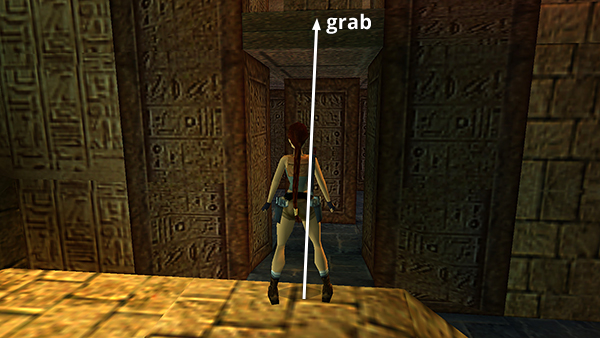
Turn left and take a standing jump from the edge of the block to grab the edge of the upper doorway. Pull up into the connecting room and go through to the doorway overlooking the MIDDLE ROOM.
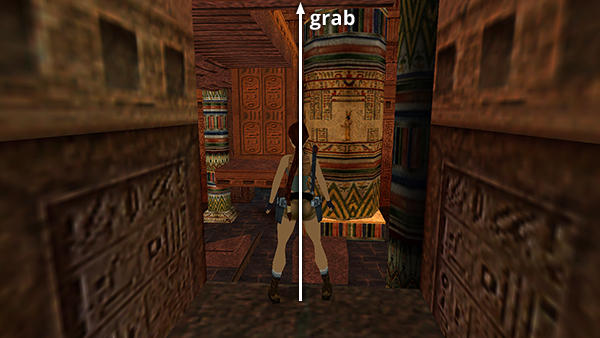
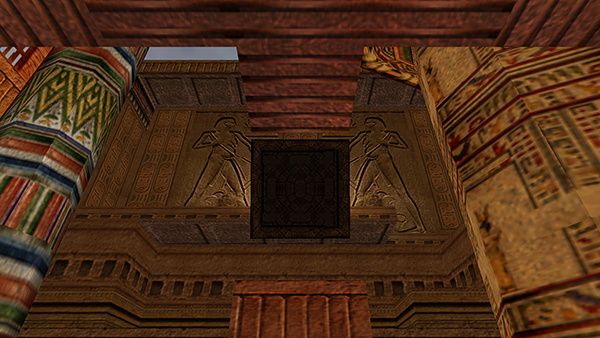
Jump straight up to grab the handholds on the ceiling.

Then traverse forward and around to the left (west)...
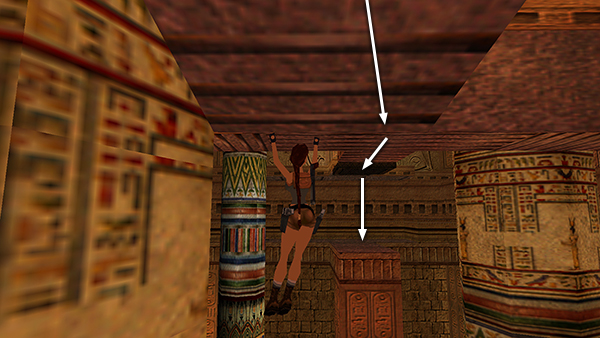
...to the now-raised trapdoor. When Lara reaches the trapdoor, drop onto the ledge.
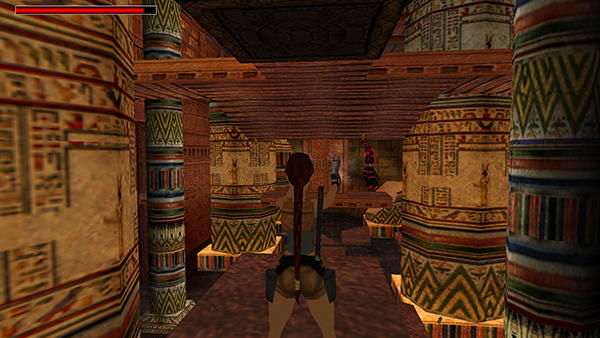
Then immediately roll and start shooting another assassin swinging toward you. He drops some ammo, but don't bother going after it yet.
Copyright © 1999- - Stellalune ( ). All rights reserved. Feel free to copy or print this walkthrough for personal use. By all means, share it with friends, but please include this credit line so people can send me their feedback. No part of this walkthrough may be reproduced on another site without permission. Follow this link for details about this site's advertising and privacy policy.