Great Hypostyle Hall - Three Connected Rooms with
Decorated Round Columns (part 3)
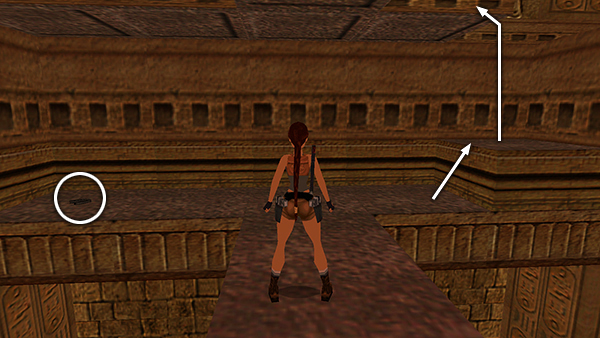
After shooting down the second assassin who attempts to monkey swing across the bars toward Lara, as shown in part 2, turn back toward the (west) wall and pick up the Uzi clips at one end of this ledge. Then use the block at the other end to climb to the upper level.
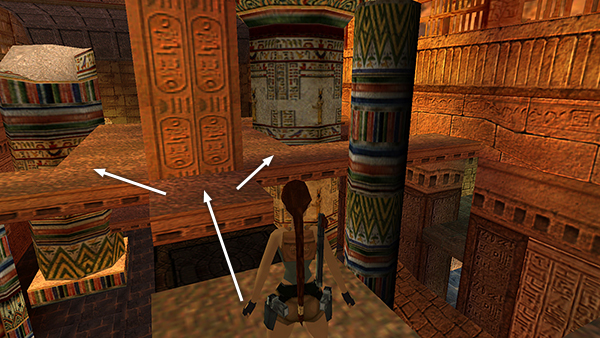
Cross over the closed trapdoor and hop across the gap to the ledge on either side of the square column.
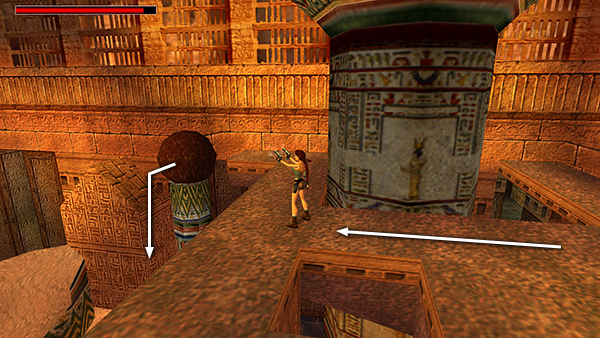
When you approach the middle of the ledge, the camera angle shifts in order to draw your attention to the large stone ball balanced on the skinny pillar. Shoot the ball to knock it down, making a hole in the floor.
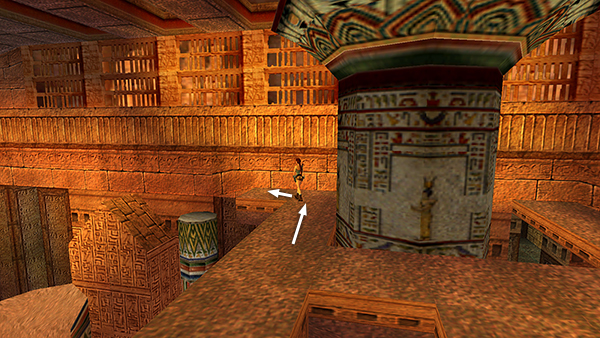
Now carefully maneuver Lara onto the ledge that juts out toward the column where the ball was. You'll regain camera control once you get there.
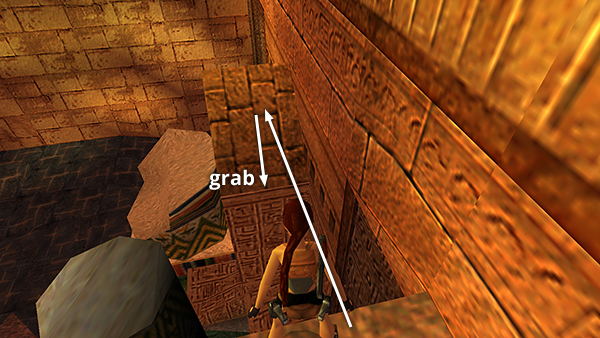
Walk to the edge, take a standing jump onto the slope ahead, and hold Action as you slide back to grab the edge.
Release Action to let go and drop to the floor.
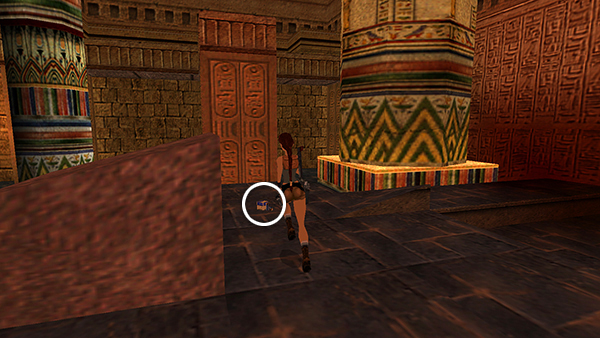
Turn around and go find the wideshot shells the last assassin dropped.
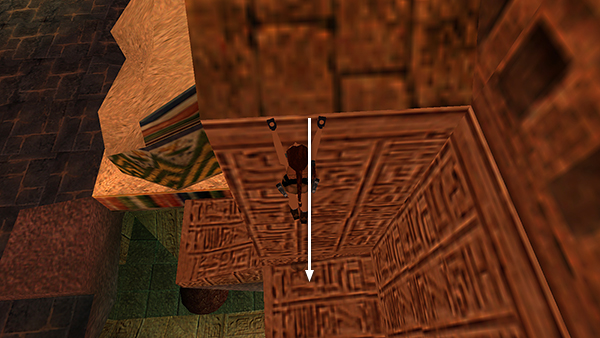
Then return to the hole and safety drop into it.
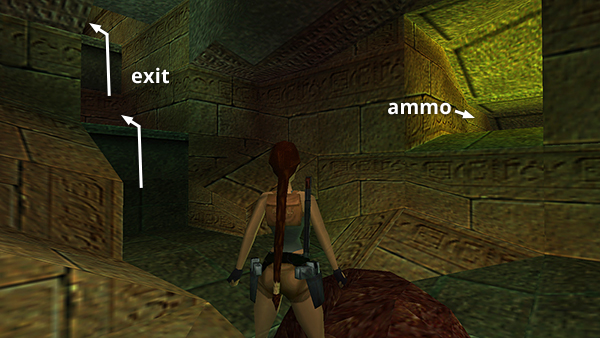
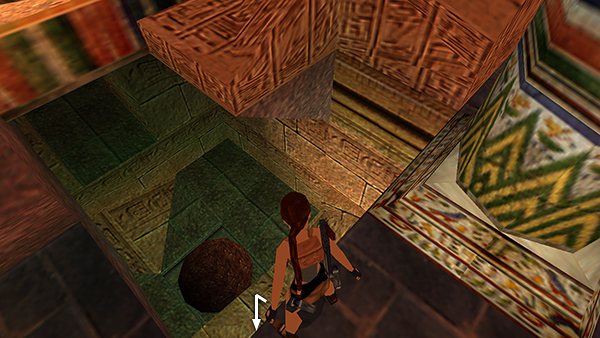
Grab the Uzi ammo in the dead-end crawlspace to the east. Then climb up into the dark passageway to the north.
Copyright © 1999- - Stellalune ( ). All rights reserved. Feel free to copy or print this walkthrough for personal use. By all means, share it with friends, but please include this credit line so people can send me their feedback. No part of this walkthrough may be reproduced on another site without permission. Follow this link for details about this site's advertising and privacy policy.