Temple of Horus - Final Boss: Seth (part 3)
To get from the north switch room back to the shaft of light, exit the switch room, veer to the right...
...and jump into the water. Lara will land in the pool near where she picked up the amulet earlier.
Swim forward then around to the left to get back to the southwest corner.
Climb out on the same small, square ledge.
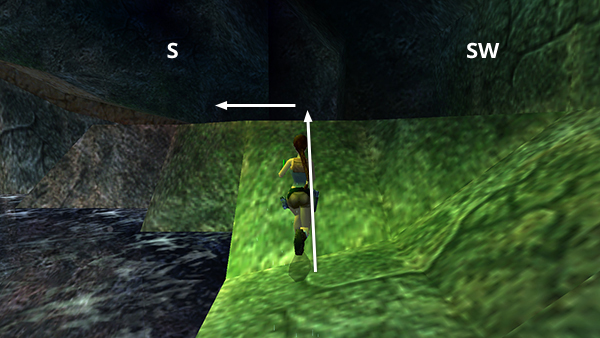
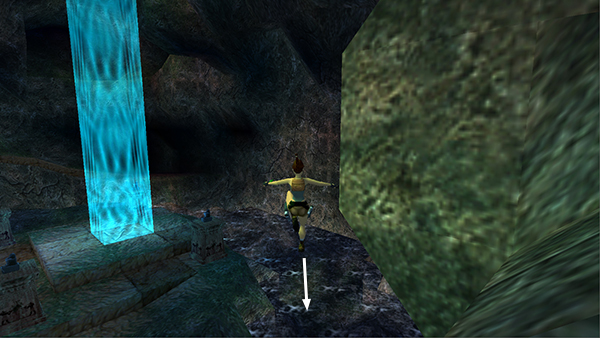
Jump up the slope, turn left...
...and run up the ramp.
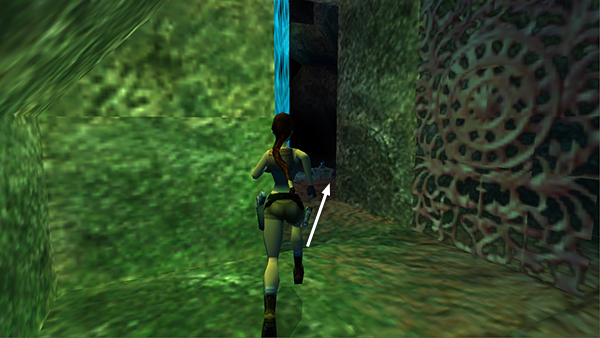
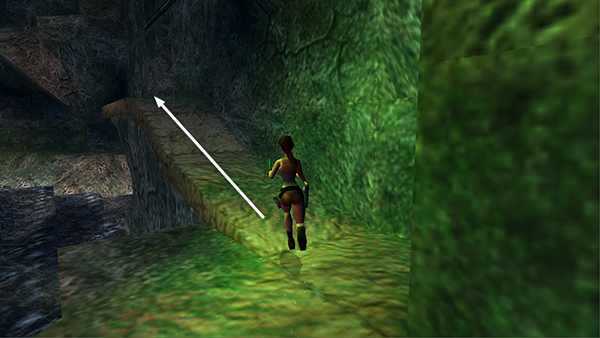
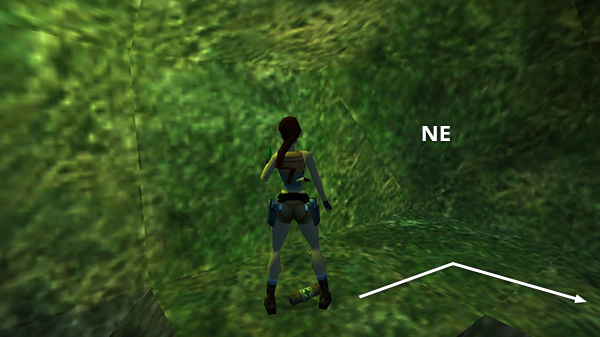
This time, instead of going into the switch room, run past it and jump down to the uneven ledge in the southeast corner.
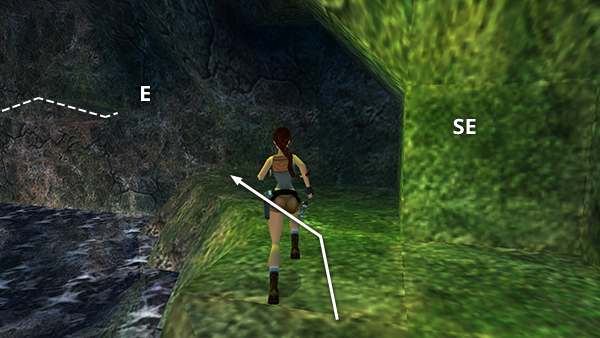
Veer left as you run across this ledge.
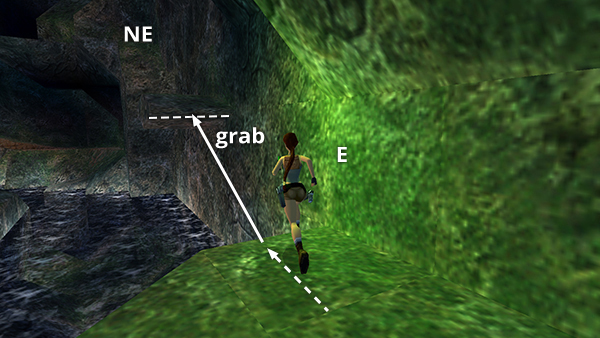
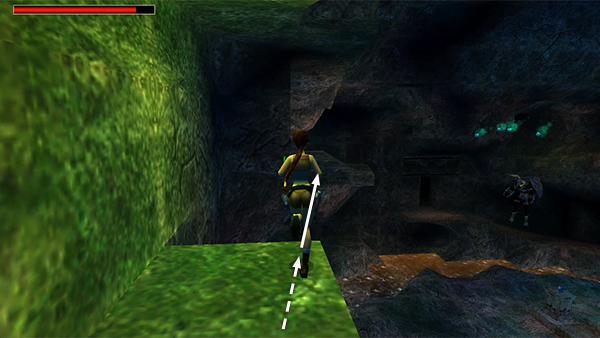
Take a running jump to grab the thin ledge protruding from the east wall above the water.
Pull up.
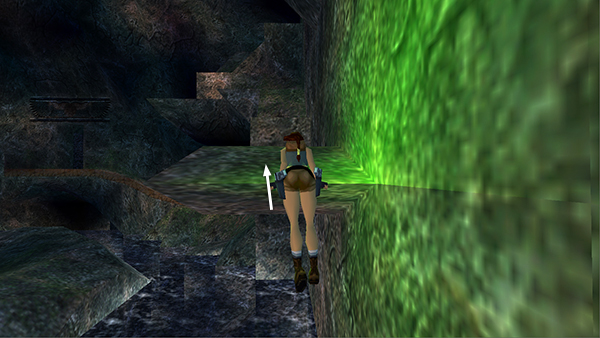
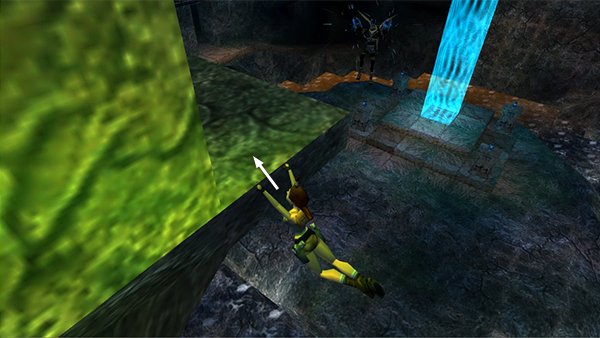
Then take another running jump to grab the slightly higher block directly ahead. Pull up again.
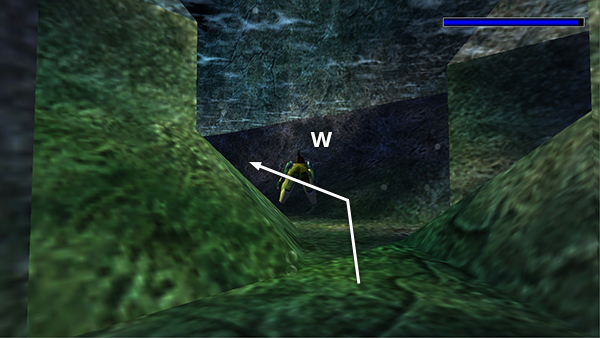
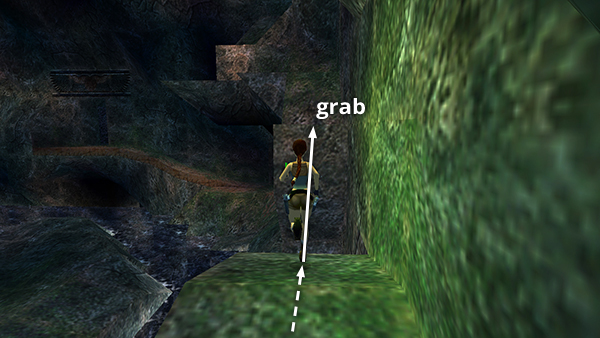
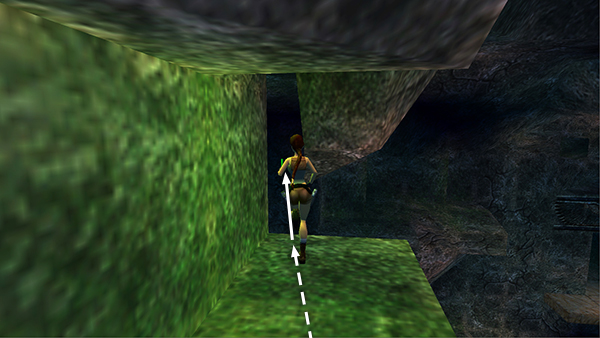
Jump up the slope and turn left.

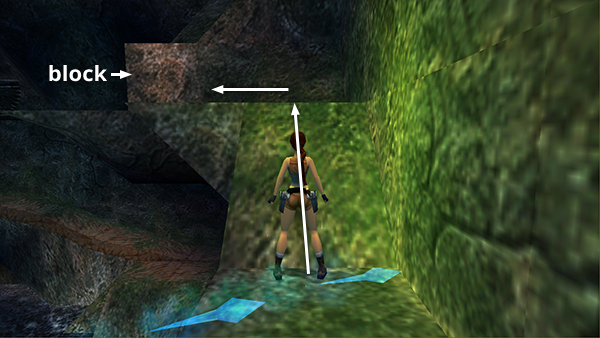
Now, climb or jump up onto the light-colored square block just ahead. (If you happened to explore the cavern earlier, this block was not here then. It rises out of the ledge when you use the second switch.)

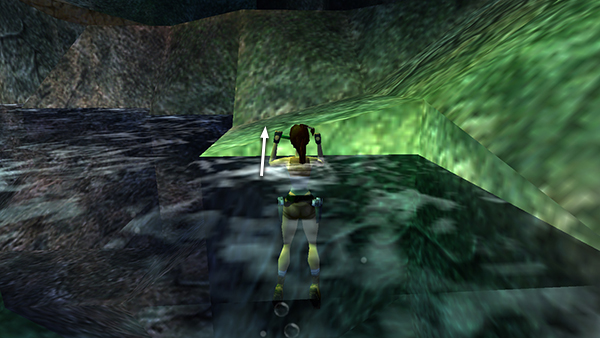
Turn slightly to the right and take a standing jump up to the next ledge.
Here you'll find a small medipack. Grab it. Then follow this corner ledge around to the right (south).
Take a running jump from the outer corner of this ledge...
...to grab the rectangular ledge jutting out of the left (east) wall. Pull up.
Run forward and jump off the far edge, aiming a little to the left, between the east wall and the the pointed rock formation hanging from the ceiling.
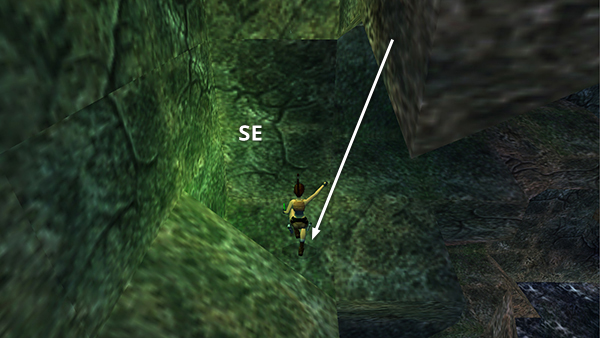
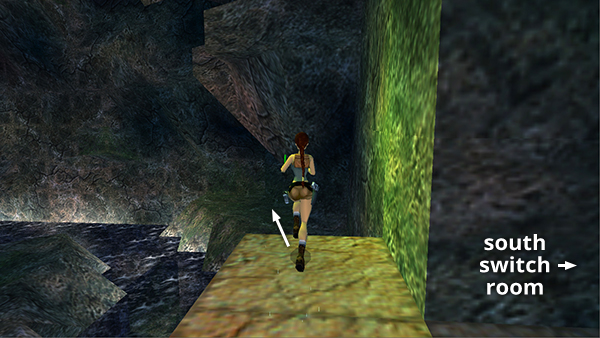
You'll land on a dark ledge in the southeast corner of the cave (above where you were earlier).
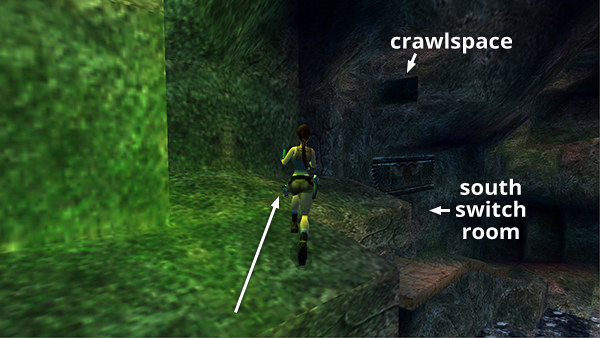
Cross to the far right and look for the raised crawlspace above the south switch room.
Jumping to grab this opening is a little tricky. Even though you risk losing some health from SETH's energy blasts, you may want to take the time to set up the jump: Walk to the edge facing the crawlspace. The south cavern wall is now on Lara's left.
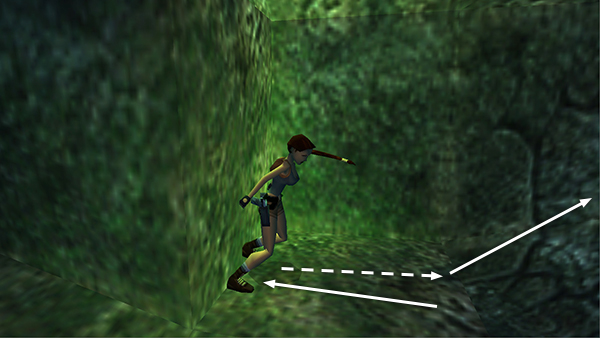
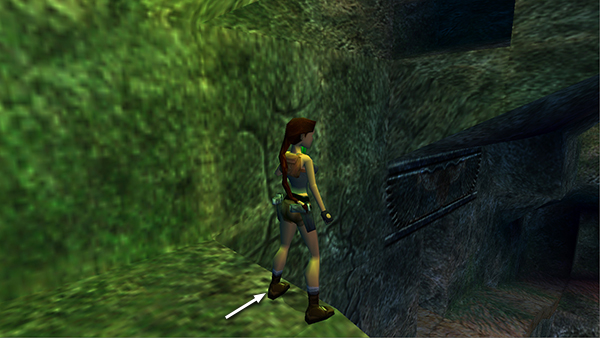
Hop back once. Then run, jump...
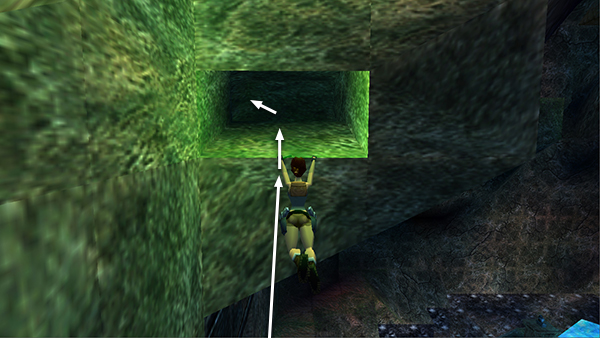
...and grab the opening. Hold Action to hang on and press Crouch + Up to pull up. Then crawl forward. You're safe inside, so take a breath and save if you like.
Copyright © 1999- - Stellalune ( ). All rights reserved. Feel free to copy or print this walkthrough for personal use. By all means, share it with friends, but please include this credit line so people can send me their feedback. No part of this walkthrough may be reproduced on another site without permission. Follow this link for details about this site's advertising and privacy policy.