Temple of Horus - Final Boss: Seth (part 2)
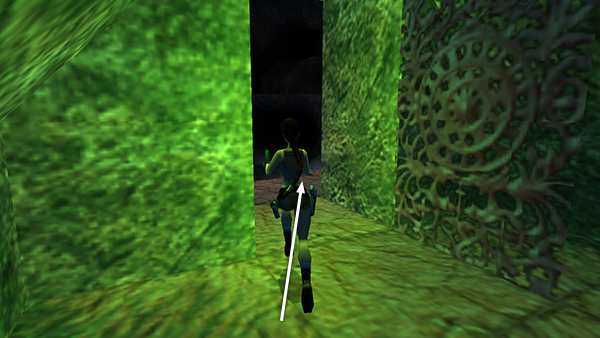
To get from the south switch to the north switch, exit the first switch room, veer slightly to the right...
...and jump off the ledge into the pool.
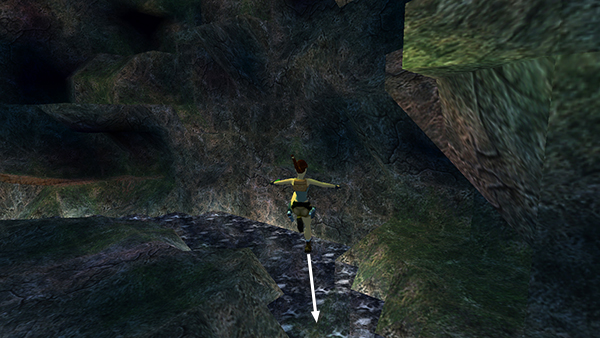
Swim forward then around to the left...
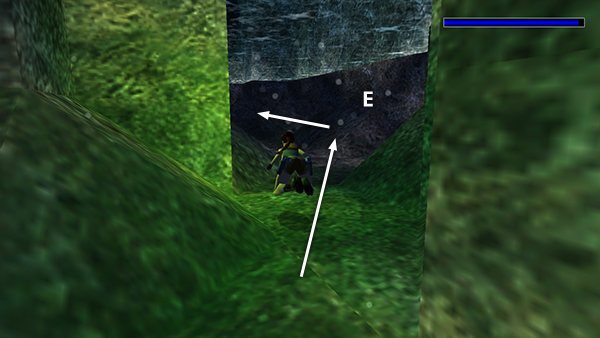
...to reach the northeast corner.
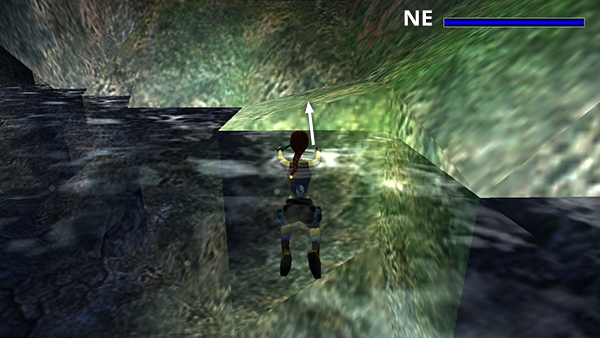
Here you can climb out of the water on another small ledge.
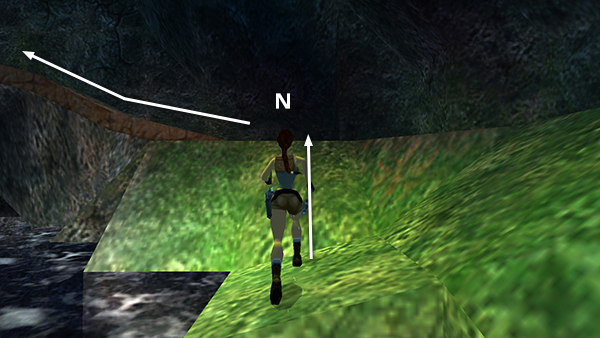
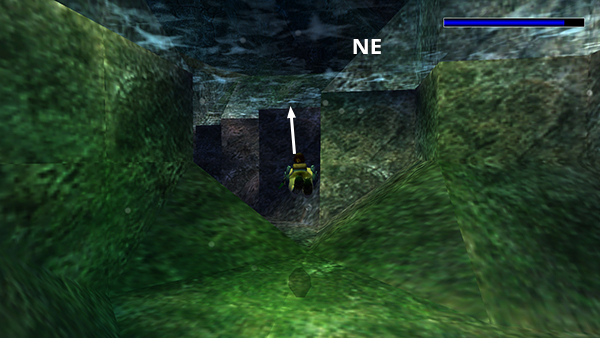
Run forward and jump up the slope directly ahead (to the north). Follow the ledge around to the left and up the ramp.
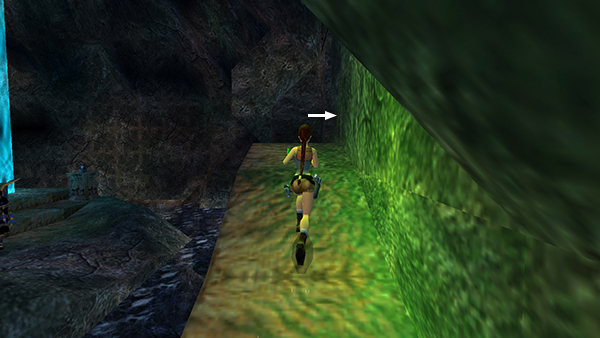
At the top, turn right and run through the open gate.
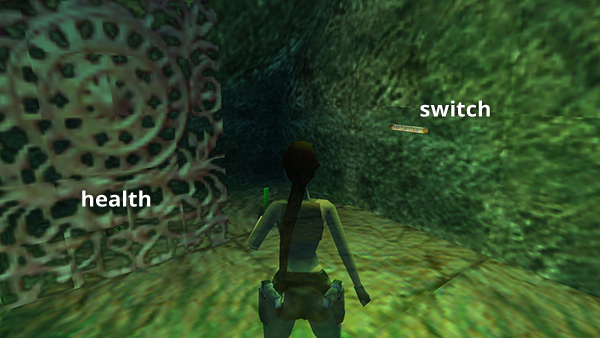
Pick up the small medipack behind the gate and use the switch.
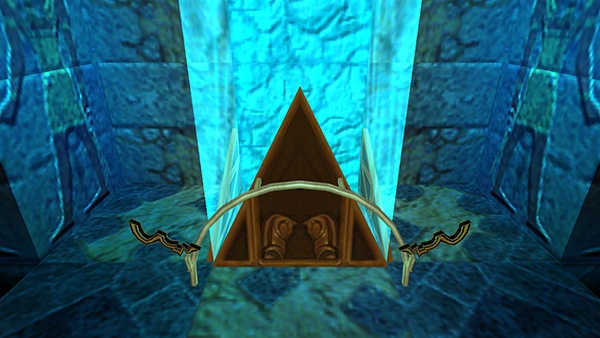
This activates the ornate trapdoor mechanism in the room halfway up the SHAFT OF BLUE LIGHT. (Remember, you passed it earlier as you climbed down inside the shaft.)
Copyright © 1999- - Stellalune ( ). All rights reserved. Feel free to copy or print this walkthrough for personal use. By all means, share it with friends, but please include this credit line so people can send me their feedback. No part of this walkthrough may be reproduced on another site without permission. Follow this link for details about this site's advertising and privacy policy.