Temple of Horus - Final Boss: Seth (part 1)
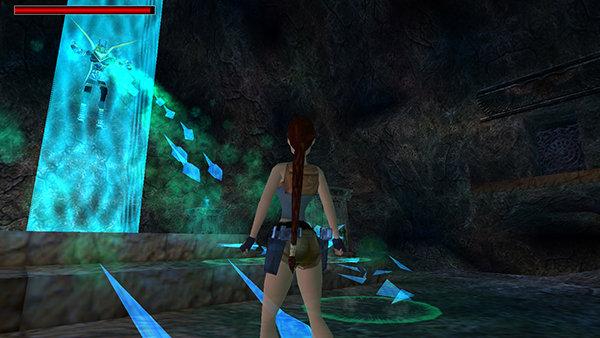
After the cinematics, SETH immediately starts firing shards of blue energy that will quickly kill Lara if she doesn't get out of the way. You can't destroy him—after all, he is a god—so don't waste bullets shooting at him. Your only option is to entomb him once more. Your only option is to entomb him once more. To do that, you'll first need to retrieve the AMULET OF HORUS.
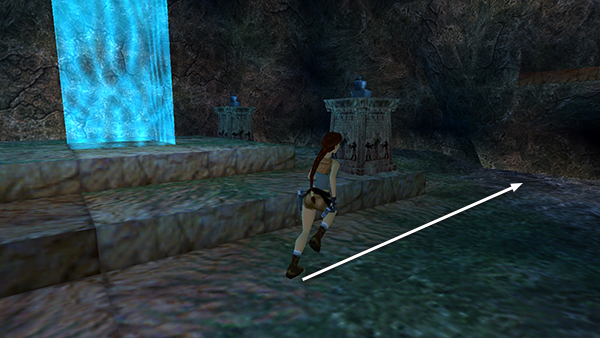
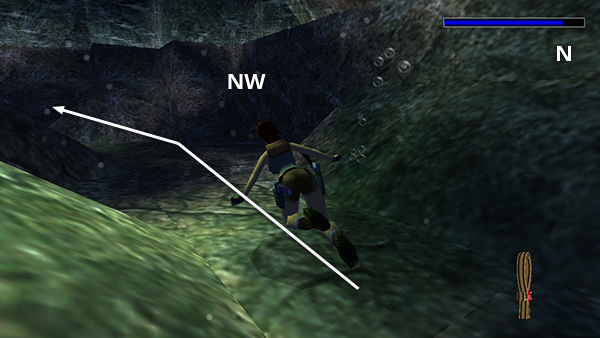
As soon as the cutscene ends, turn right (north) and run...
...off the edge into the water.
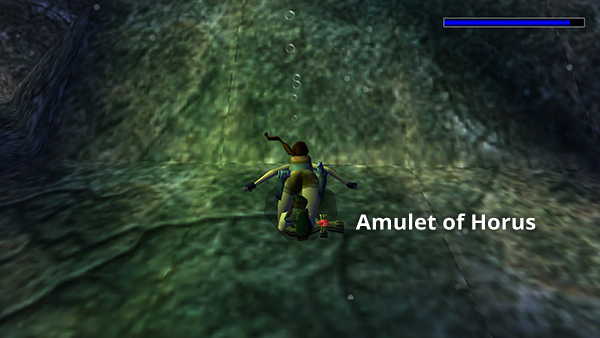
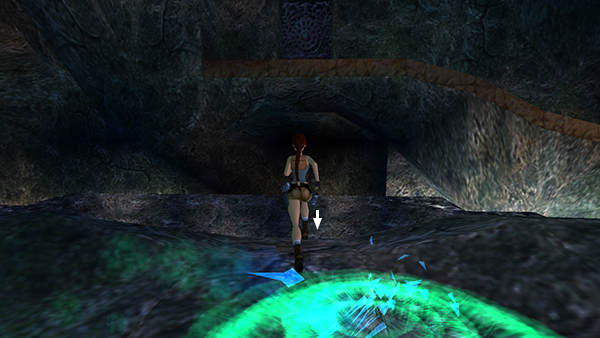
Swim down to the bottom, and pick up the amulet.
BUG NOTE: If the amulet is invisible, try lighting a flare to reveal it. If that doesn't work, check the bug notes in the main walkthrough.
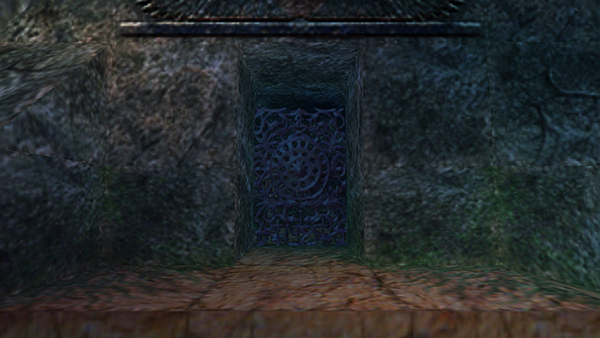
Once you have the amulet, the iron gate on the south side of the cavern opens. To get there, turn left and swim around the island...
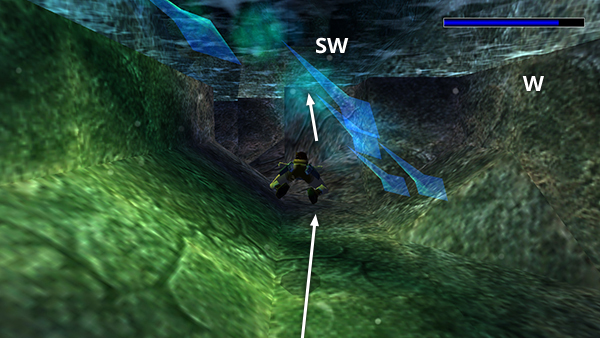
...to the southwest corner of the cavern.
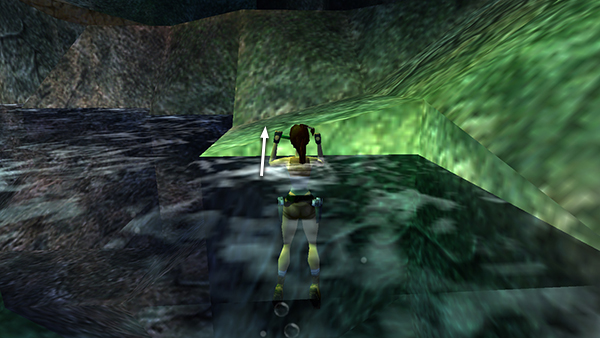
Here you can climb out of the water on a small, slightly sloping ledge.
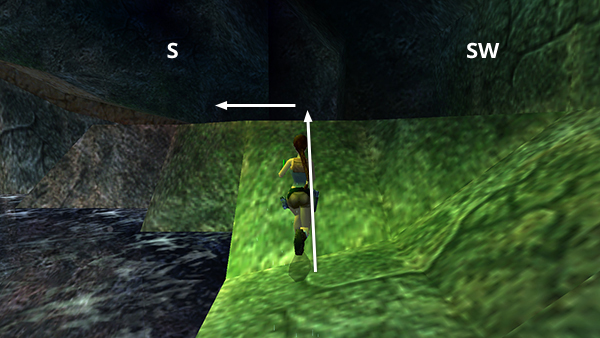
Run forward and jump up the slope directly ahead (to the south). Follow the rock shelf around to the left...
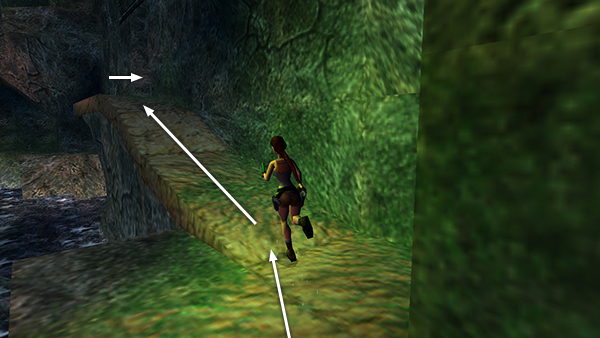
...and up the ramp. At the top, turn right and run through the open gate.
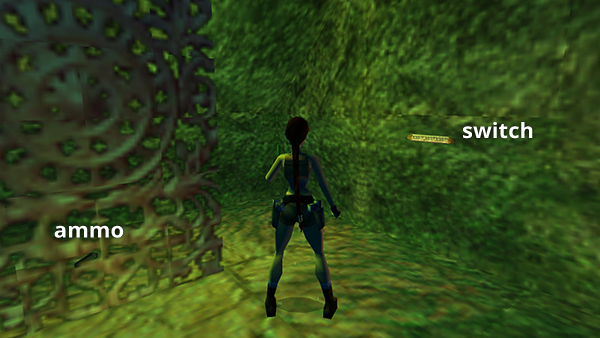
Inside, pick up the Uzi clips behind the gate, and pull the switch.
This opens the other gate, on the north side of the cavern.
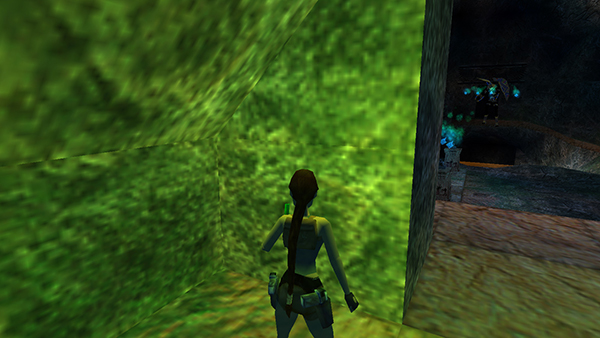
Meanwhile, SETH runs around on the island or hovers above it making creepy noises, but as long as you stand to either side of the doorway, his blasts won't hurt Lara. So you can take a break, heal if necessary, and save the game.
Copyright © 1999- - Stellalune ( ). All rights reserved. Feel free to copy or print this walkthrough for personal use. By all means, share it with friends, but please include this credit line so people can send me their feedback. No part of this walkthrough may be reproduced on another site without permission. Follow this link for details about this site's advertising and privacy policy.