Temple of Horus - Shaft of Blue Light and Horus's Island
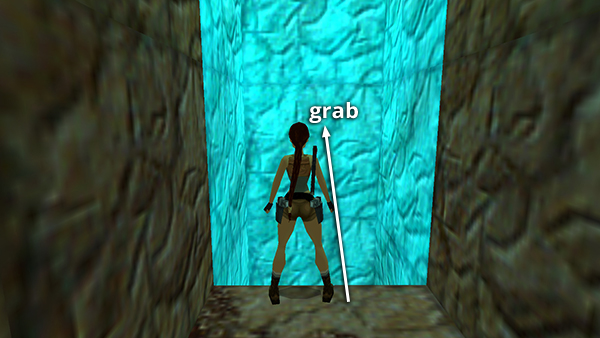
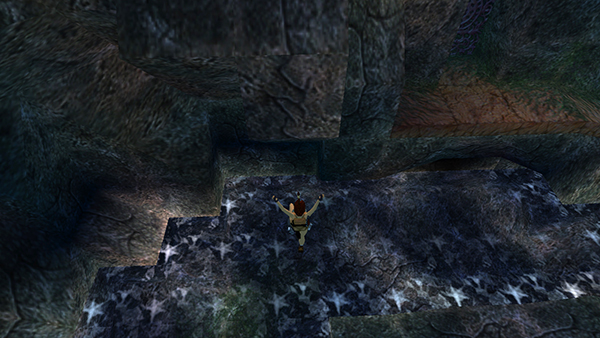
Jump across the opening and grab the climbable back wall of the shaft.
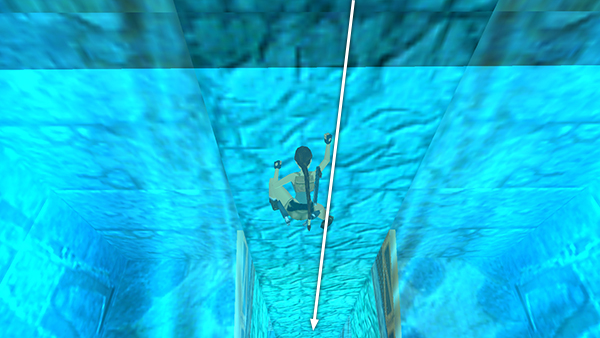
Climb down, down, and more down. There's a small room partway down the shaft. This contains a complicated trapdoor mechanism and a closed gate. There's nothing you can do here now, keep descending...
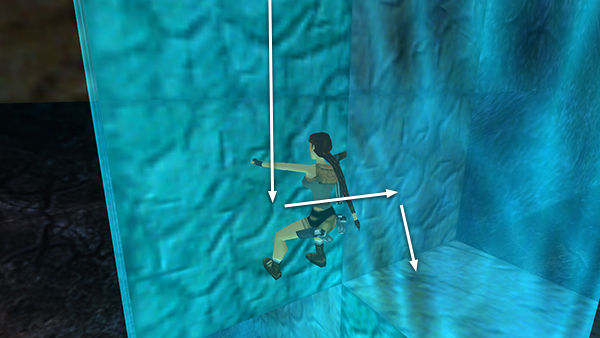
...until you can dismount on a small ledge on the right (north).

A panoramic view shows the statue of Horus awaiting its armor. It stands in a cavern on a small island surrounded by a pool. Classic boss-level architecture if you ask me. ;-)
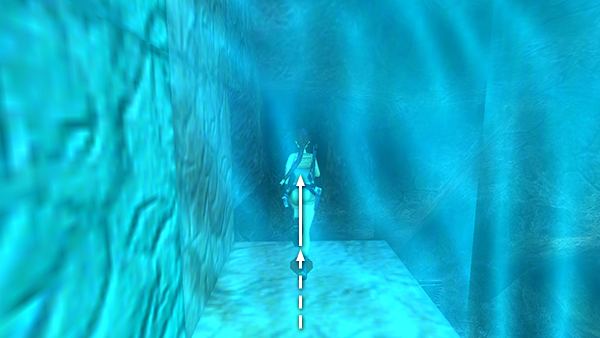
Turn right (north) and take a running jump from the ledge near the shaft of light...
...to land in the water below.
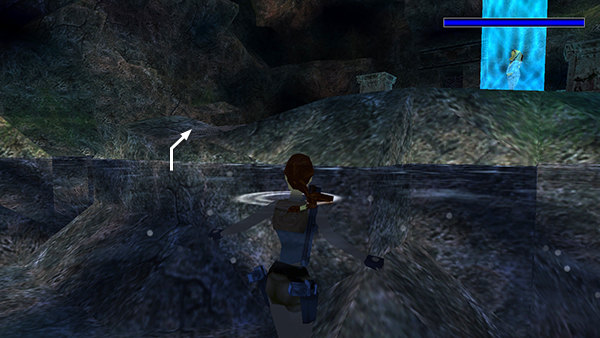
Turn around and swim forward and little to the left to find a place where you can climb out of the water onto the island.
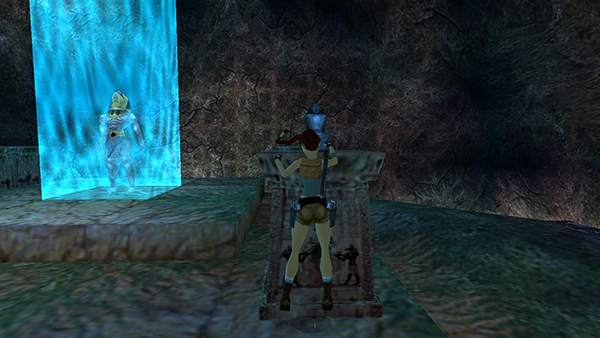
Place the 4 HOLY SCRIPTURES on the pedestals surrounding the statue of Horus. (You should still have them from the level UNDERNEATH THE SPHINX.)
Then approach the statue from the front to trigger the next cutscene.
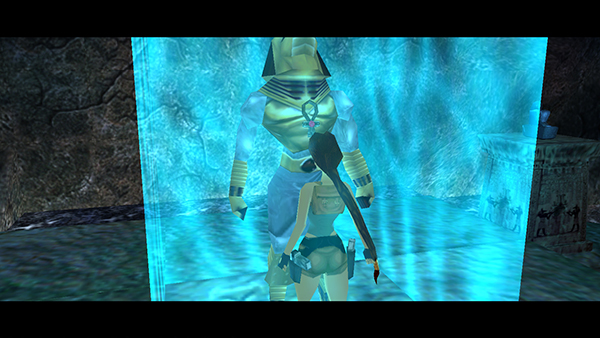
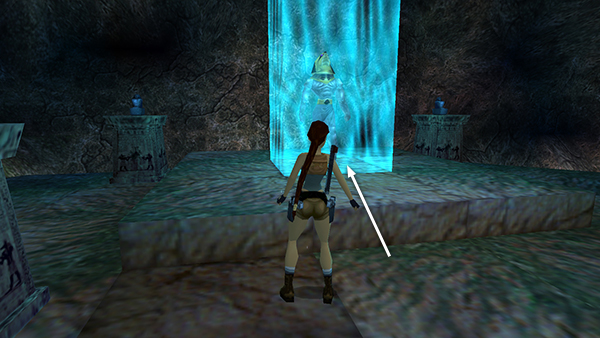
Lara arranges the armor on the statue and places the amulet on its chest. The spirit of Horus then flies into the statue, only to be cast out by Seth.
Copyright © 1999- - Stellalune ( ). All rights reserved. Feel free to copy or print this walkthrough for personal use. By all means, share it with friends, but please include this credit line so people can send me their feedback. No part of this walkthrough may be reproduced on another site without permission. Follow this link for details about this site's advertising and privacy policy.