Temple of Horus - Final Boss: Seth (part 4)

Crawl through the twisting tunnel to the end.

Crawl backwards toward the opening and drop onto the ledge below.
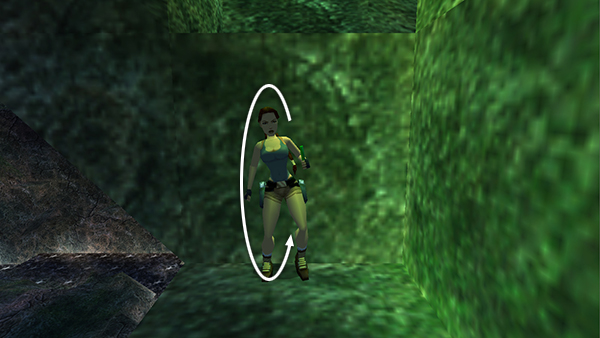
Roll...
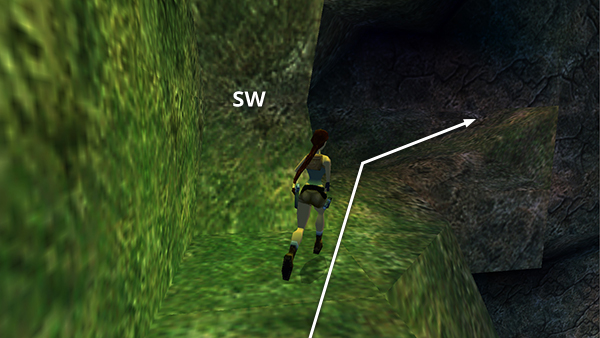
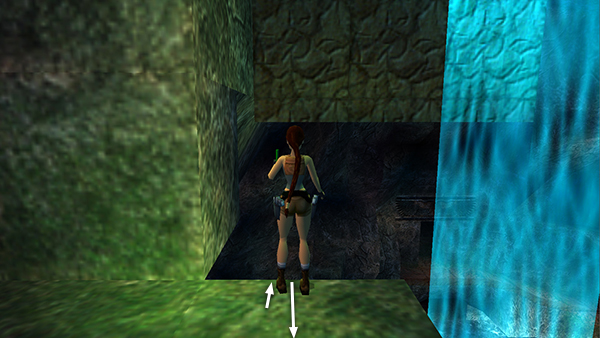
...and run forward along this ledge, high in the southwestern corner of the cavern. Follow the ledge around to the right and up the slope...
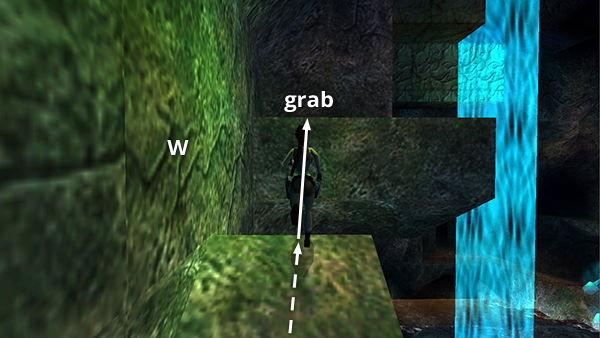
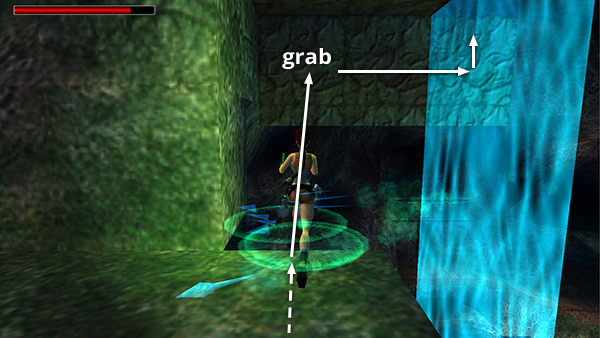
...taking a running jump at the end to grab the next ledge, which juts out of the west wall toward the SHAFT OF BLUE LIGHT. Pull up.
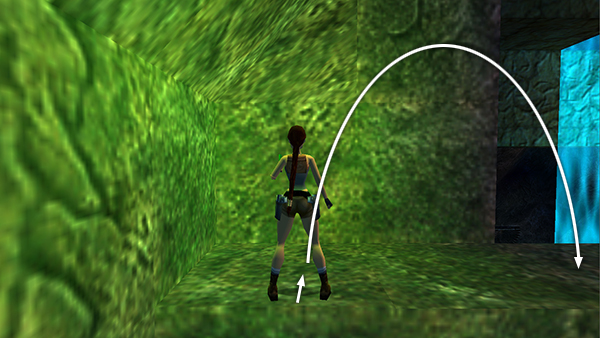
Step forward once then side flip to the right. The SHAFT OF LIGHT is now just ahead on the right, the pool and island far below.
Again, take the time to set up the next jump if possible: Walk to the edge, hop back...
...then take a running jump to grab the climbable wall directly ahead. Climb to the right, into the blue light, then upward...
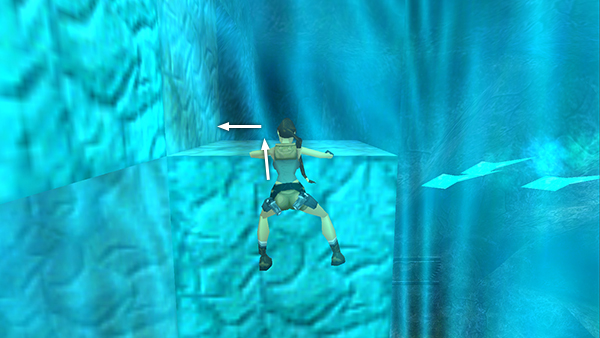
...onto the ledge above. Lara will take some hits from SETH's projectiles, so heal as you go if necessary. As soon as you pull up onto the ledge, turn left...
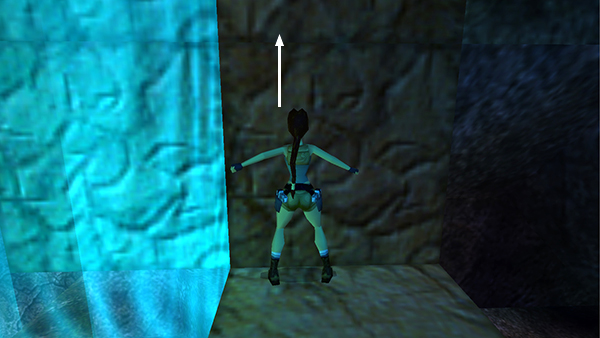
...grab onto the climbable wall...
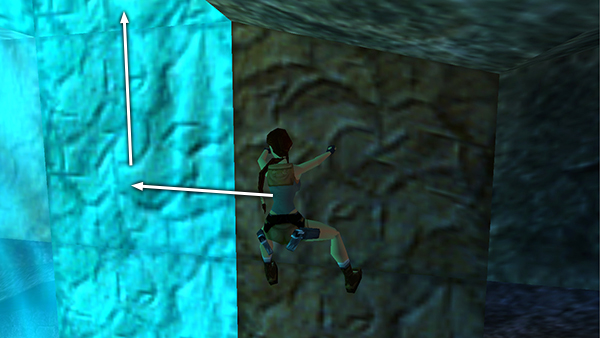
...and climb to the left, into the SHAFT OF LIGHT. Continue climbing upward inside the shaft. After a bit, SETH will lose sight of Lara and stop firing at her. Just continue climbing to trigger a cutscene.
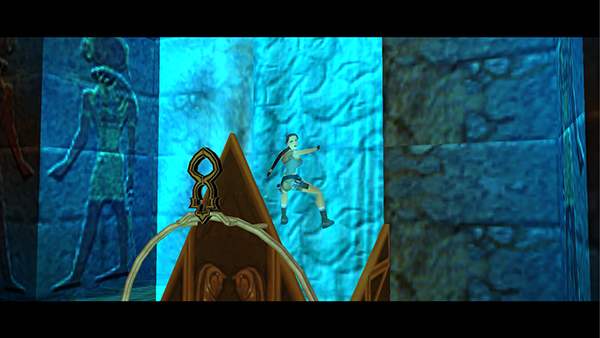
Lara reaches the room above and does a fancy flip to land on the floor. She places the Amulet of Horus into the odd mechanism, and the trapdoor closes, sealing Seth inside the cave.
Copyright © 1999- - Stellalune ( ). All rights reserved. Feel free to copy or print this walkthrough for personal use. By all means, share it with friends, but please include this credit line so people can send me their feedback. No part of this walkthrough may be reproduced on another site without permission. Follow this link for details about this site's advertising and privacy policy.